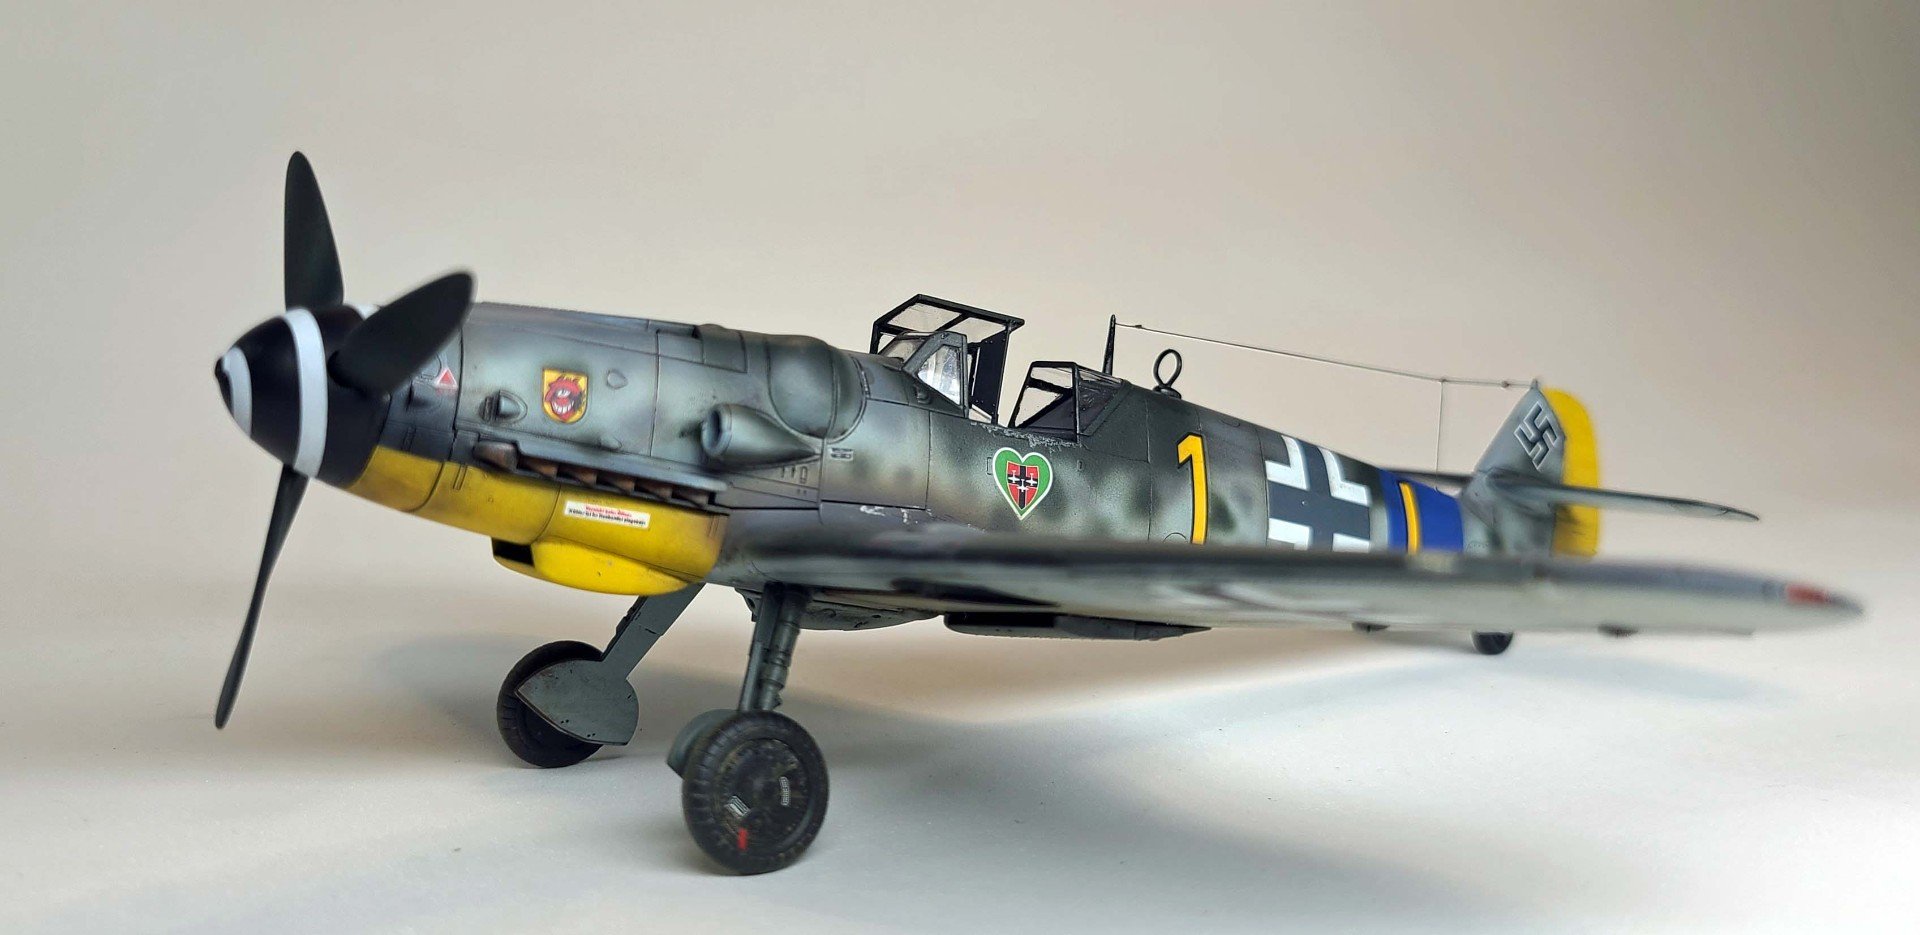
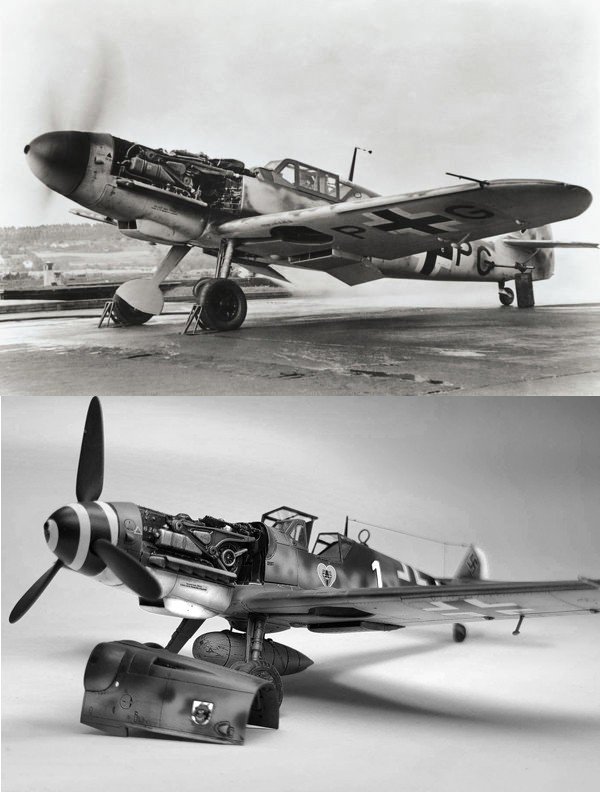
Tamiya 1/48 Bf 109G
Practice makes perfect…

I built this as practice for what should arrive soon...a 1/32 Zoukie-Mura BF109G-14 (Erich Hartmann SWS kit). Combination of Mr. Color and Tamiya mixes (per the instructions). My main concern building the 1/32 BF109 was figuring out how to do the mottling camouflage effect (I've only been using an airbrush for two years). PE...Eduard cockpit parts, a HGW seatbelt set and a Yahu instrument panel. I ended up using a super low PSI on a .40 Iwata w/minimum 50/50 thinner-to-paint ratio and a really light touch on the spray trigger. I practiced a bit on sheet plastic and my previous work on the ZM HS129 helped me w/brush control. I used a combination of Flory Brown and Tamiya washes. The engine exhaust stains were airbrushed on w/90-5 ratio of thinner and a brown/black Tamiya mix at first with 30-40 passes and then I progressively added darker black and at some point, I switched over to a light gray mix on top...it was all done on feel and I was mixing non-stop until I got what I liked. I used the standard Tamiya decals (still have some to go).
Great kit...lots of parts that fit perfectly and pretty easy build even if my eyes hurt from working with all the itty-bitty bits.
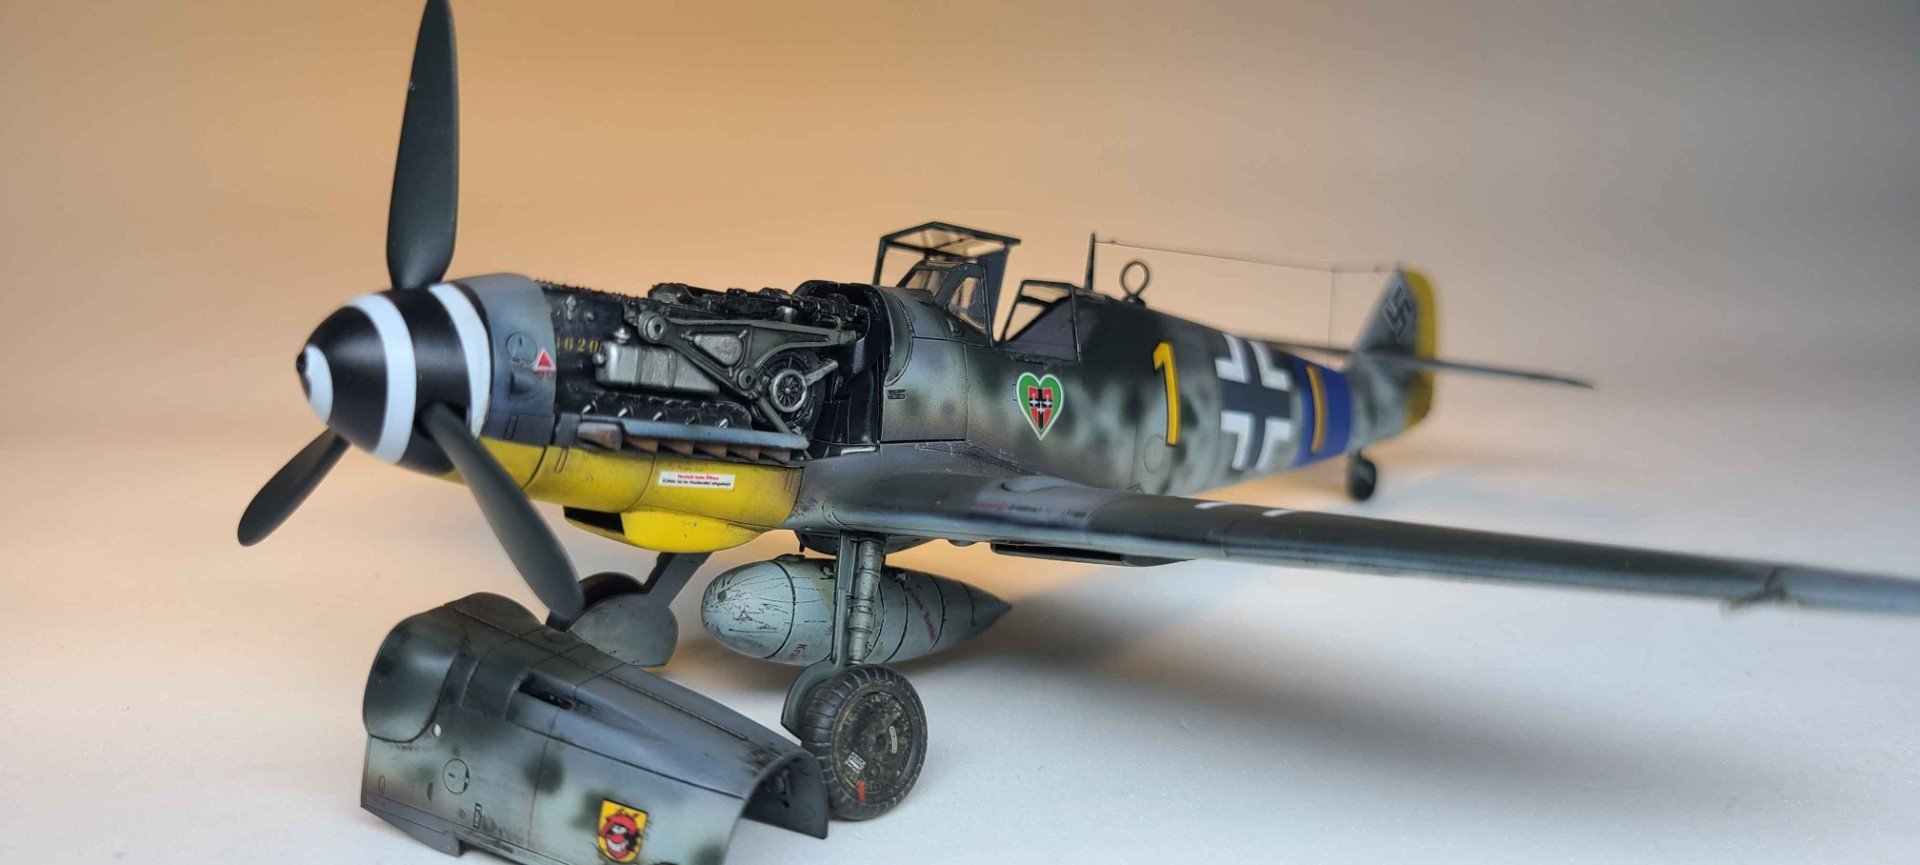
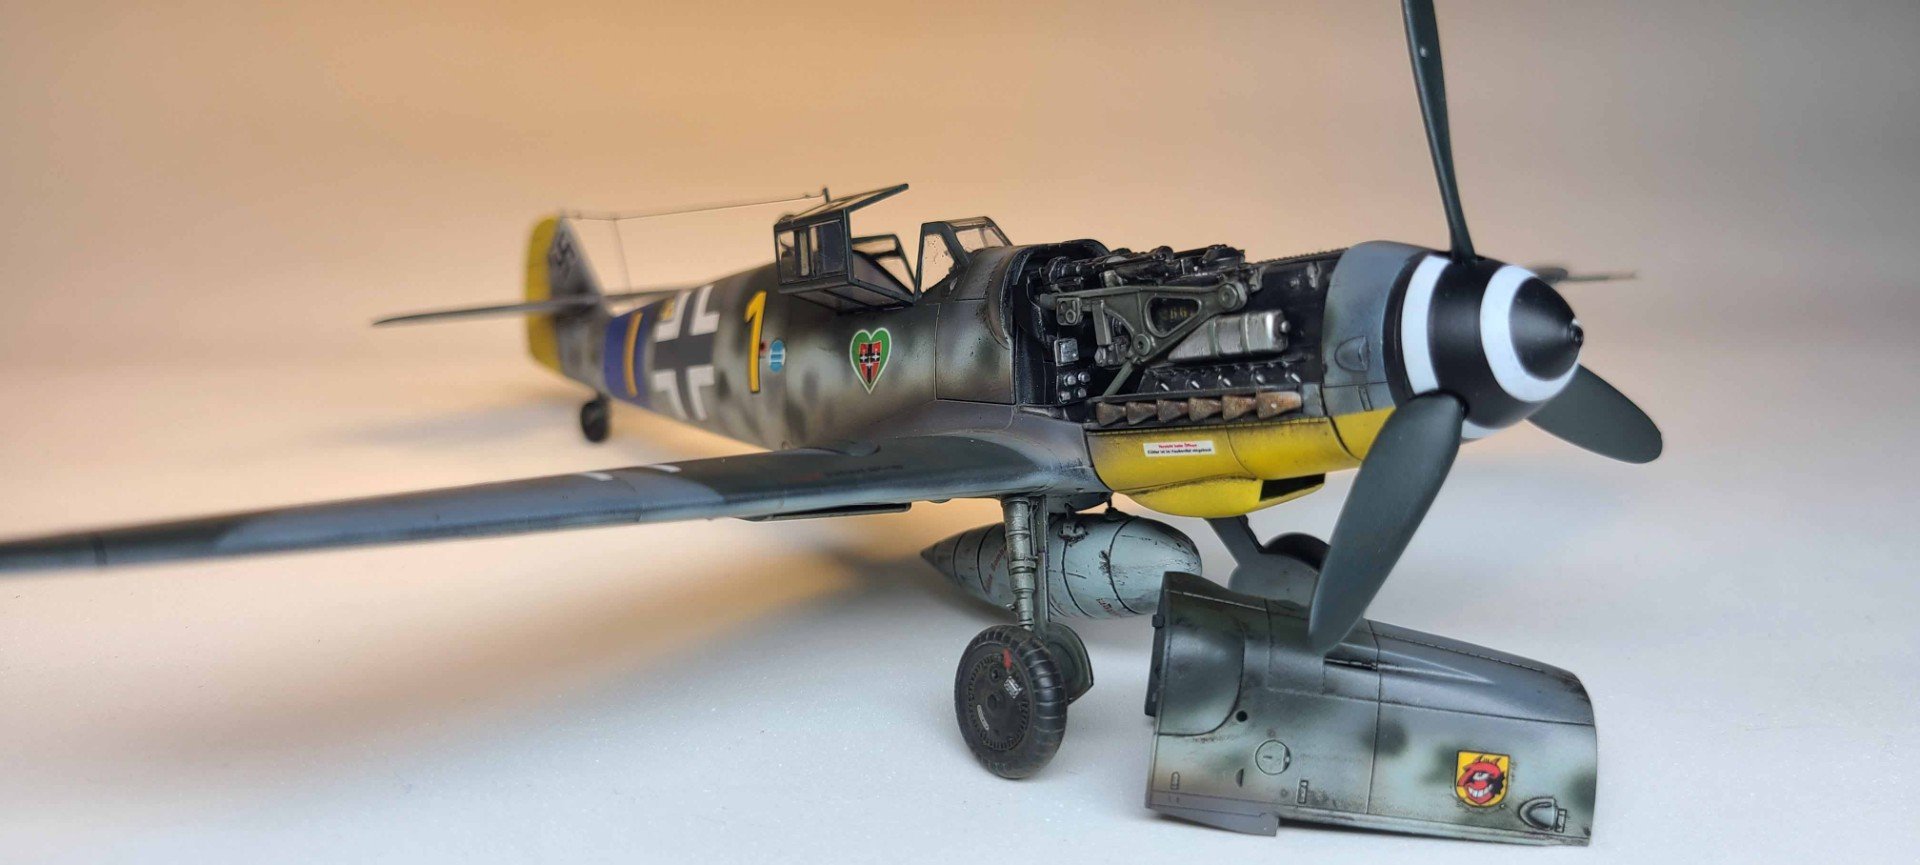
Also...I lost a part of the upper open engine cowling, so it's not shown, and I have not finished the lower open cowling but there are some pics of that in the build log. Pictures are cell phone reduced 50% in size and saved as JPG. I used two Neatfi lights; one in front that was hard white and one in the back that was softer. The background is a large thin white foam mat (for the lack of a better word)...you can roll it up and store it.

I haven't worked at 1/48th in a while so it's a bit shocking to see how small stuff is (1/72...my eyeballs can't calibrate that small, so I ignore it). So far all I've done is do the filler work you need to do on the wings and fuselage (to remove access hatches) and started to glue together major assemblies to get ready for painting.


Mostly dry-fitting the front-end and just a smidge of weathering on the engine (no detail painting other than exhaust) but getting there. Like the Mustang I just built you build two versions of the front end. One for display and one shut up. I'm done with the cockpit other than waiting on a instrument panel from Poland.

SImple weathering
Some AK pigments, dry brush, Flory washes...not quite done but almost there. Nice sun through the window today. Also...No extra work/wires/etc. OOB.

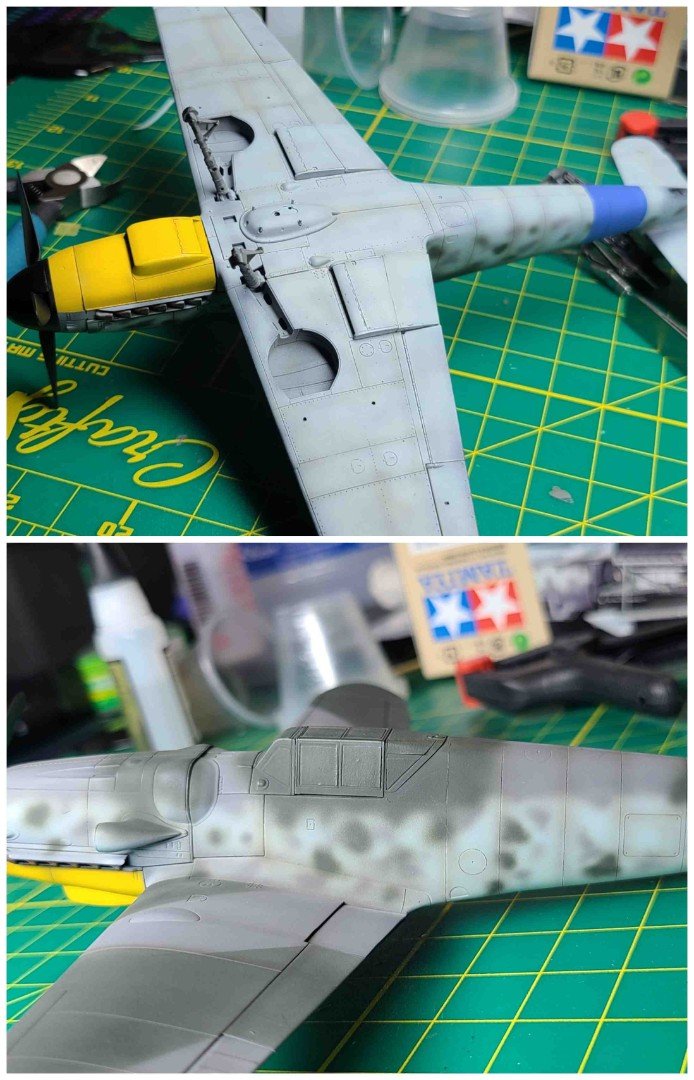
Base painting almost done...here's a progression. A bit sloppy and I need to clean up the lines on the wings but it's coming together. Mostly Tamiya but I used a Mr. Corlor RLM78 with a flat base thrown in for the sides and lower surfaces. I did all this with a .40 iwata on super low pressure.
Some post shading before decals and weathering. 50-60 parts Tamiya Thinner, maybe five parts XF-72, 1 part XF-1 and sprayed at a low psi (10?)...I have a slight hand shake so I tend to go over the top with thinner and make a dozen passes per line as I make mistakes...but so many thin passes and the odds are with me I'll get decent shading. It's a little sloppy but these planes were painted in the field and dirty so it'll work out in the end.
I also sharpened the wing and tail camo (made a good mistake on one horizontal stabilizer...swapped the paint so green was on the wrong side), tried to blur some of the sharper mottling. After decals I'll do the usual super heavy exhaust stains you see on these, finish up the undercarriage, and start working on the external tank and gun blisters. Might have to sharpen up some panel lines so debating on graphite pencil or panel wash for panel lines.
Mr. Color Super Clear II thinned 50-50 with levelling thinner and started the decal work. Not doing painted insignias with this so I can finish up quicker and honestly, decals look great once thinned with solution and weathered. Have a lot of the tiny decals to go plus my instrument panel arrived today so some cockpit work is next. So funny how these models really start to "come together" at the end. My weathering will be extensive with a dirty look so this is as clean as it'll ever be.
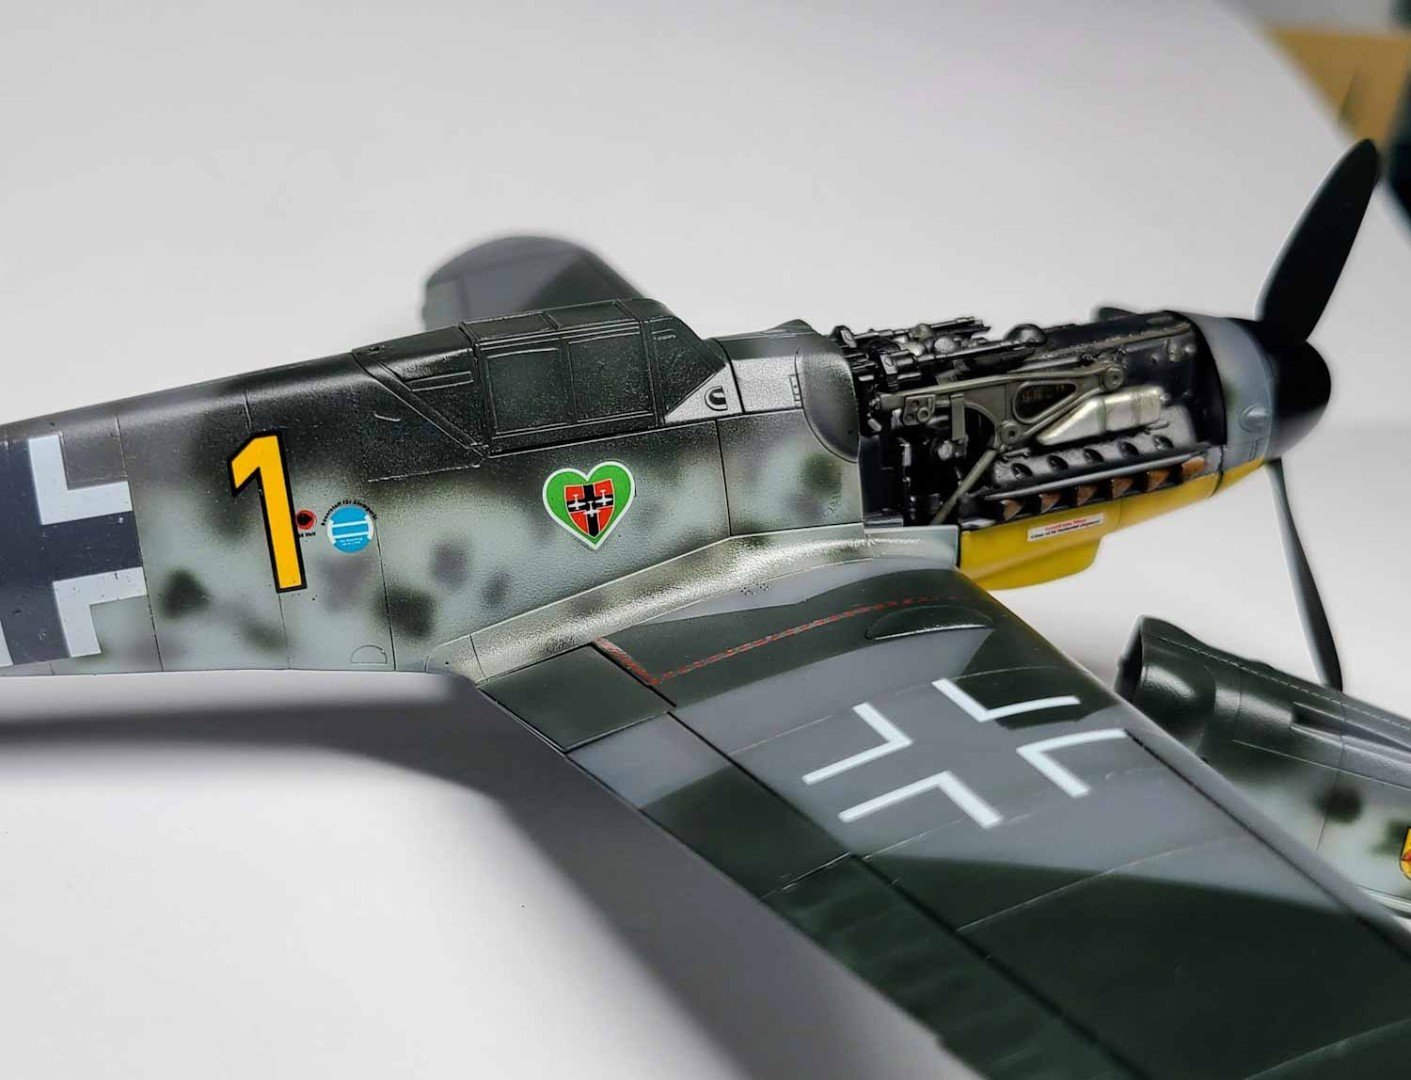
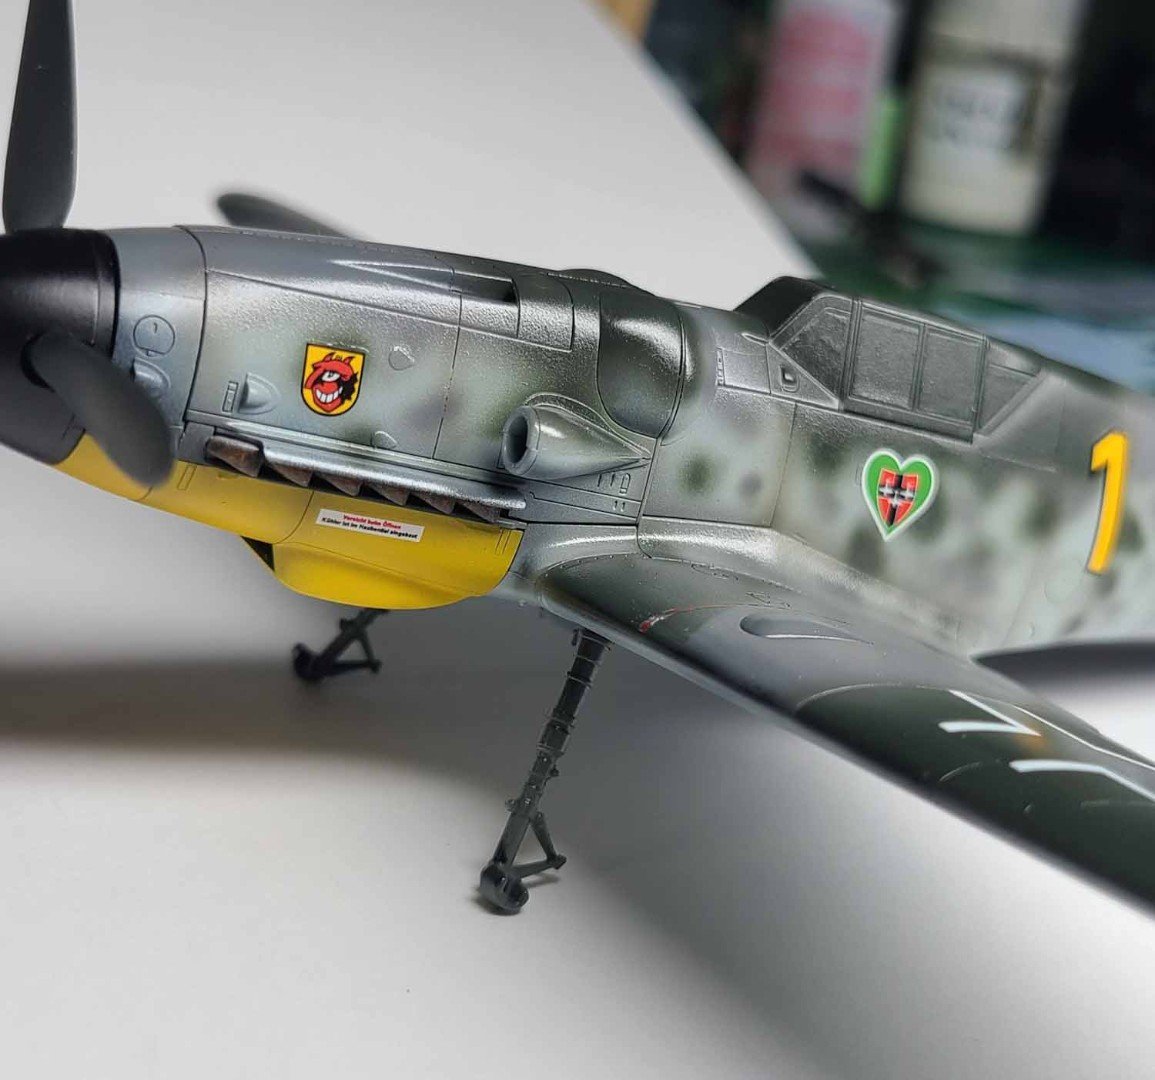

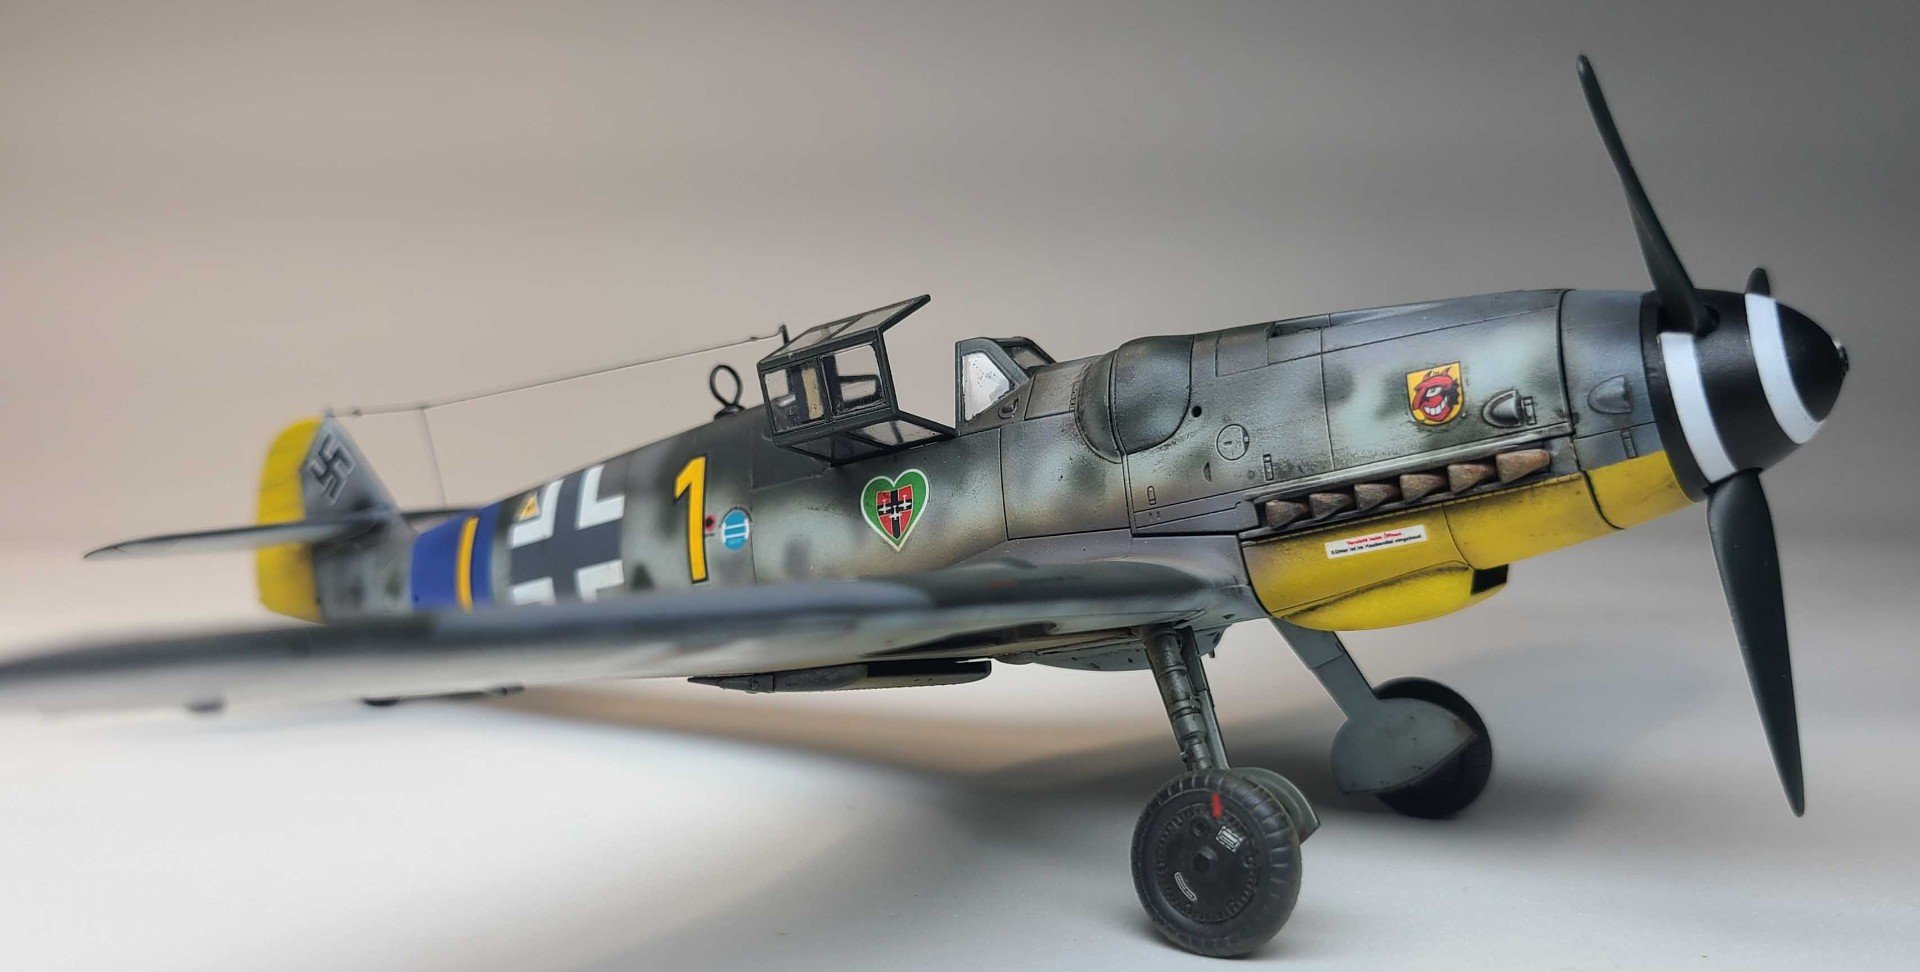
Close. Weathering done with washes, flory dark dirt, and thin sprays. Still have chipping to do. Sealed with semi-gloss then flat, then sprayed the exhaust ( heavily thinned red brown and black with gray afterwards), canopy needs cleanup, and I have to finish the "open" engine covers but pretty happy with results so far.


More or less done although a few more decals and I lost a machine gun panel for the exposed engine so I can't really use that part. When you take these super big shots ALL the bad stuff comes out so you can see where I rushed it...but this was an attempt to figure out how to paint the mottling so I'm good with it. I might email Tamiya or just go buy another kit to finish off the top engine panels. I took a few practice "revel" shots and here you go: