Border 1/35 He 111H-6
So I took about a year off (this is my second year-off period), got the bug back, and shelved the WnW D.VII for a bit and decided to give this a go. First impressions:
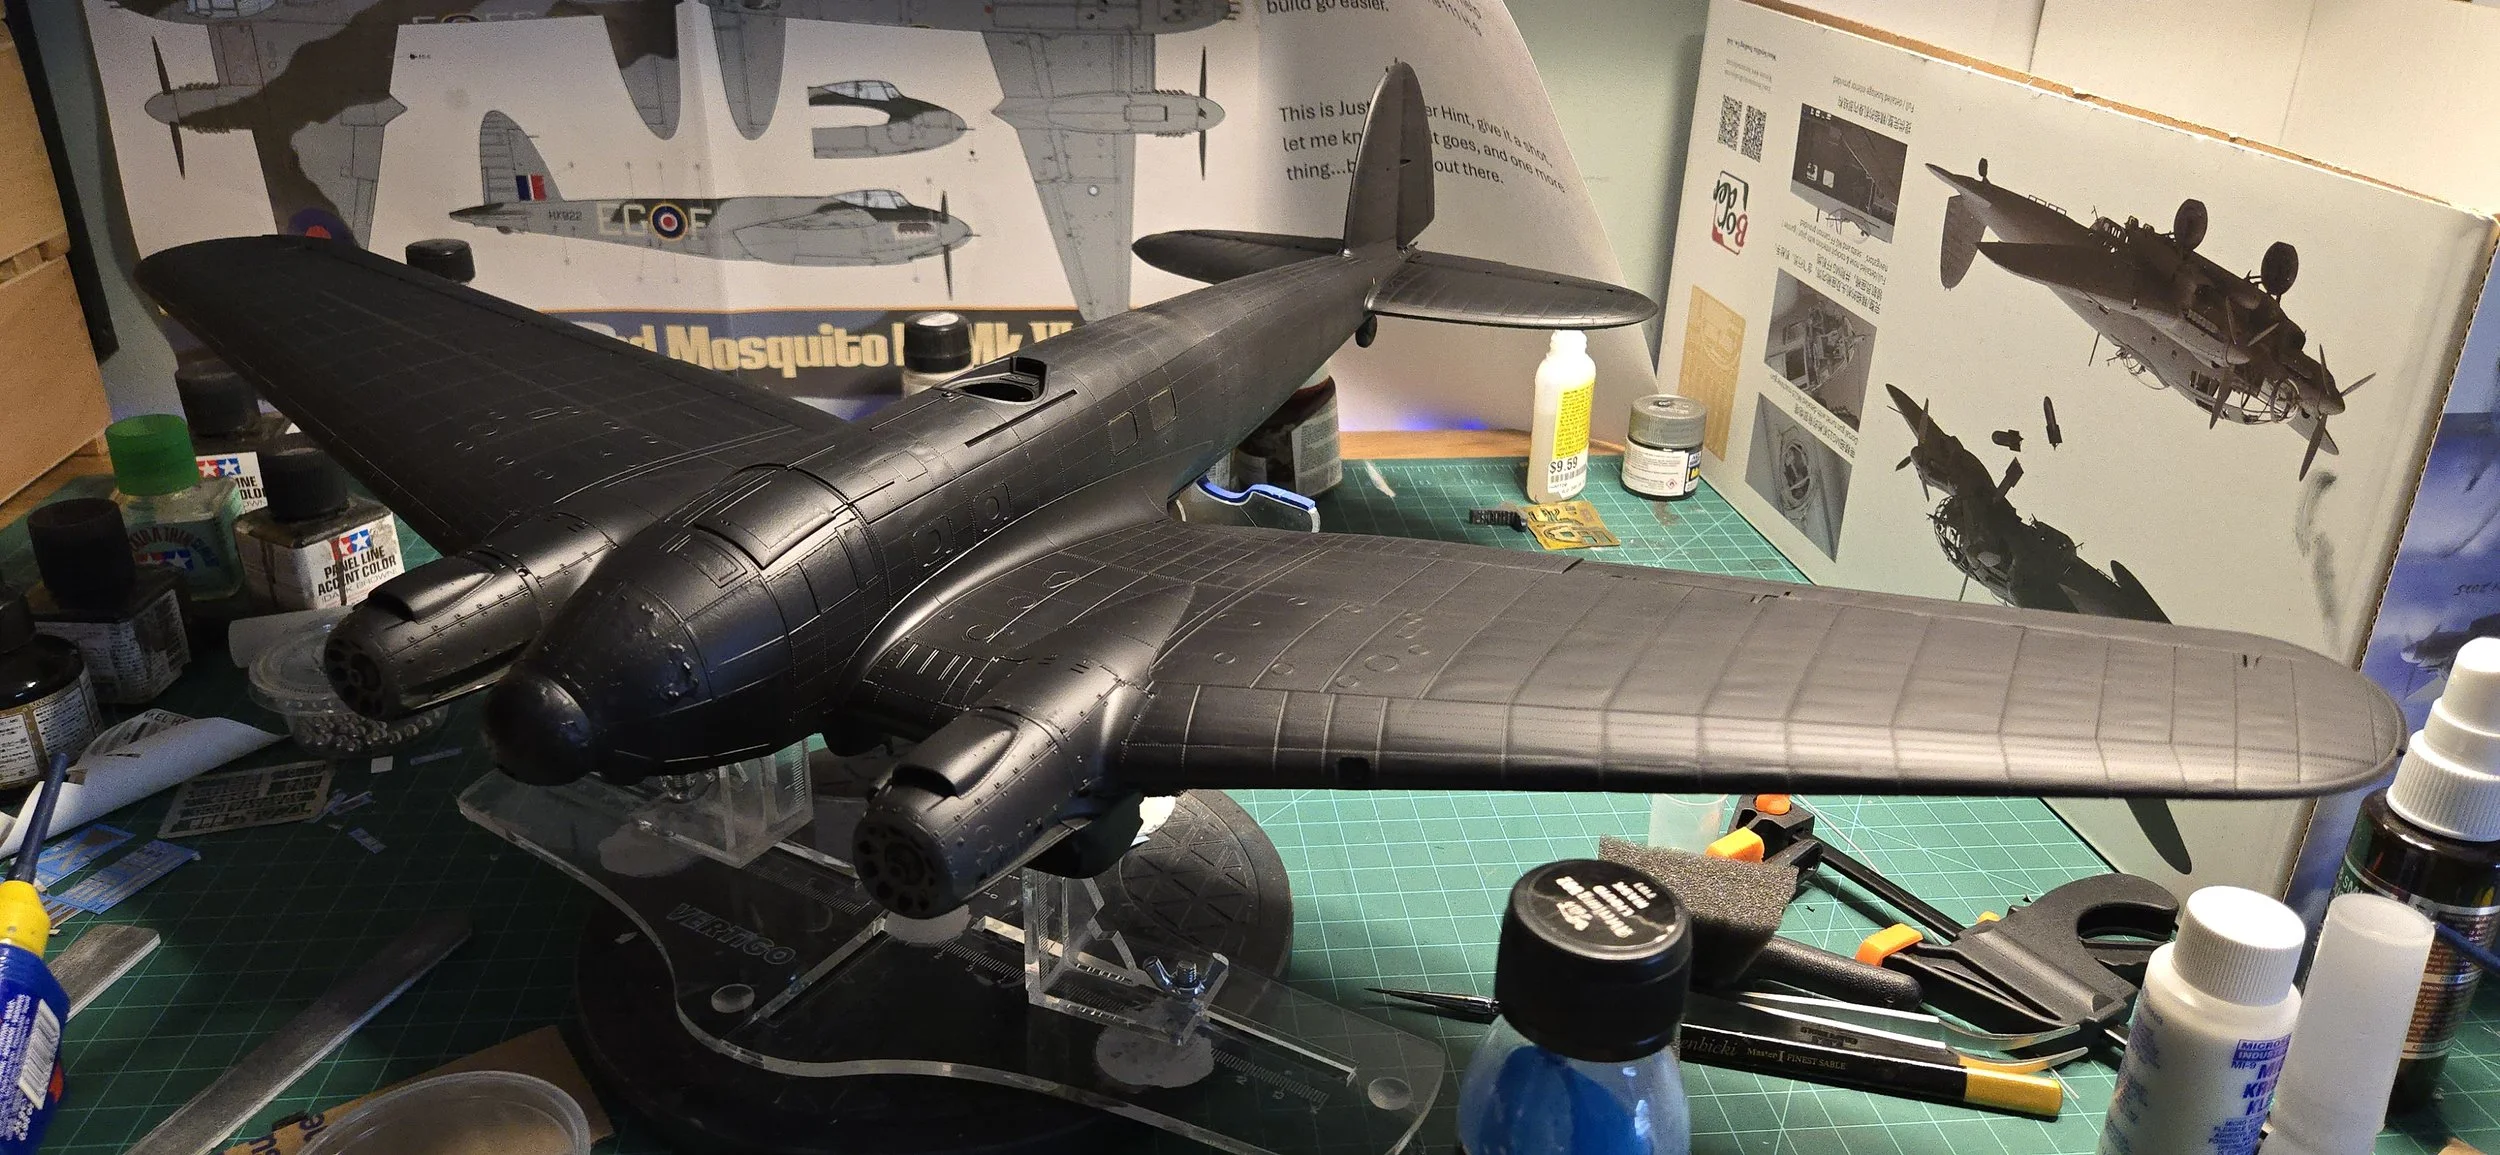
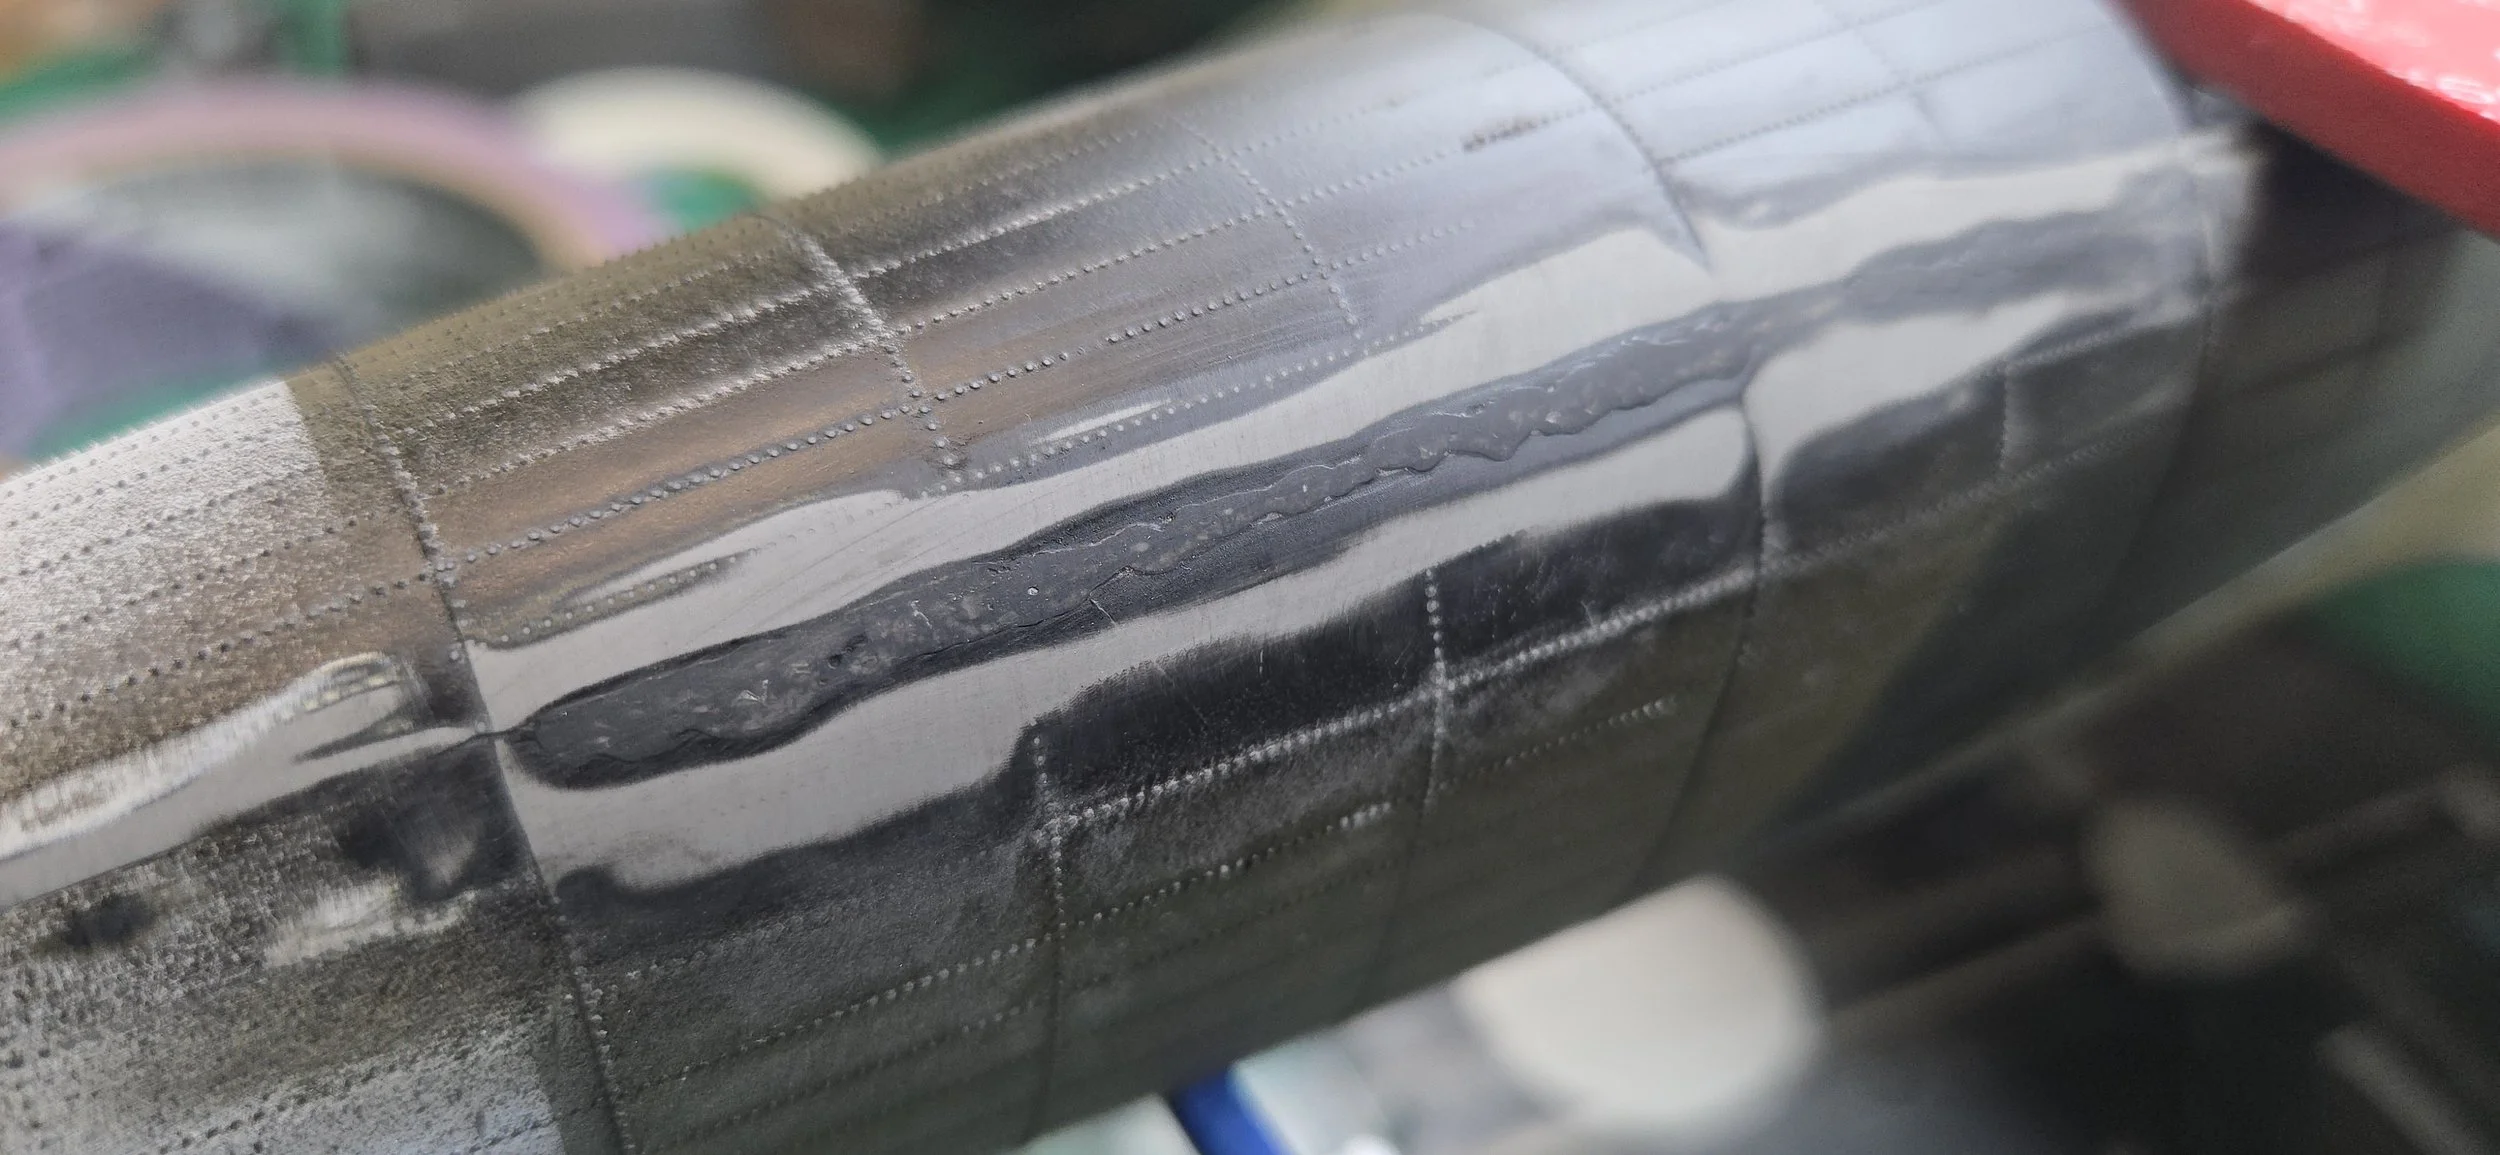
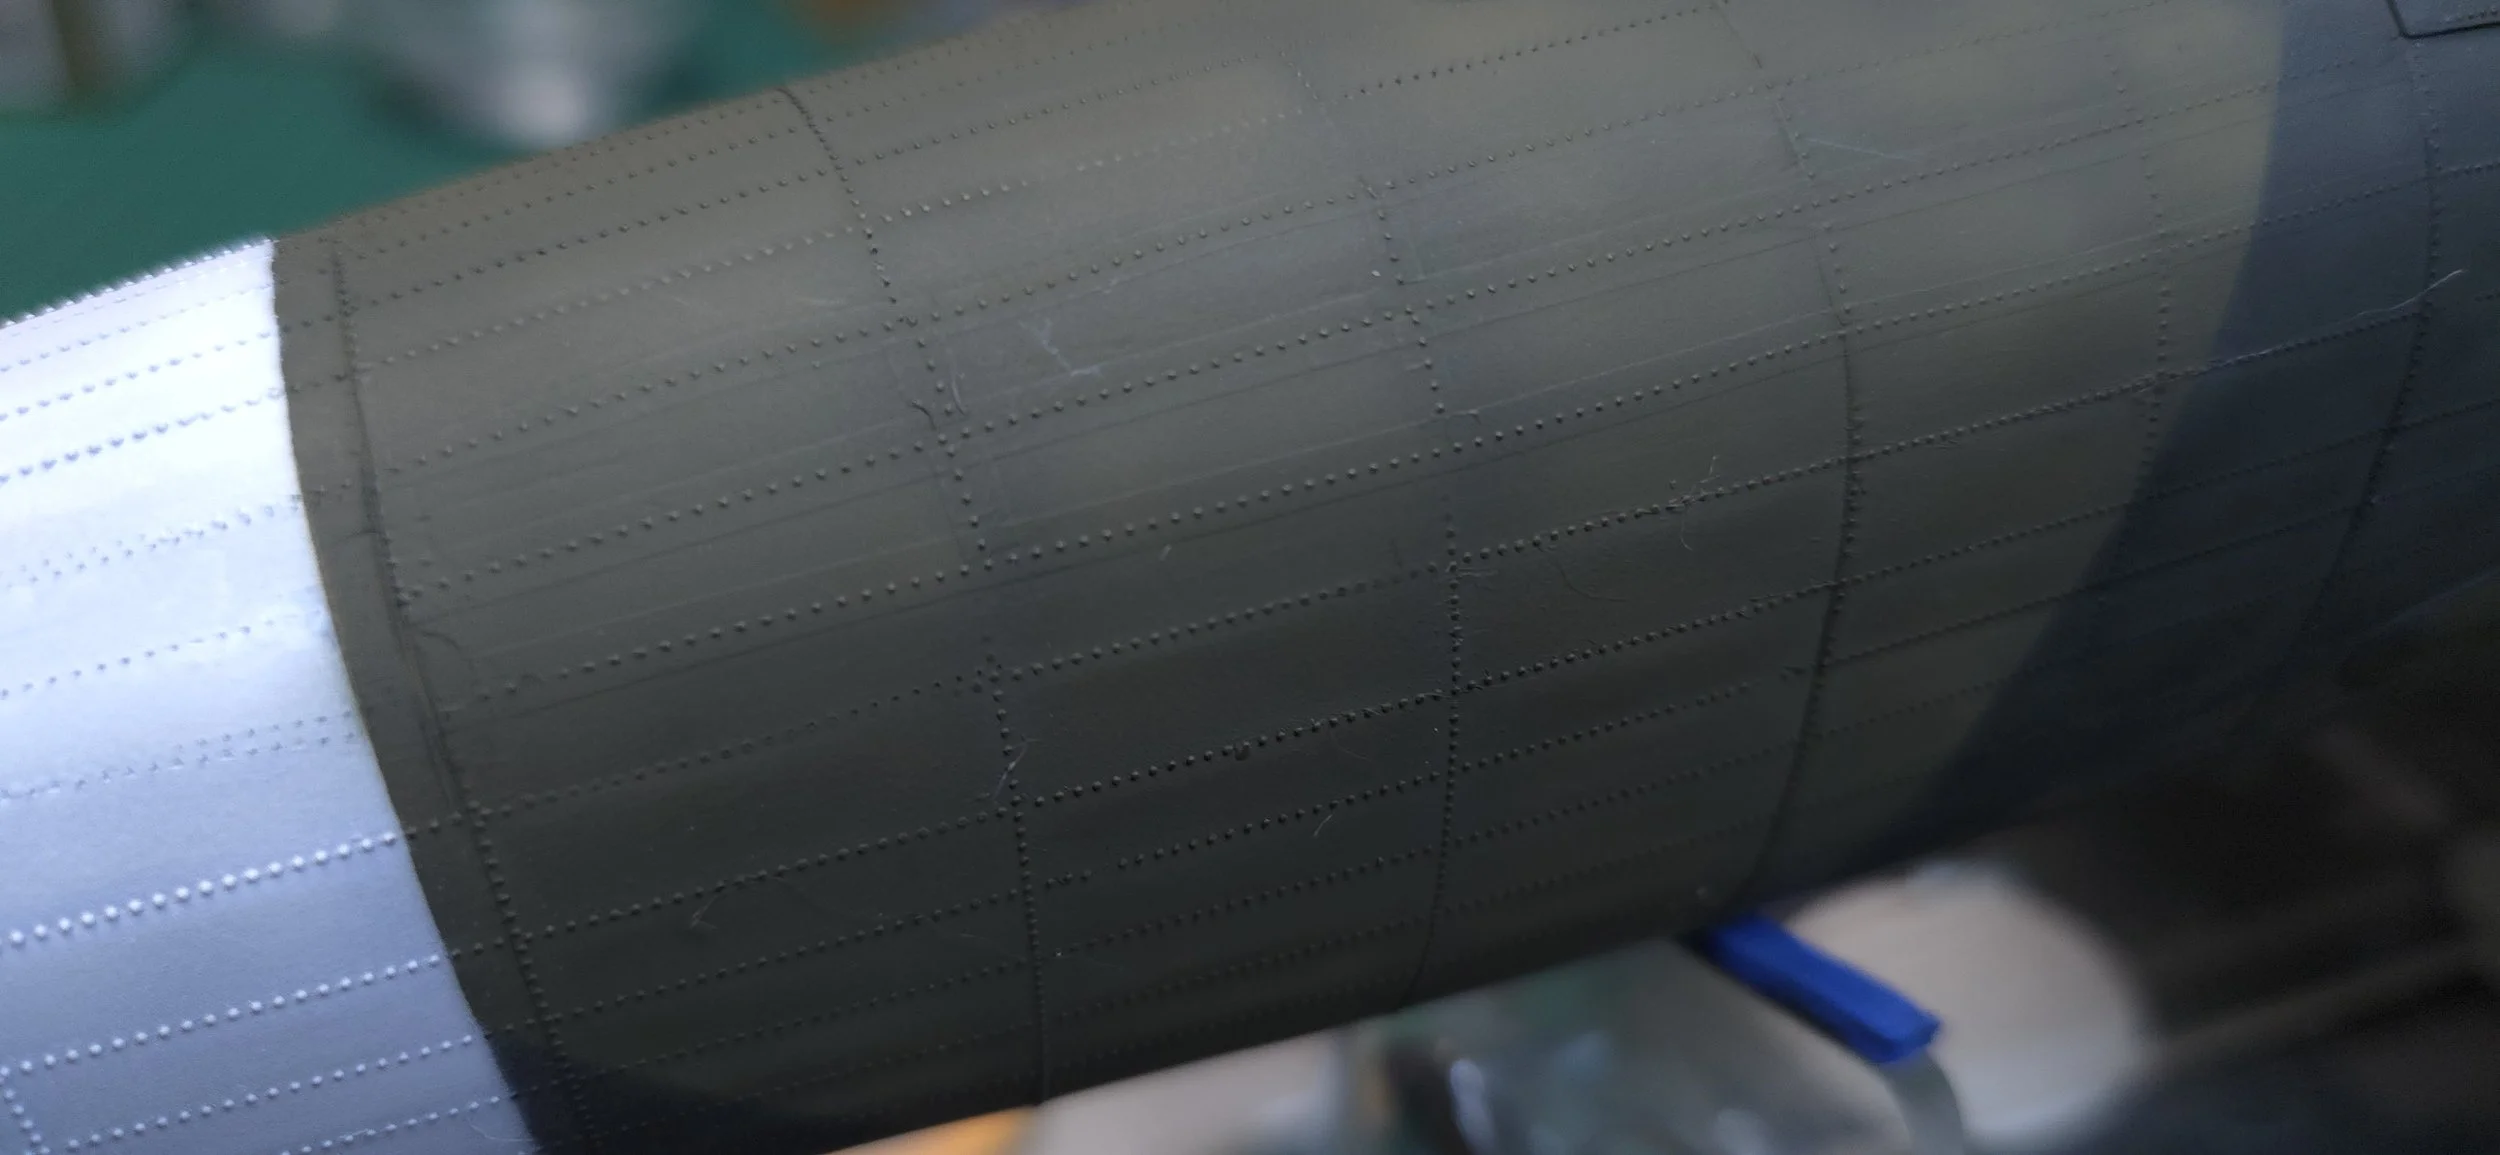
It's boxed perfectly...sturdy and w/separate compartments for some of the more fragile parts. So far I’m impressed w/build…the plastic is thin and pliable, no flash, the pin marks are OK. Fit is solid but seems like all the new CAD-built models (so scrape paint off joining surfaces). The surface detail is outstanding...everyone talks about the "oil canning" but I'm more impressed w/rivet work and panel lines...they're awesome to run your finger over.
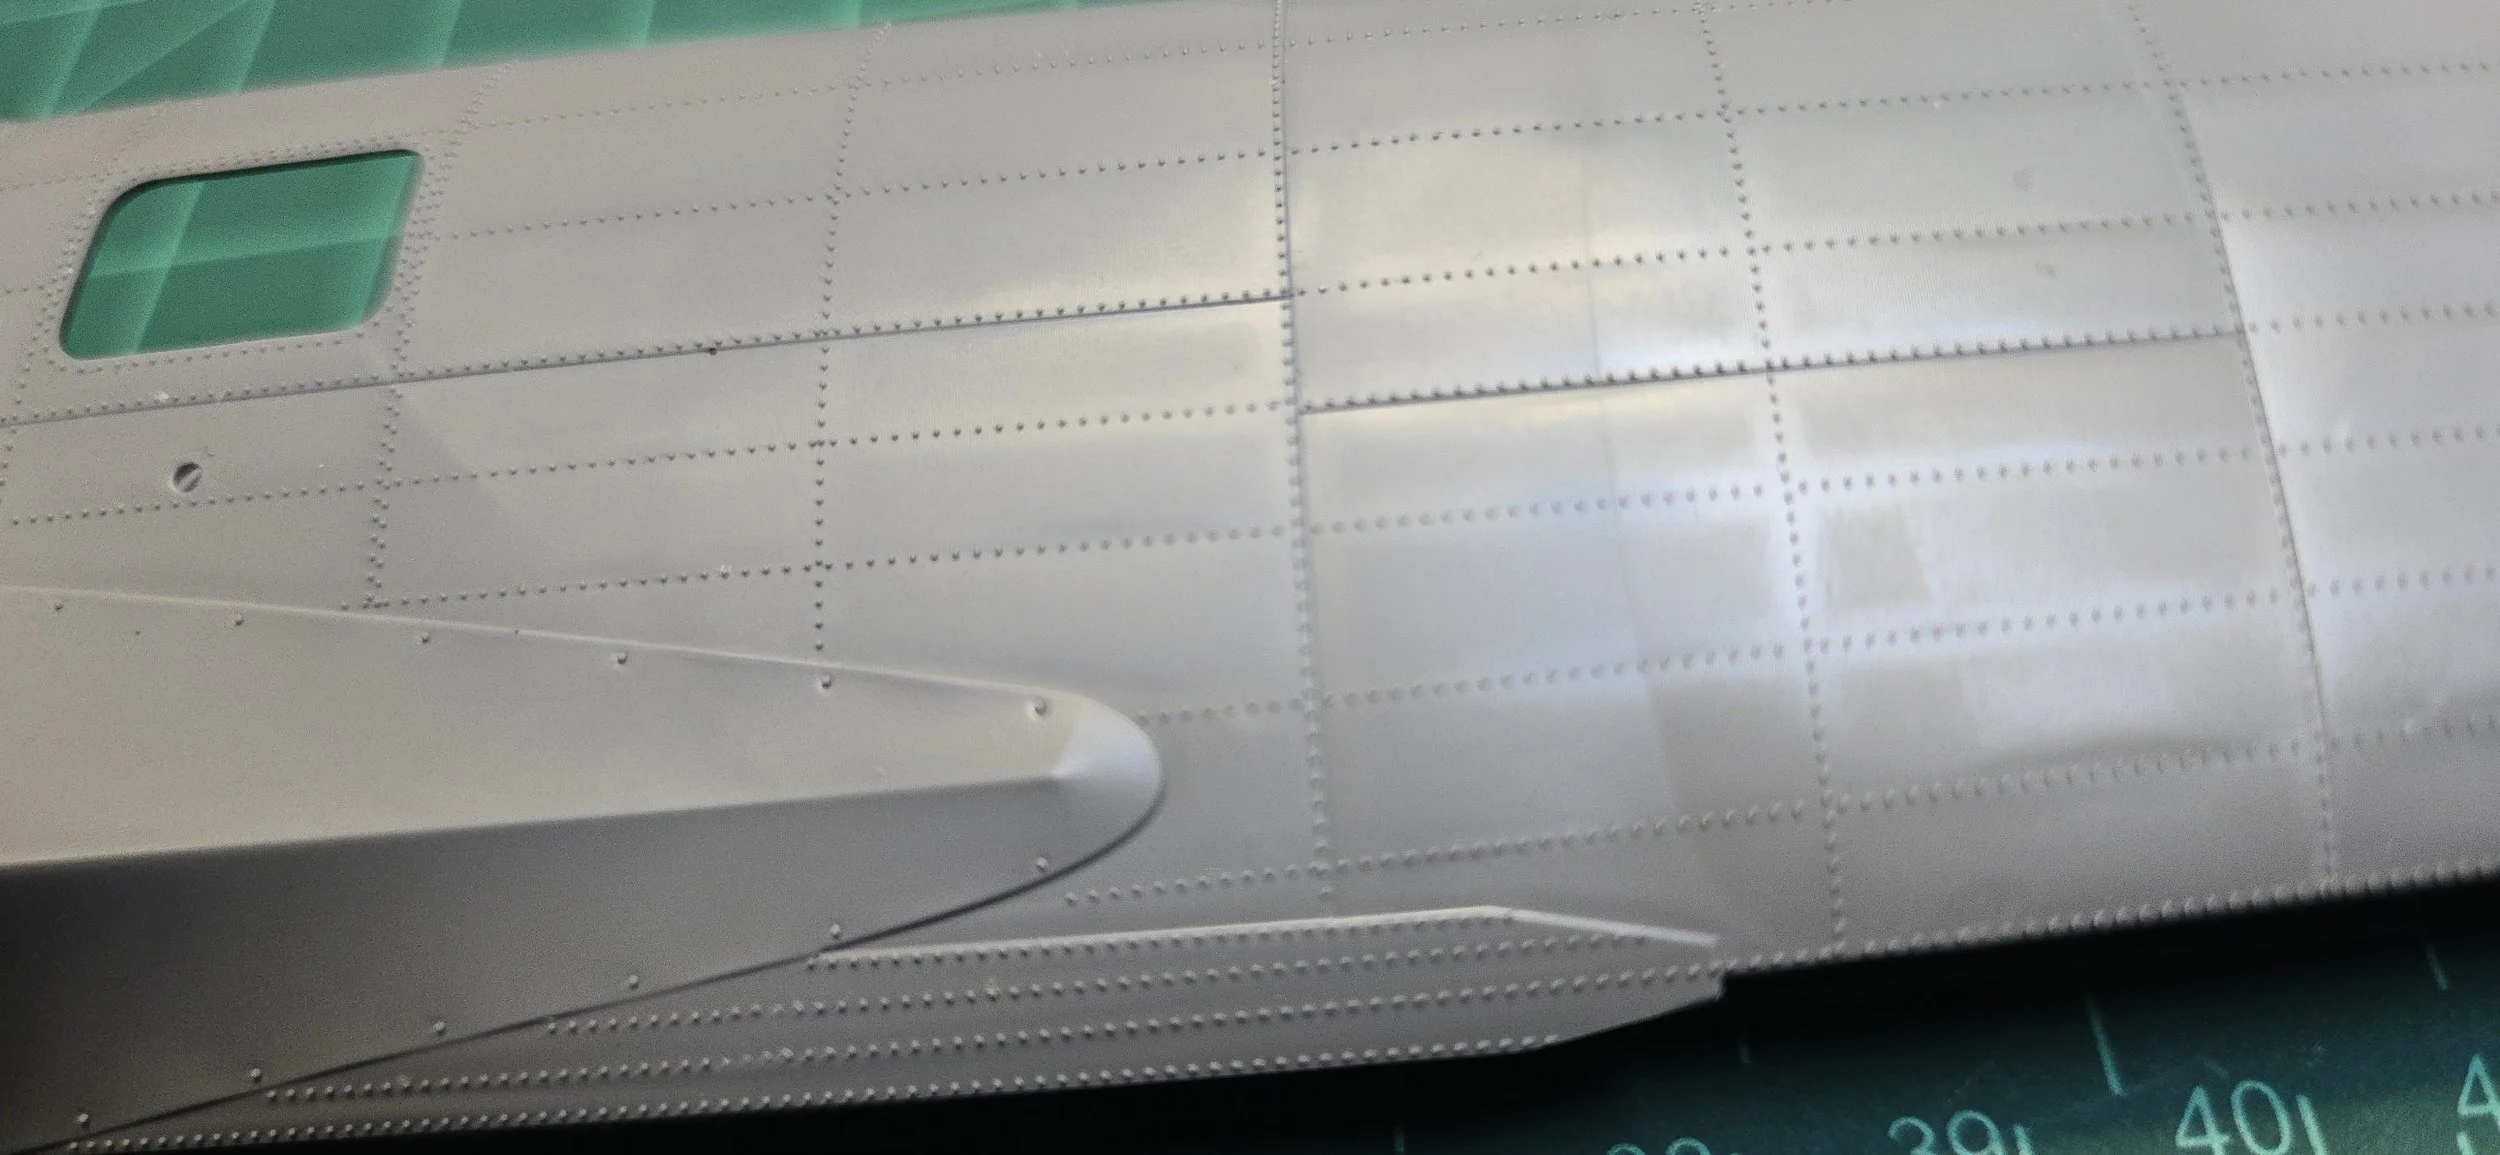
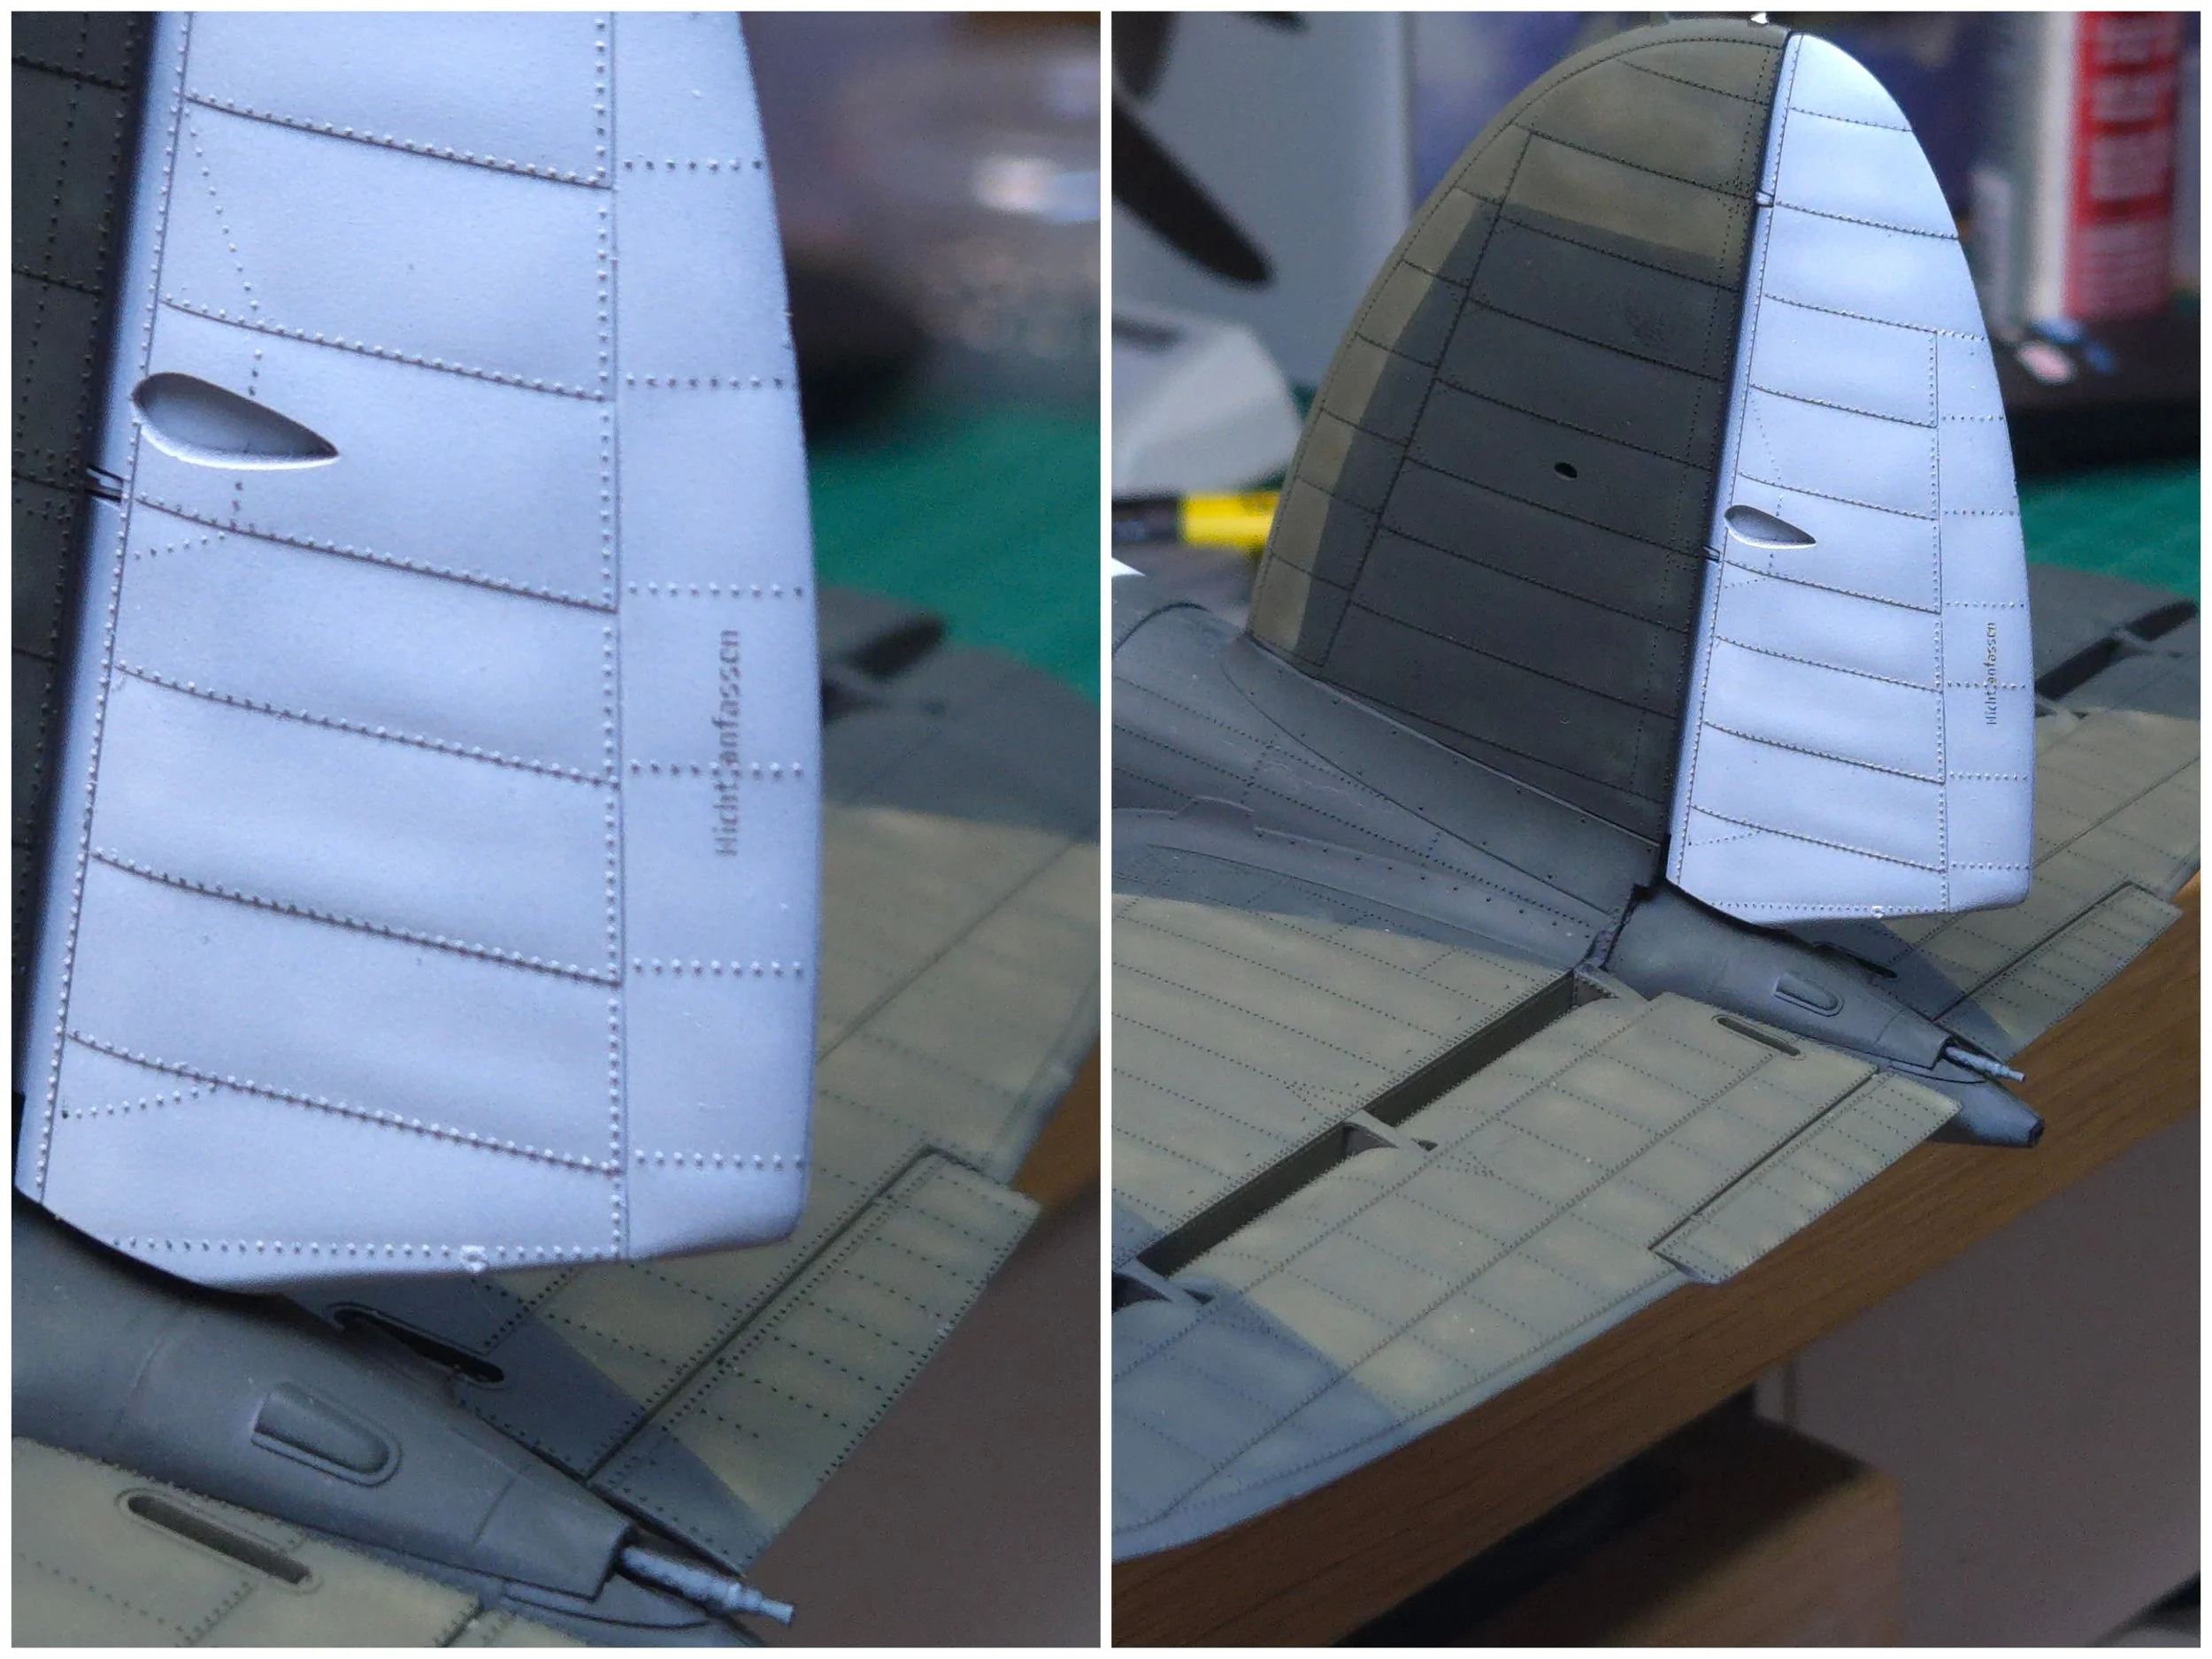
Also...Border does a great job hiding the normal seams you see on model aircraft. Instead of two fuselage halves being glued together w/seam at the top and bottom, the two fuselage sides stop at natural seam lines on the side of the fuselage and two curved top and bottom pieces that join at those seams (not unlike Kotare and some HK models). They do the same with the leading edge of the wings.
The instruction manual is...tedious. It's better than the lancaster but...they really need some help there. The sprues look great, but they spread the parts around so much that I had to go to three sprues to do one seat.

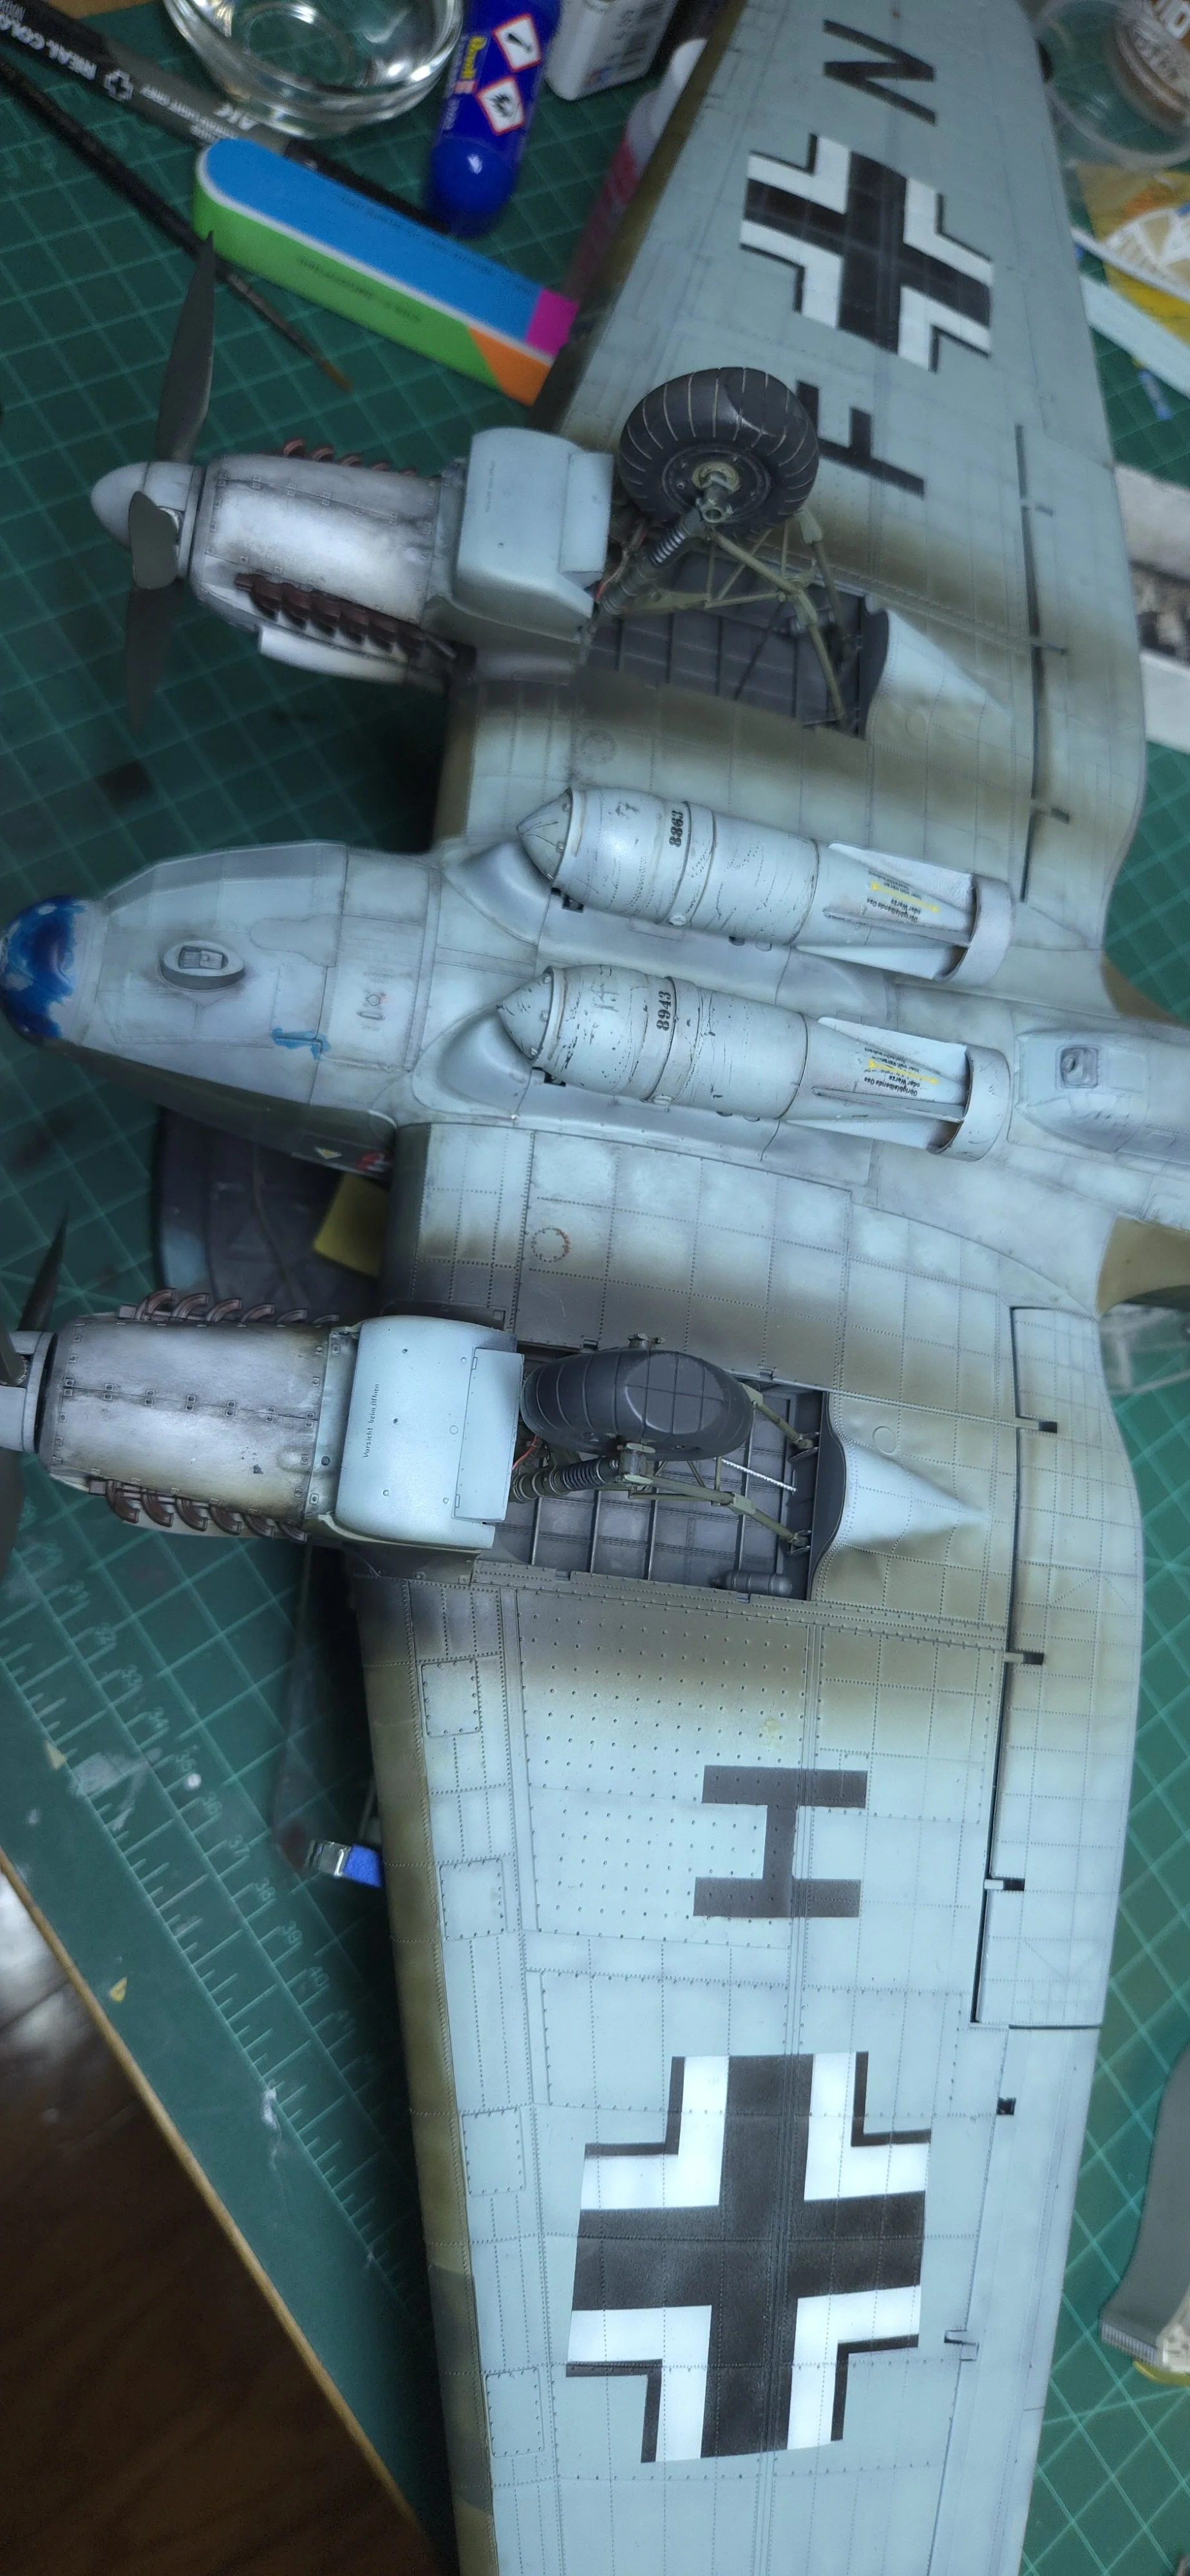
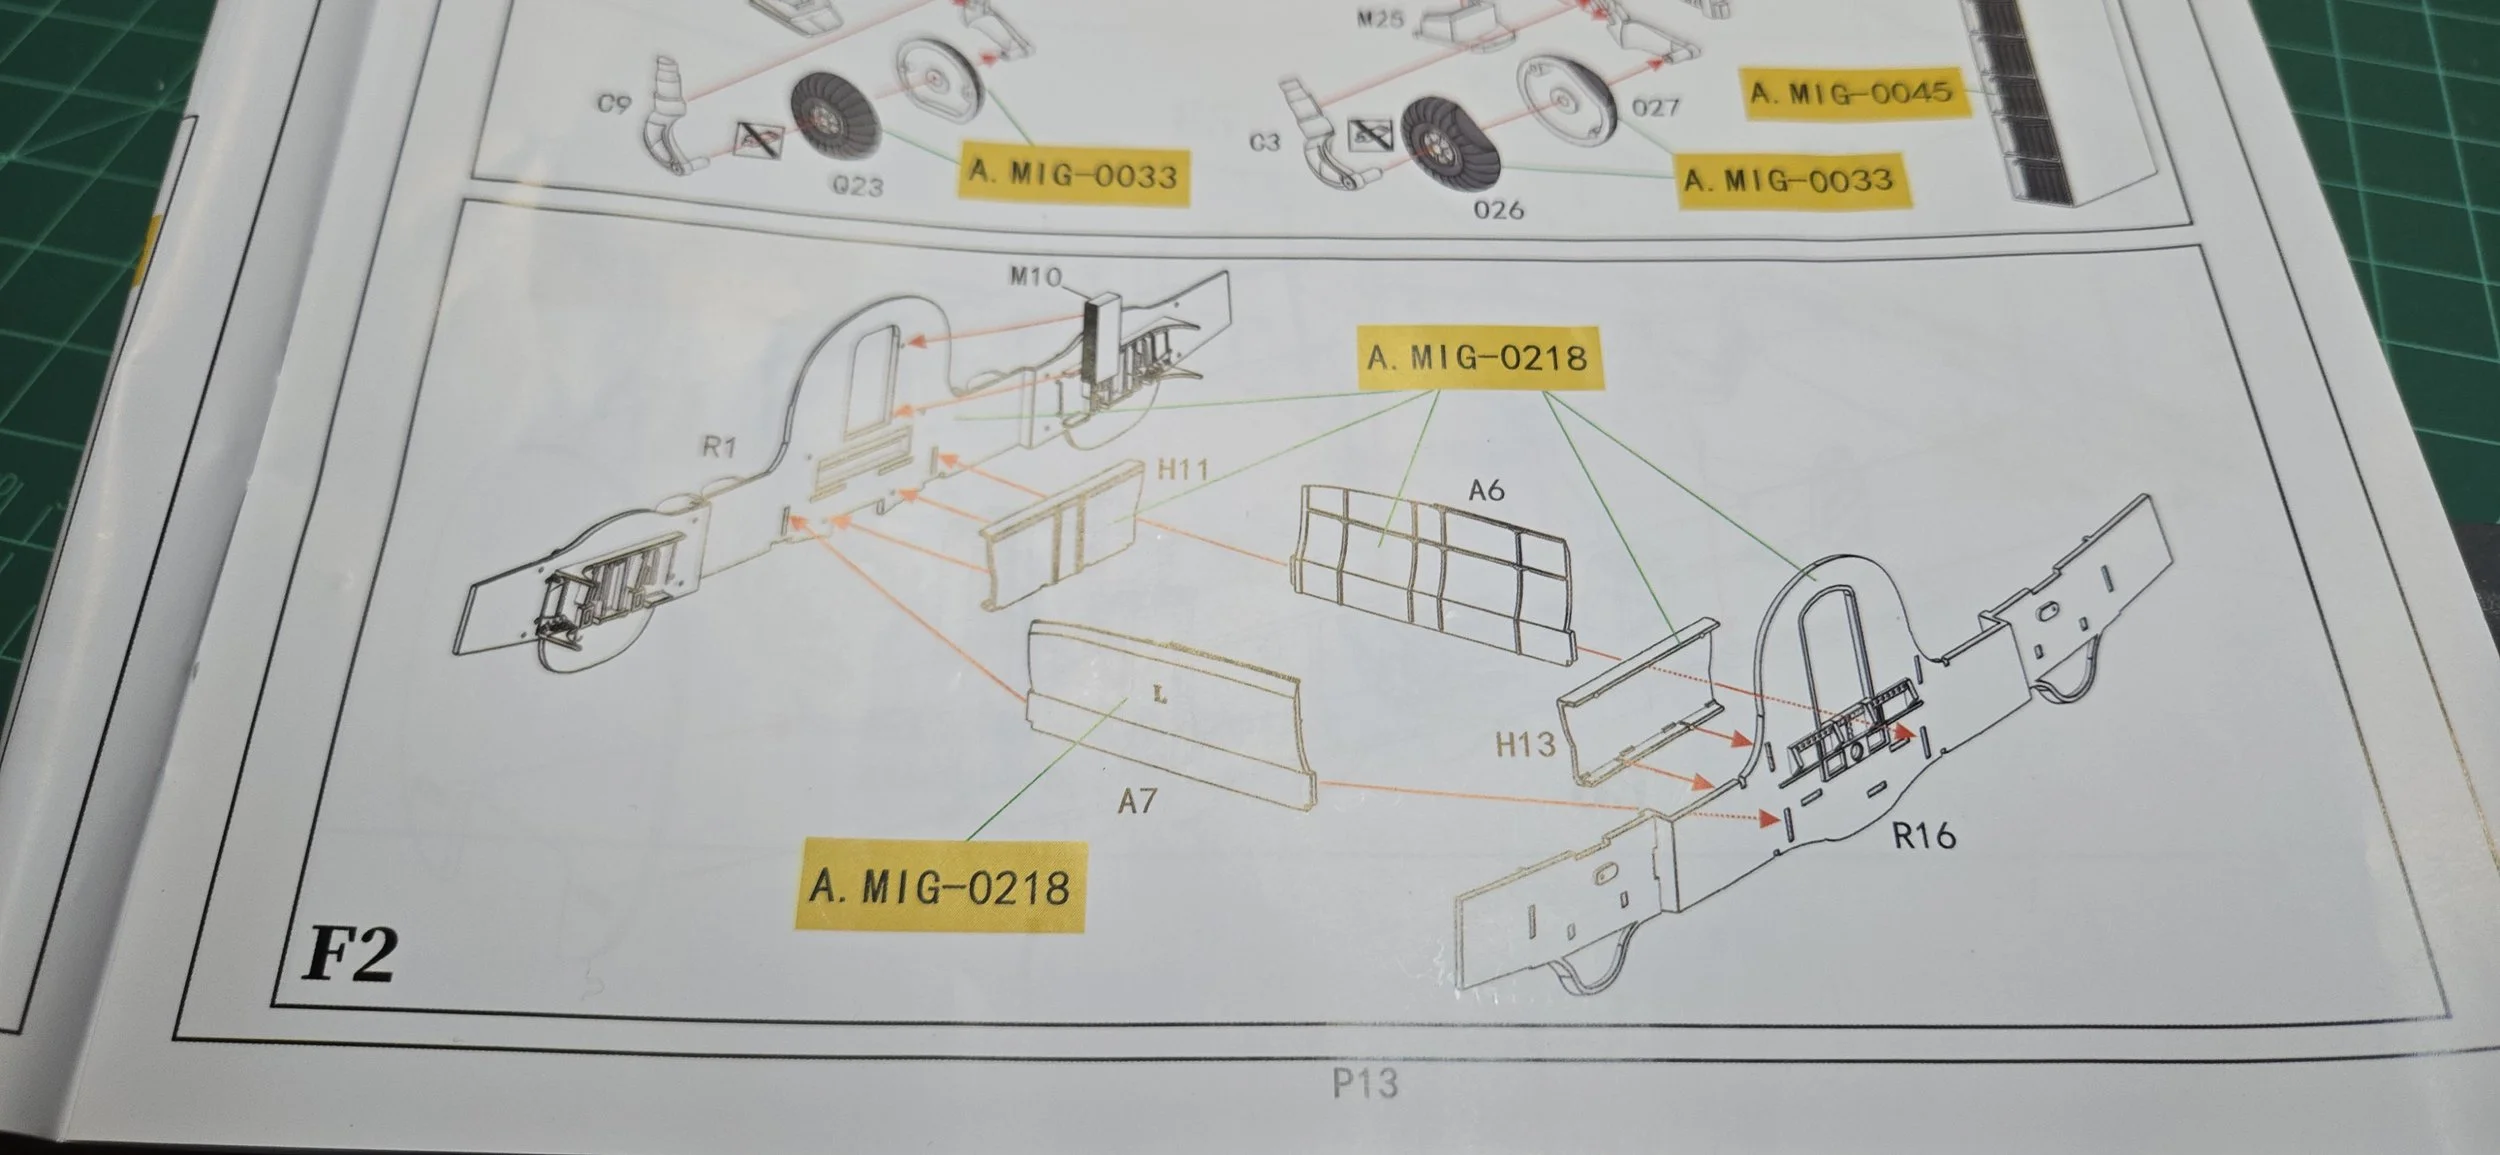
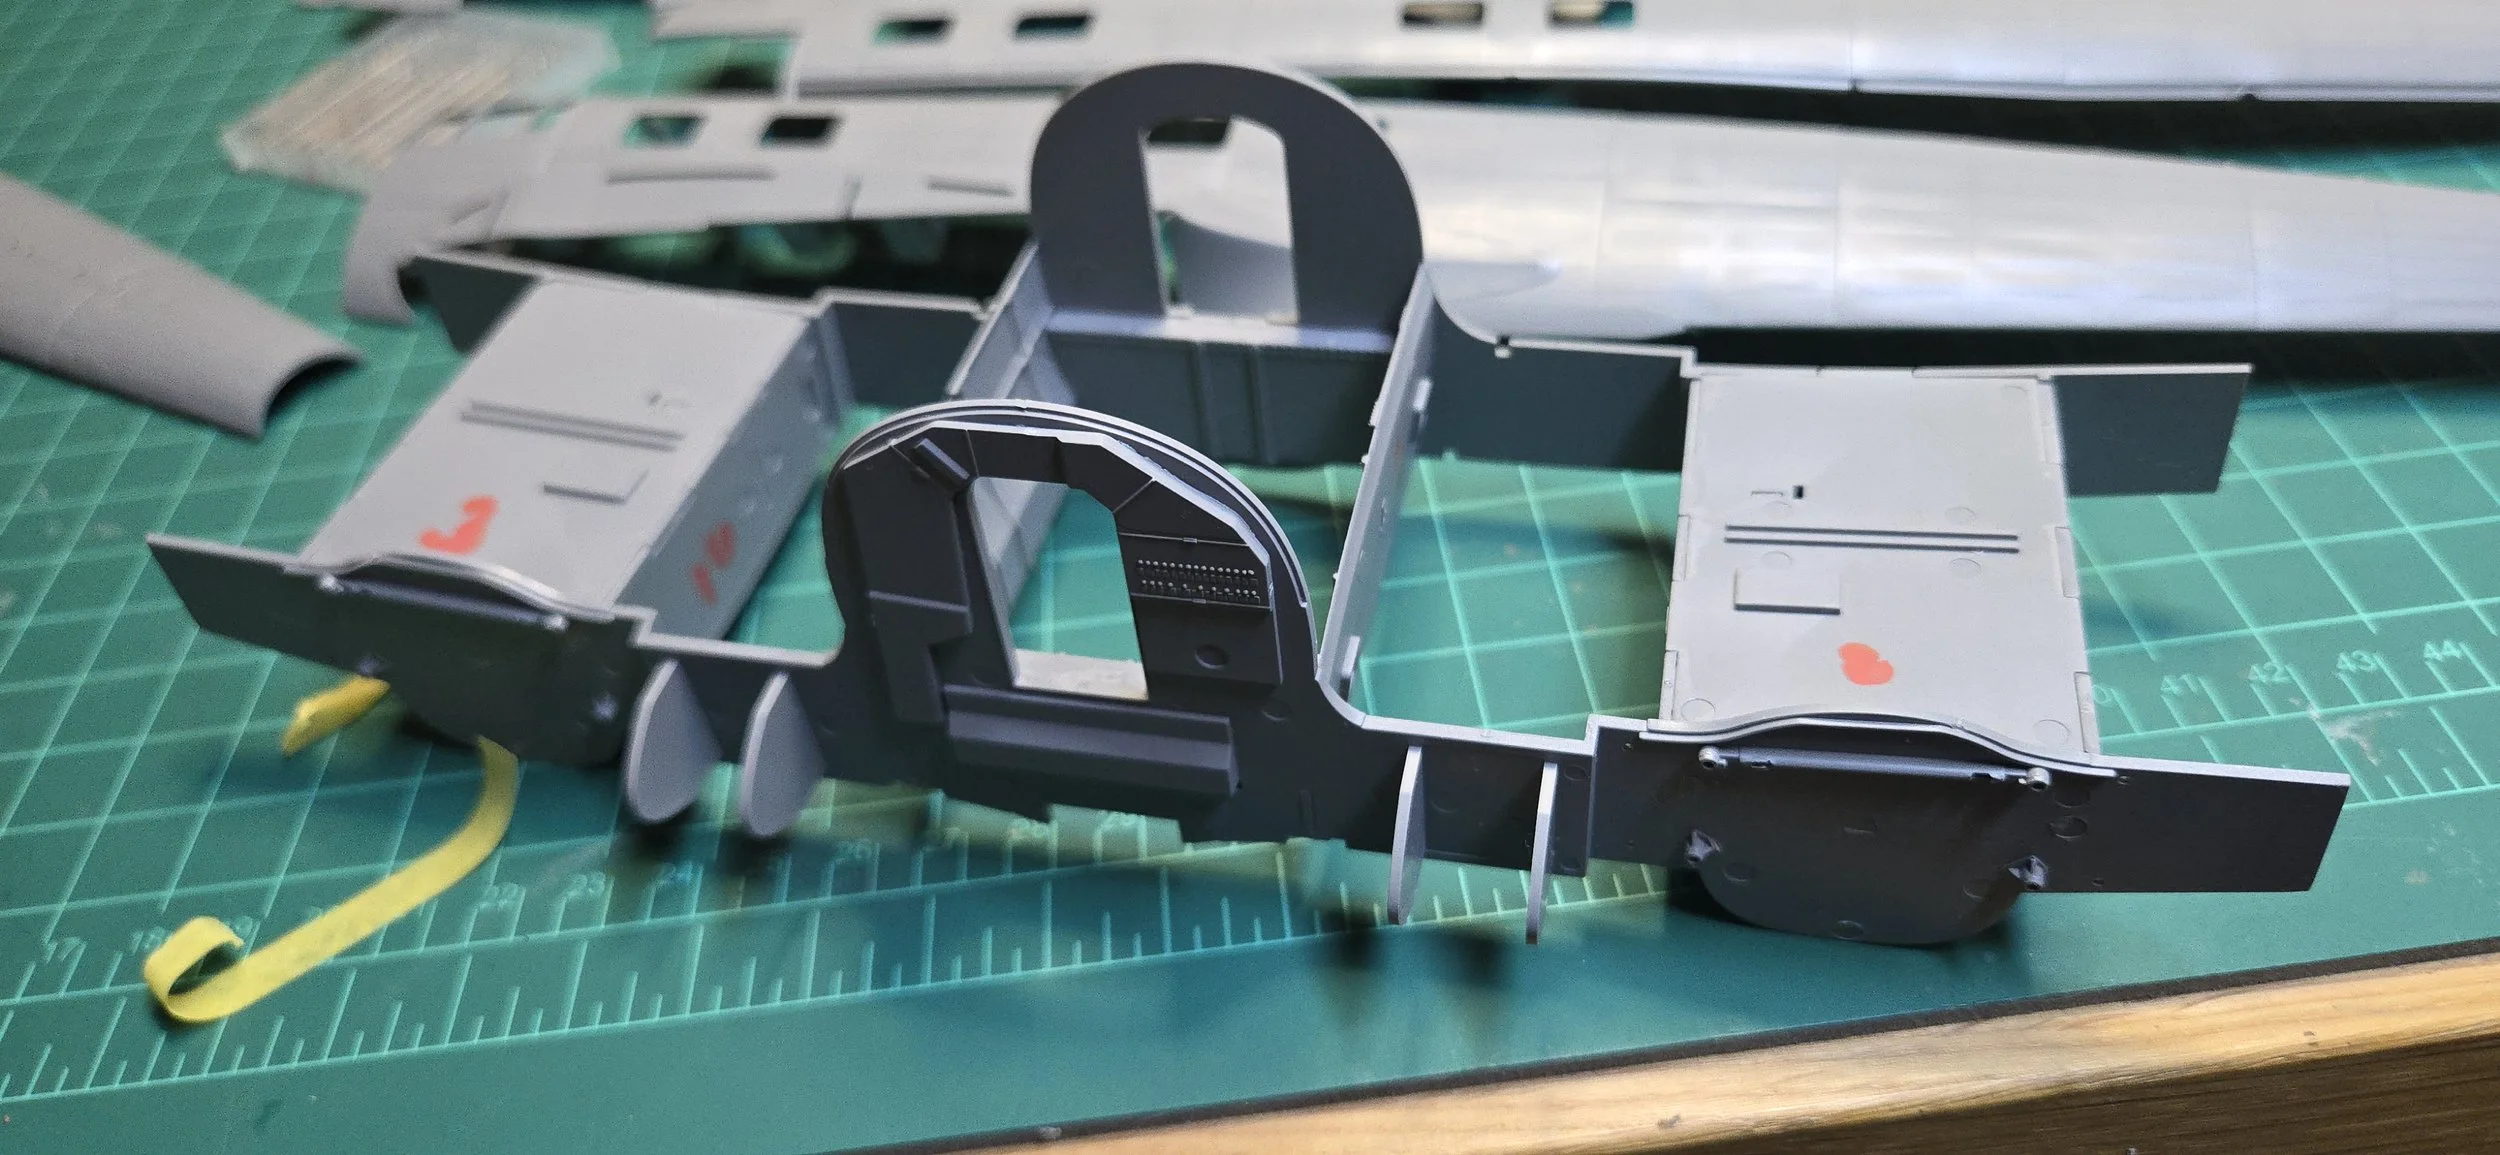
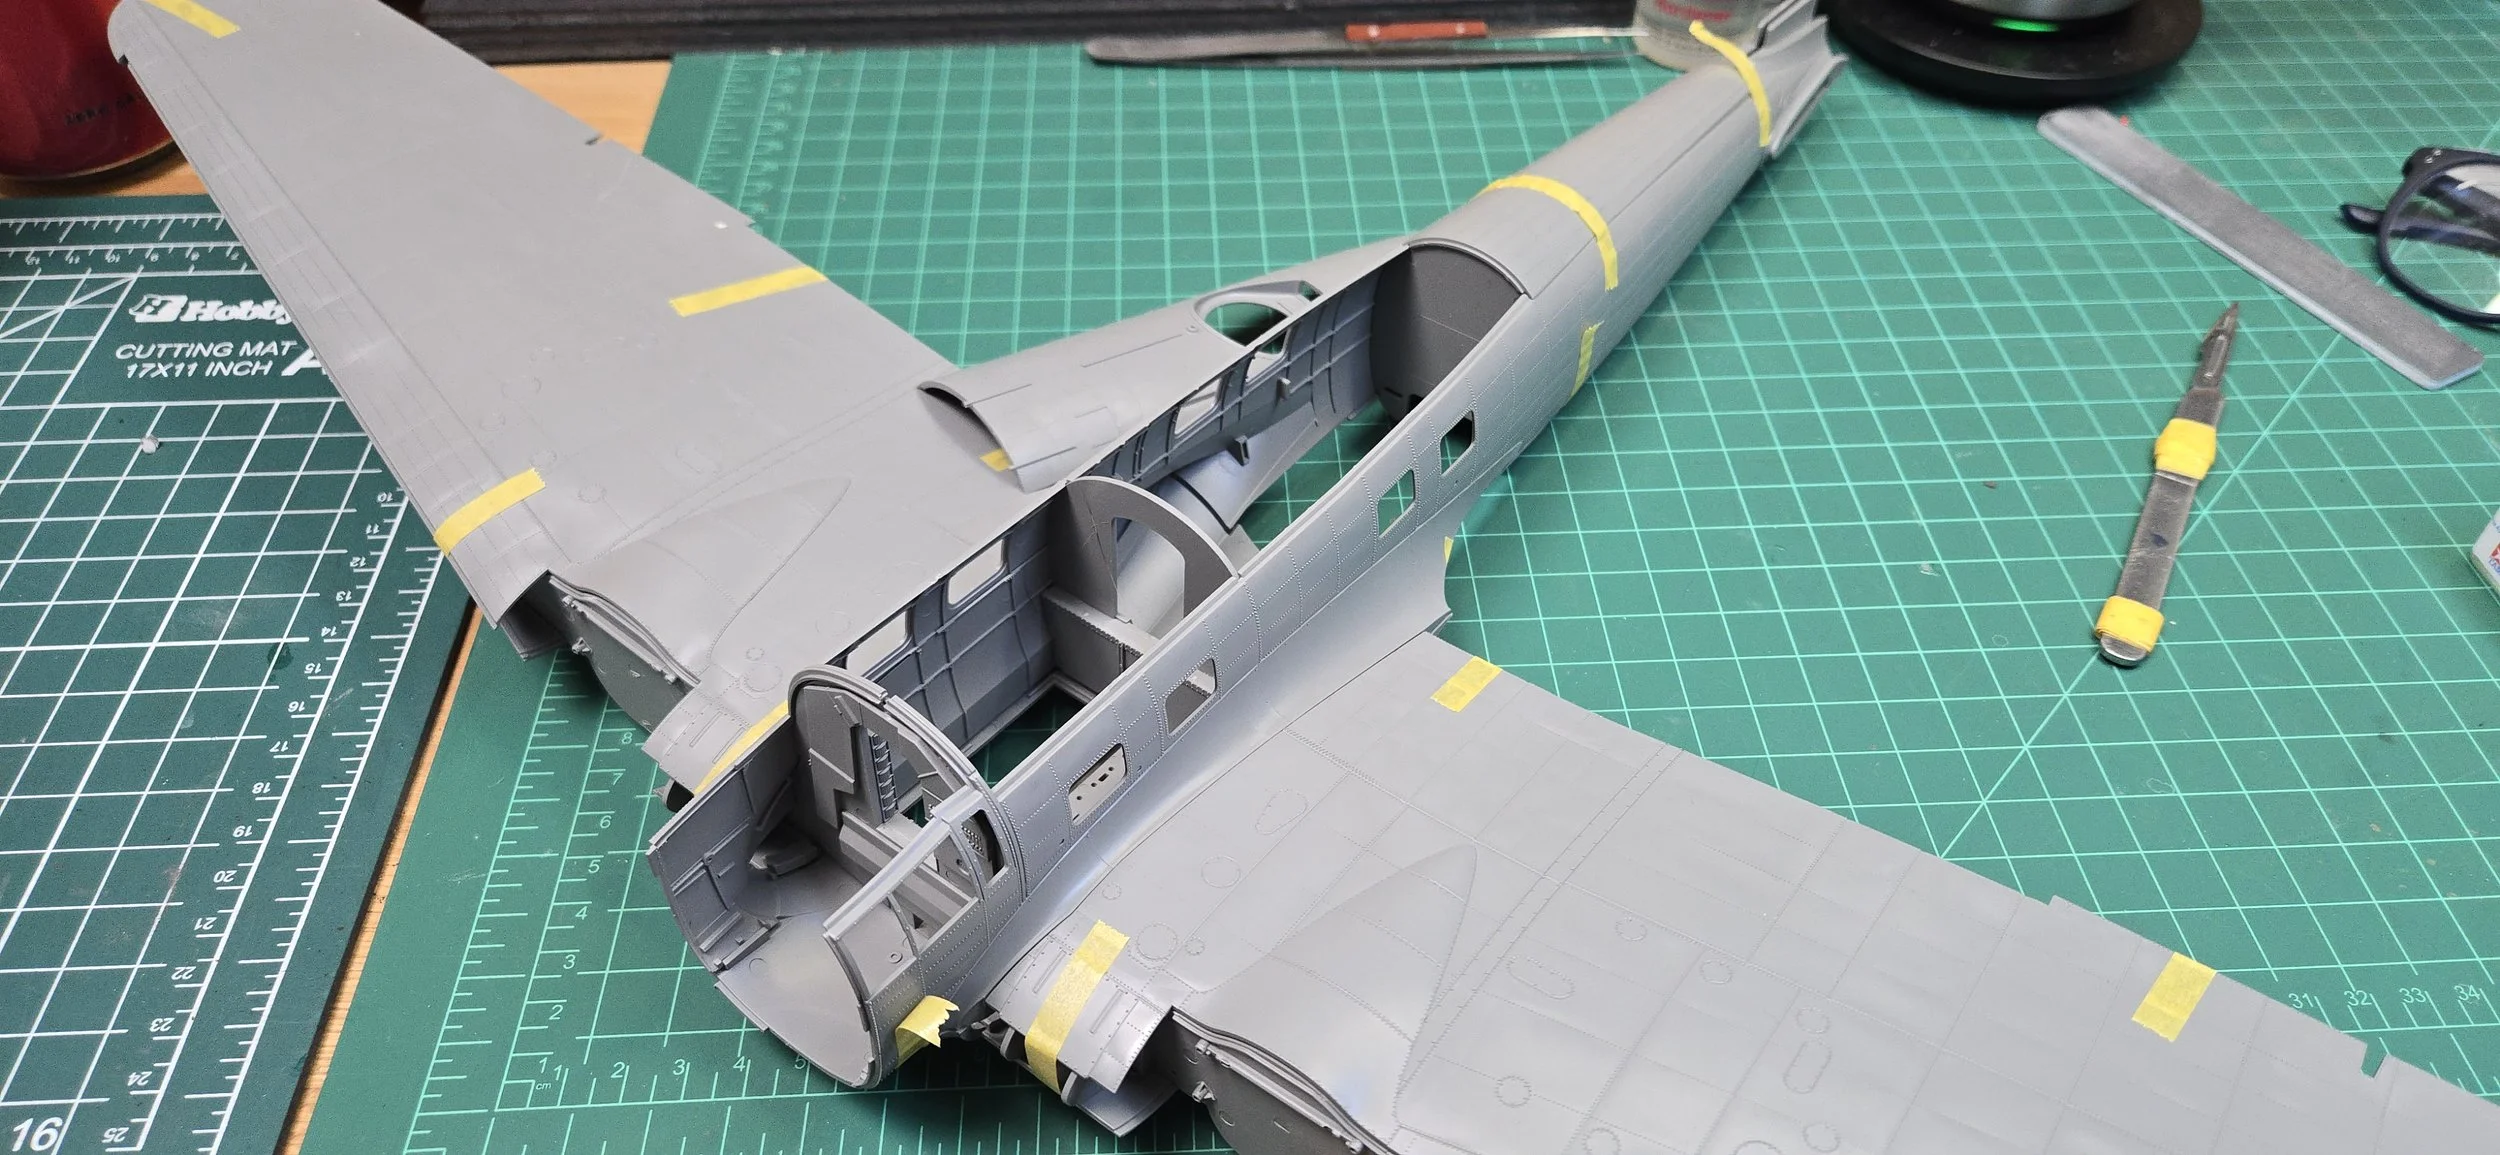
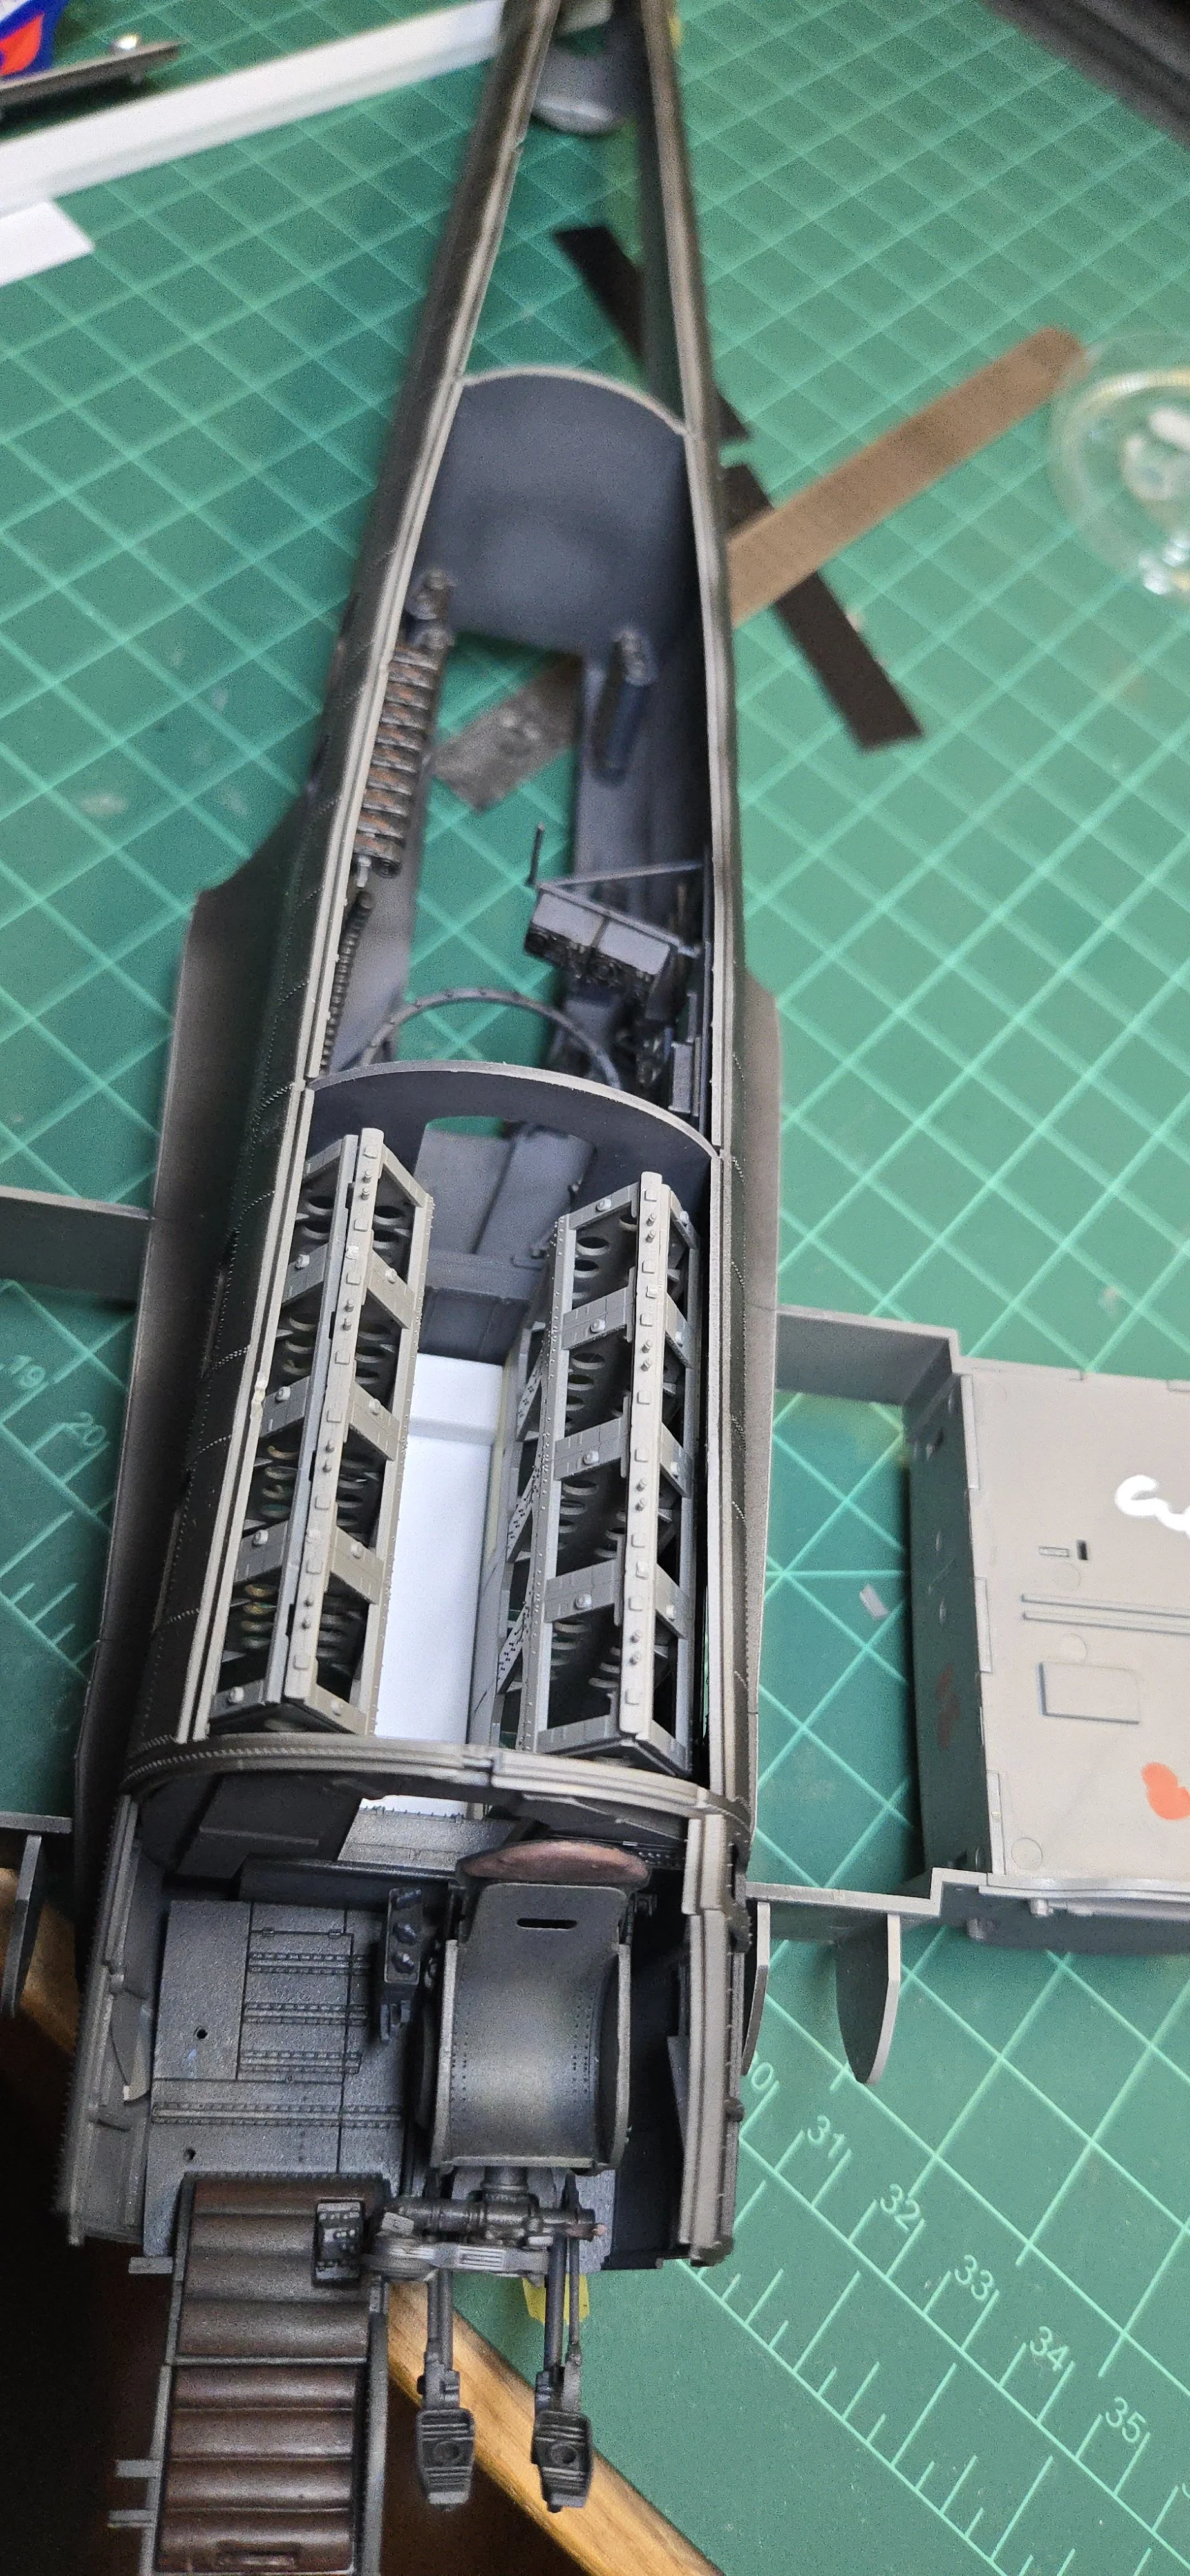
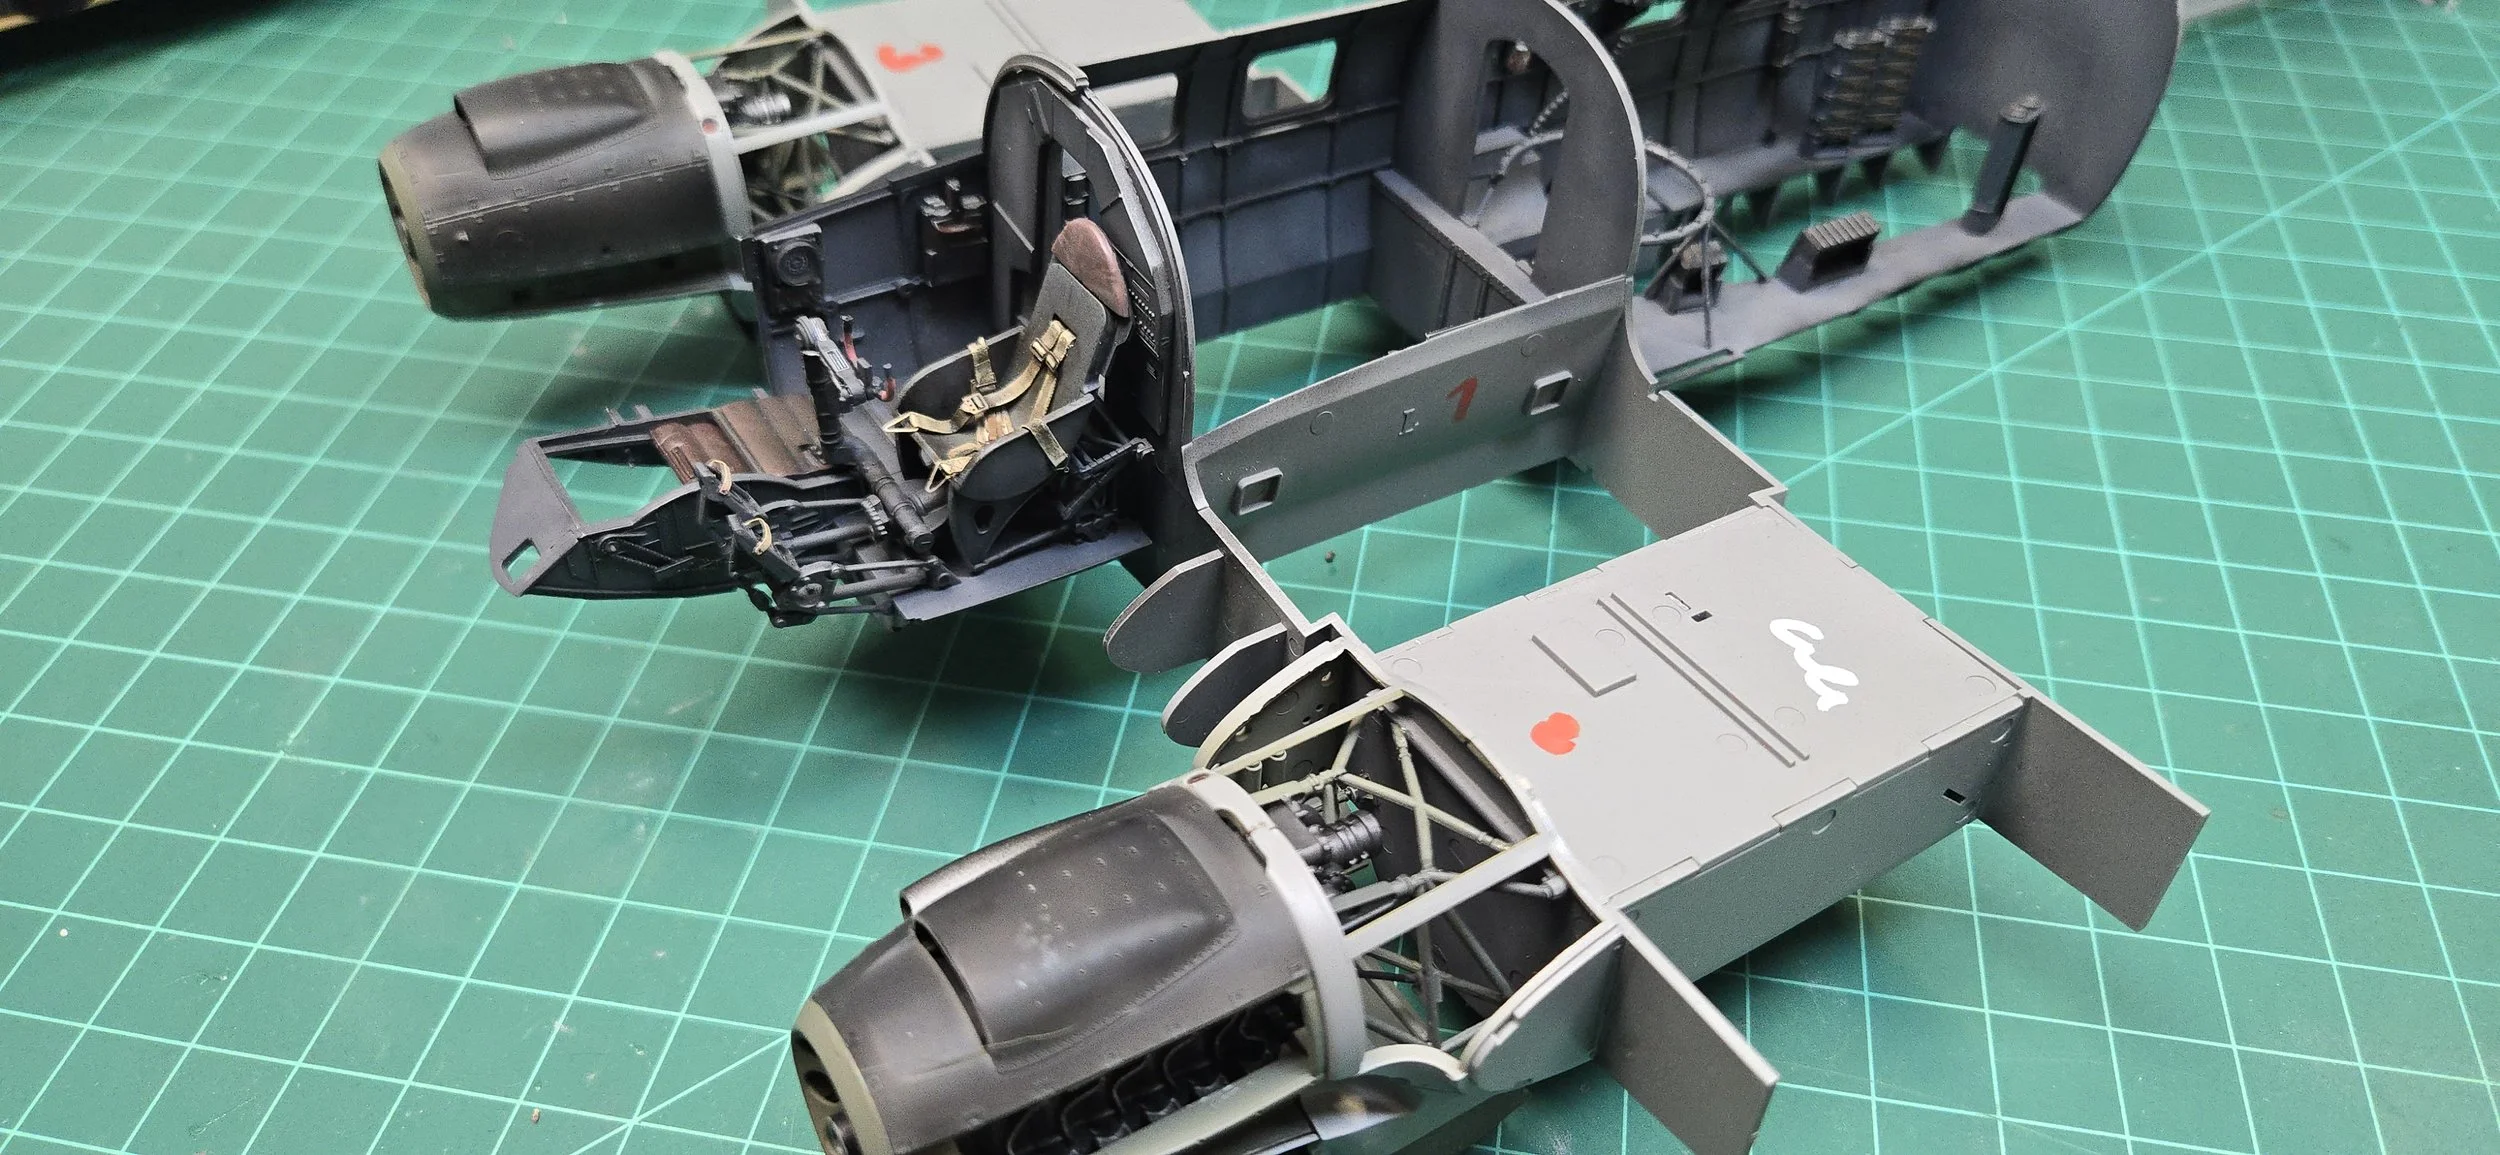
You might want to start building with the core wing spar section as listed on page 13, completed section F2 (including M10, R1, R16, H11, H13, A7, A6). This section helped me understand how the fuselage and wing joins, and helps getting the entire aircraft plumbed and lined up. That core wing spar acts as a jig. What I did was dry-fit the entire F2 section together, held it place and then dry-fit the two fuselage sections on it (taping the tail section where it joins)…then carefully glued the parts in F2 together making sure I didn’t get any glue on the fuselage parts. Then, go to page P27 and take the various parts to the two landing gear bays J4/J5…and build them into the F2 section; sides first, then lay and glue the tops on. This gives you a sturdy single part to help build the rest of the model.
One note…the tabs on parts A7 and A8 need some trimming…they are too big on one side for the slots on the bulkhead part. Dry fit them to see what I mean.
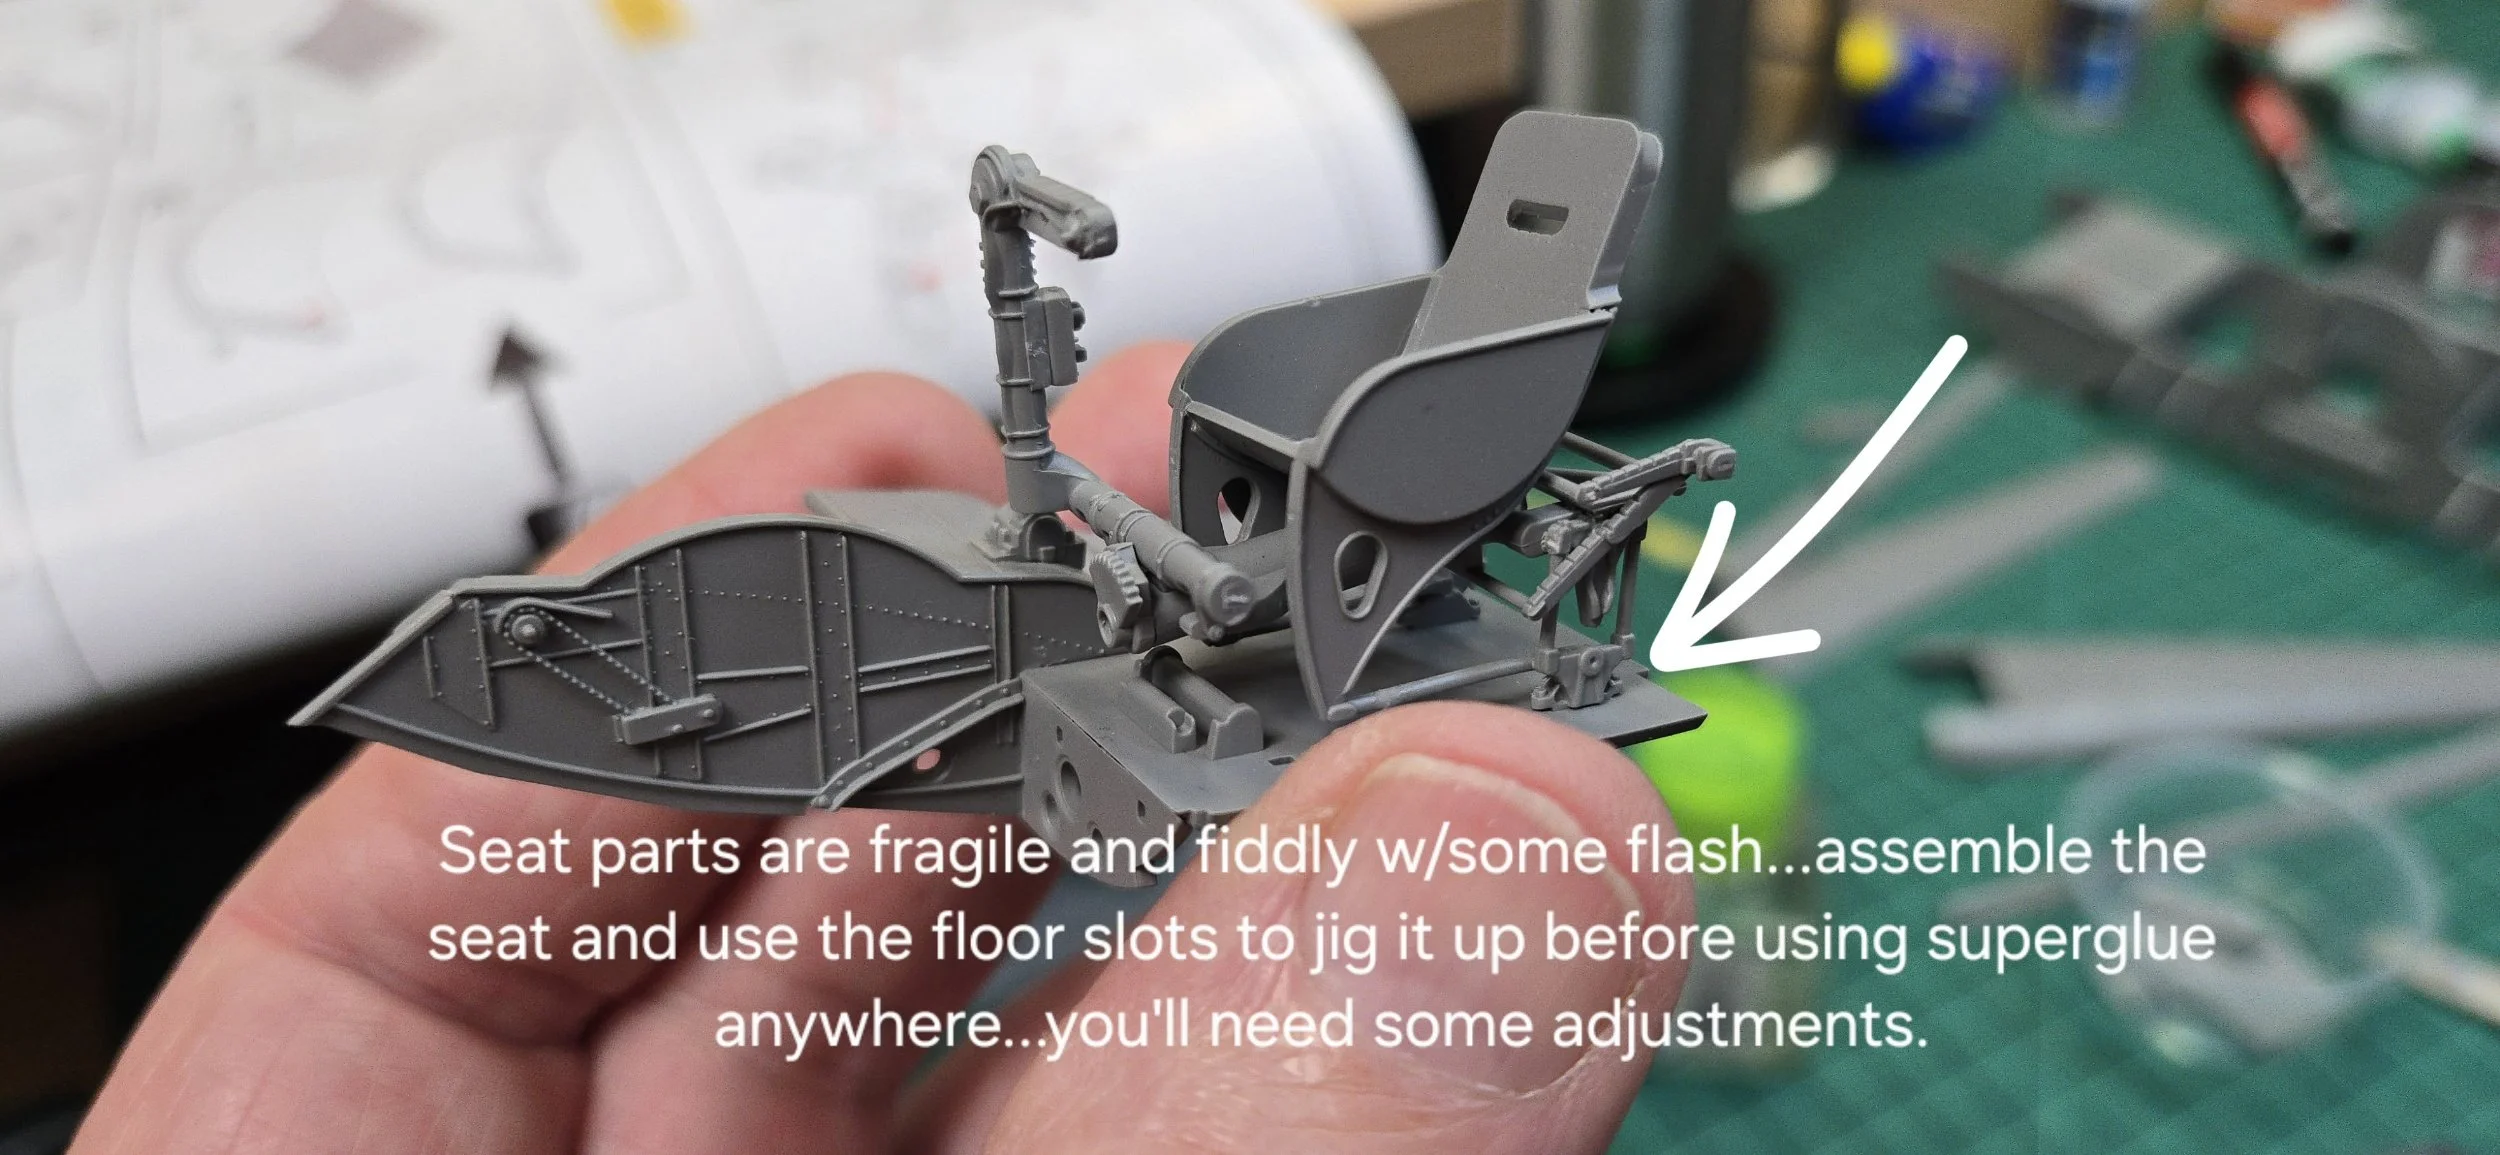
So…the seat assembly is both beautiful and a fiddly mess. The plastic is extremely thin and be careful getting the parts off the sprue. I recommend building the entire seat assembly (C4) with the control section (C9) and using the cockpit floor as a jig to align the parts. I broke one of the thinner pieces but shouldn’t be an issue.
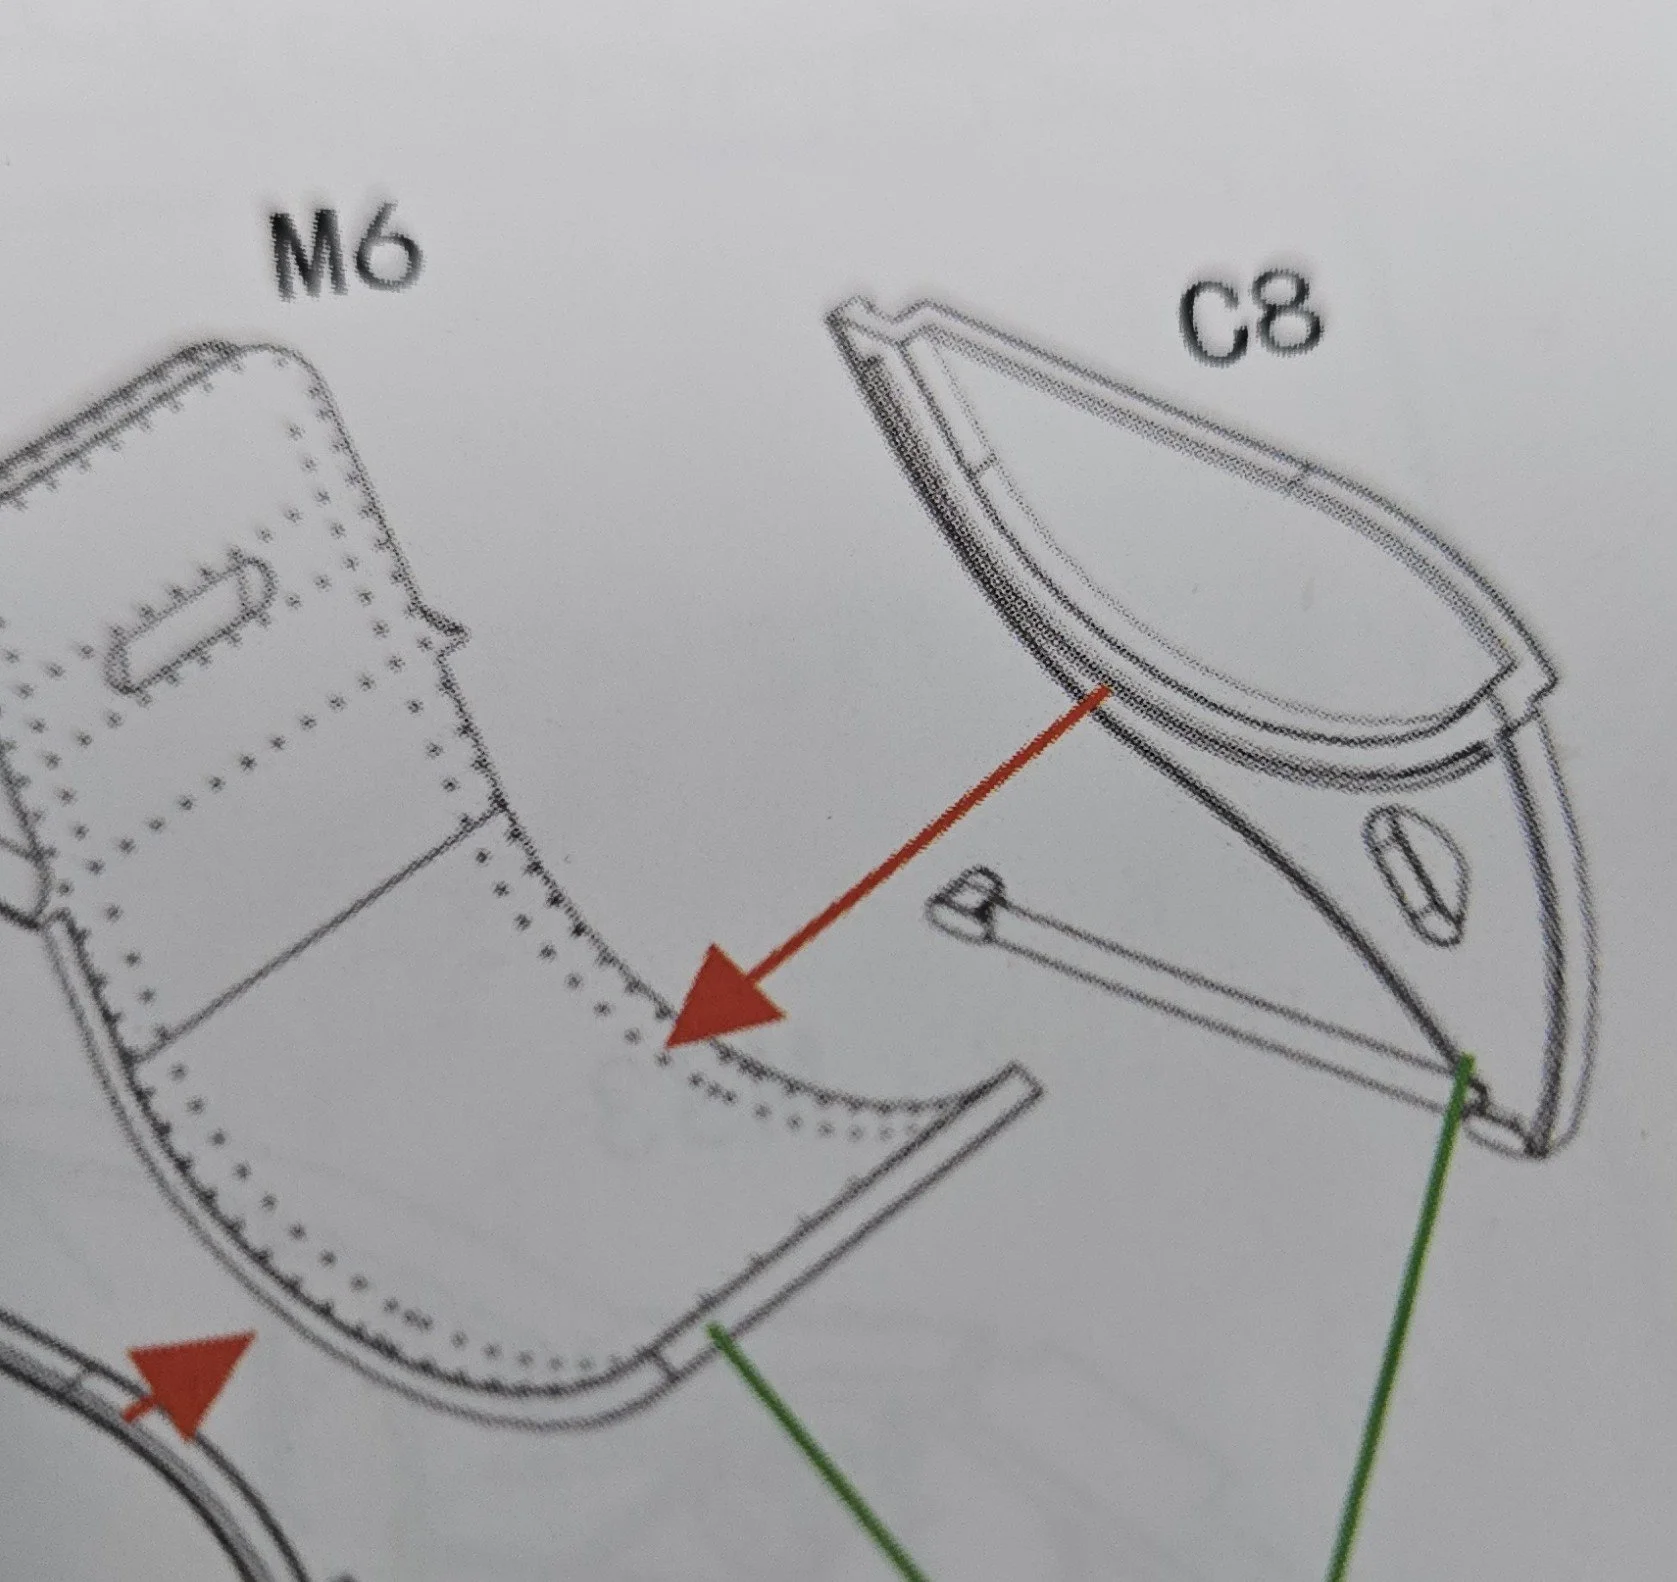
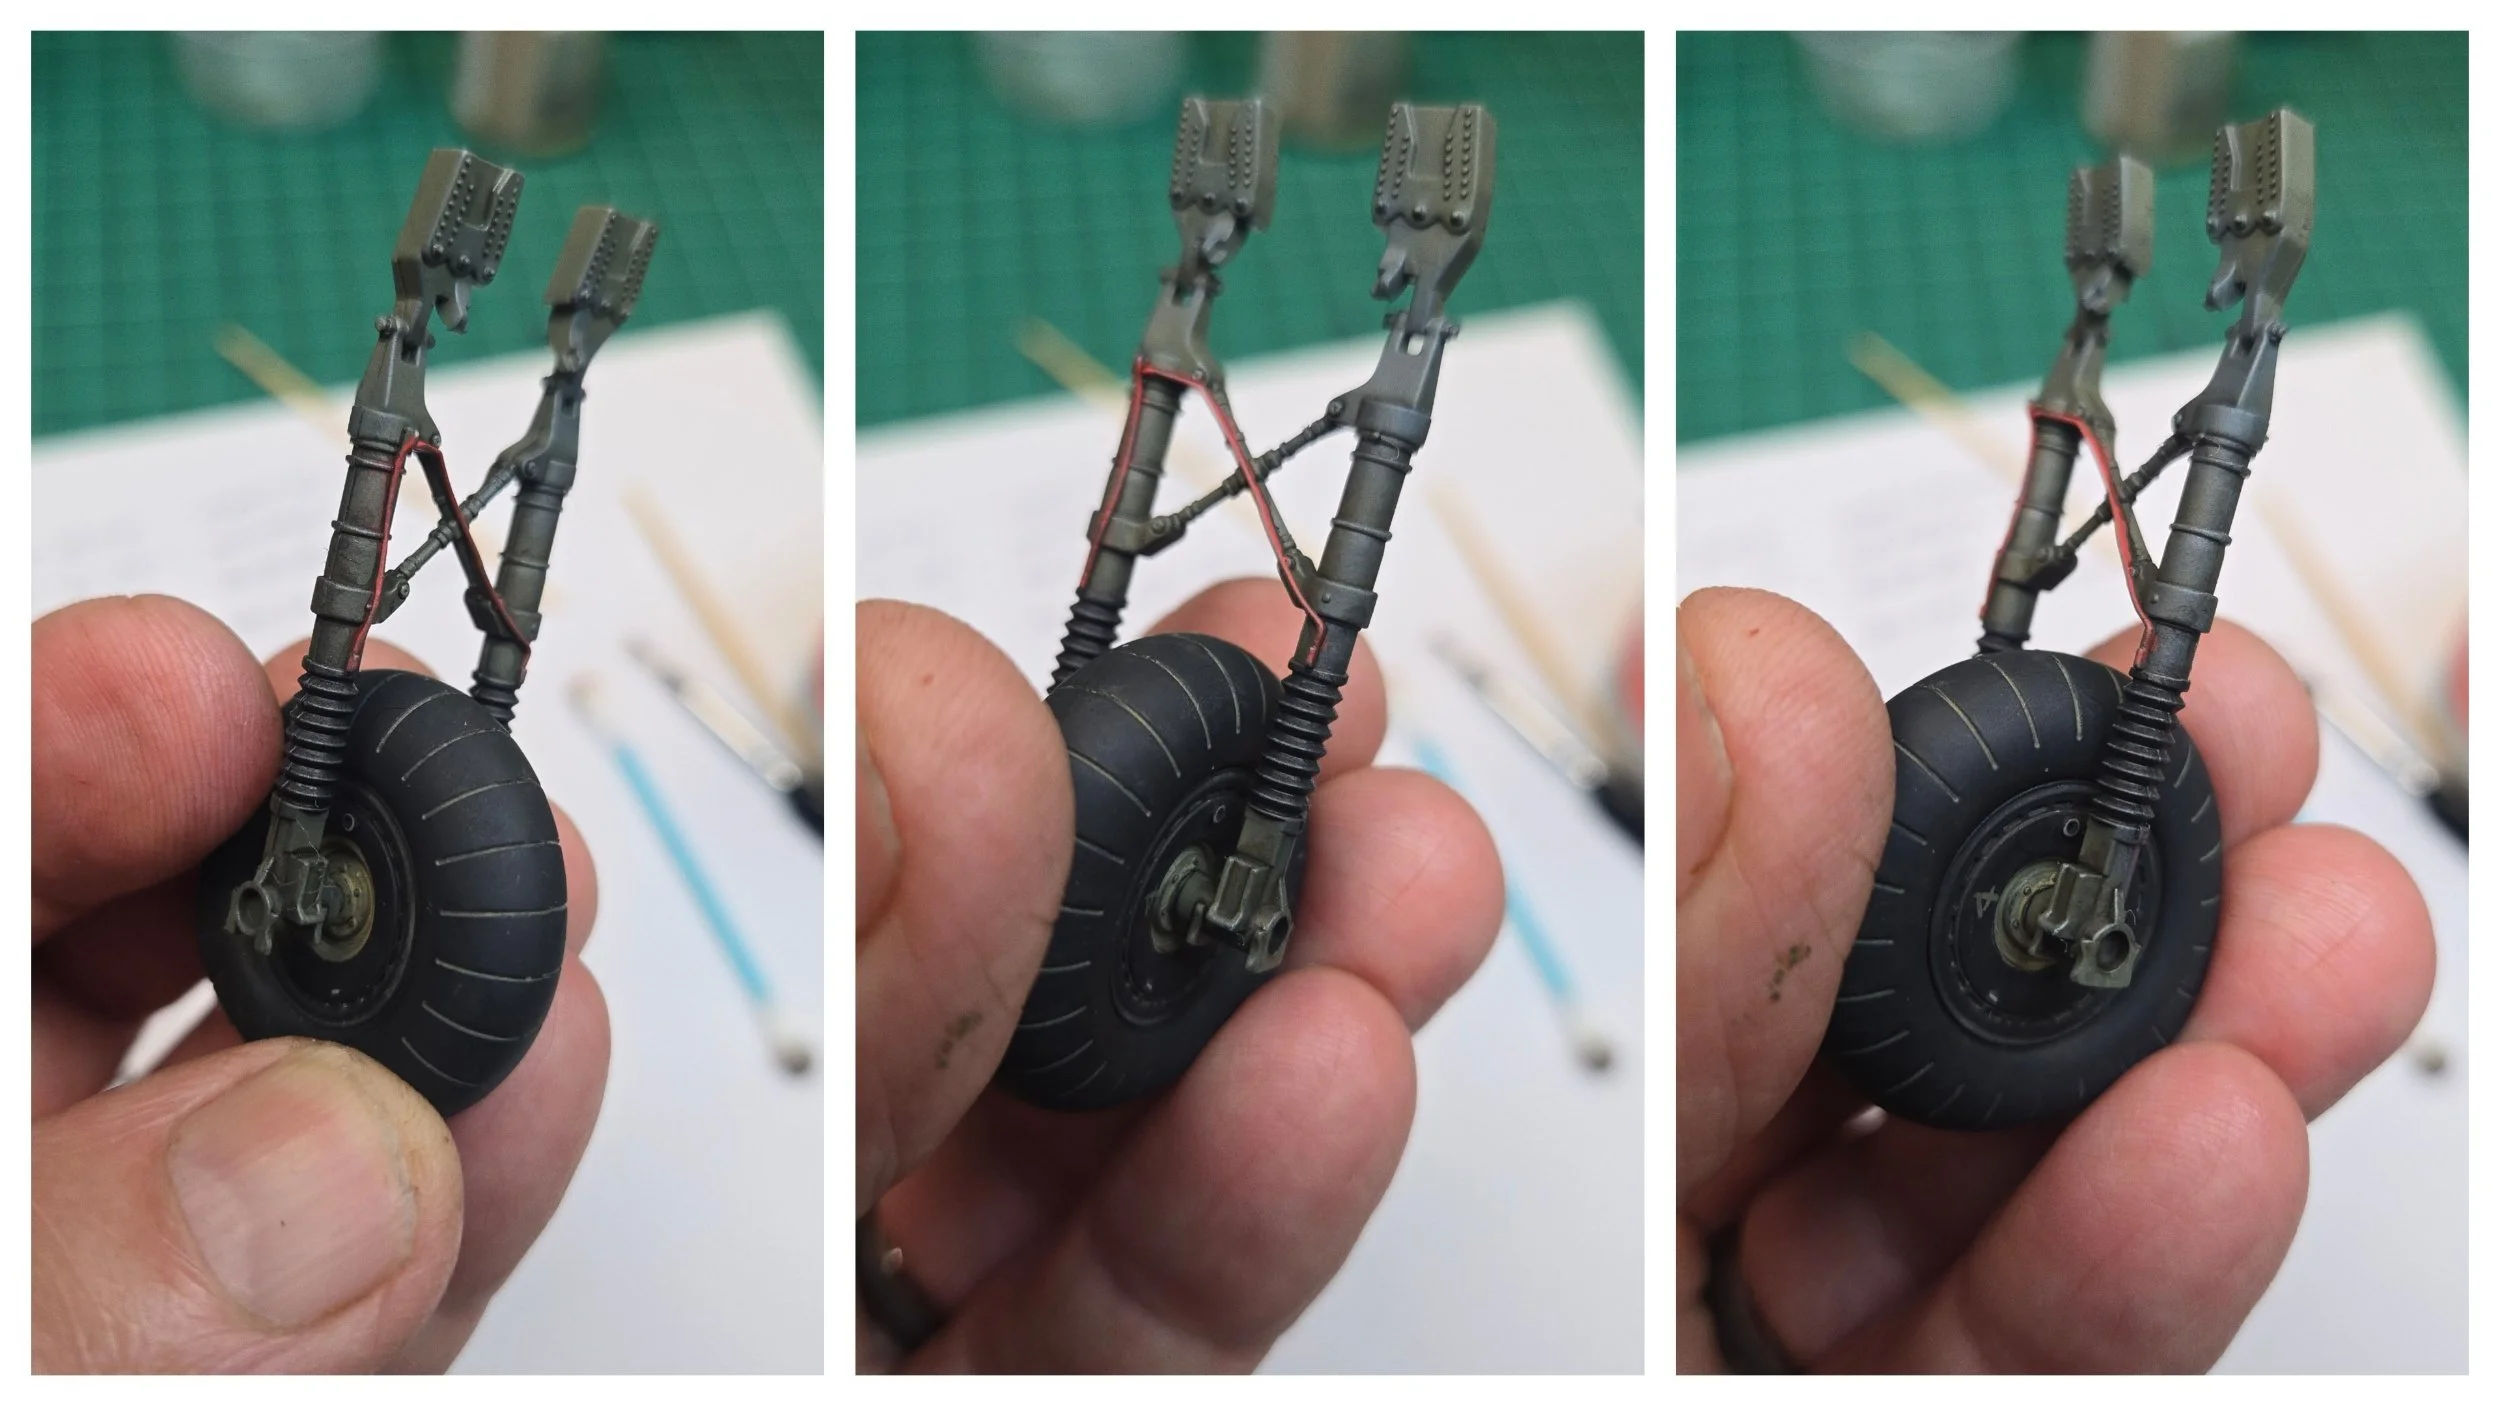
Note…the two sides of the seat in section C4 (C8 C2) glue to the seat (M6) at the thinner rail…be careful to look at the red arrows on the instructions.
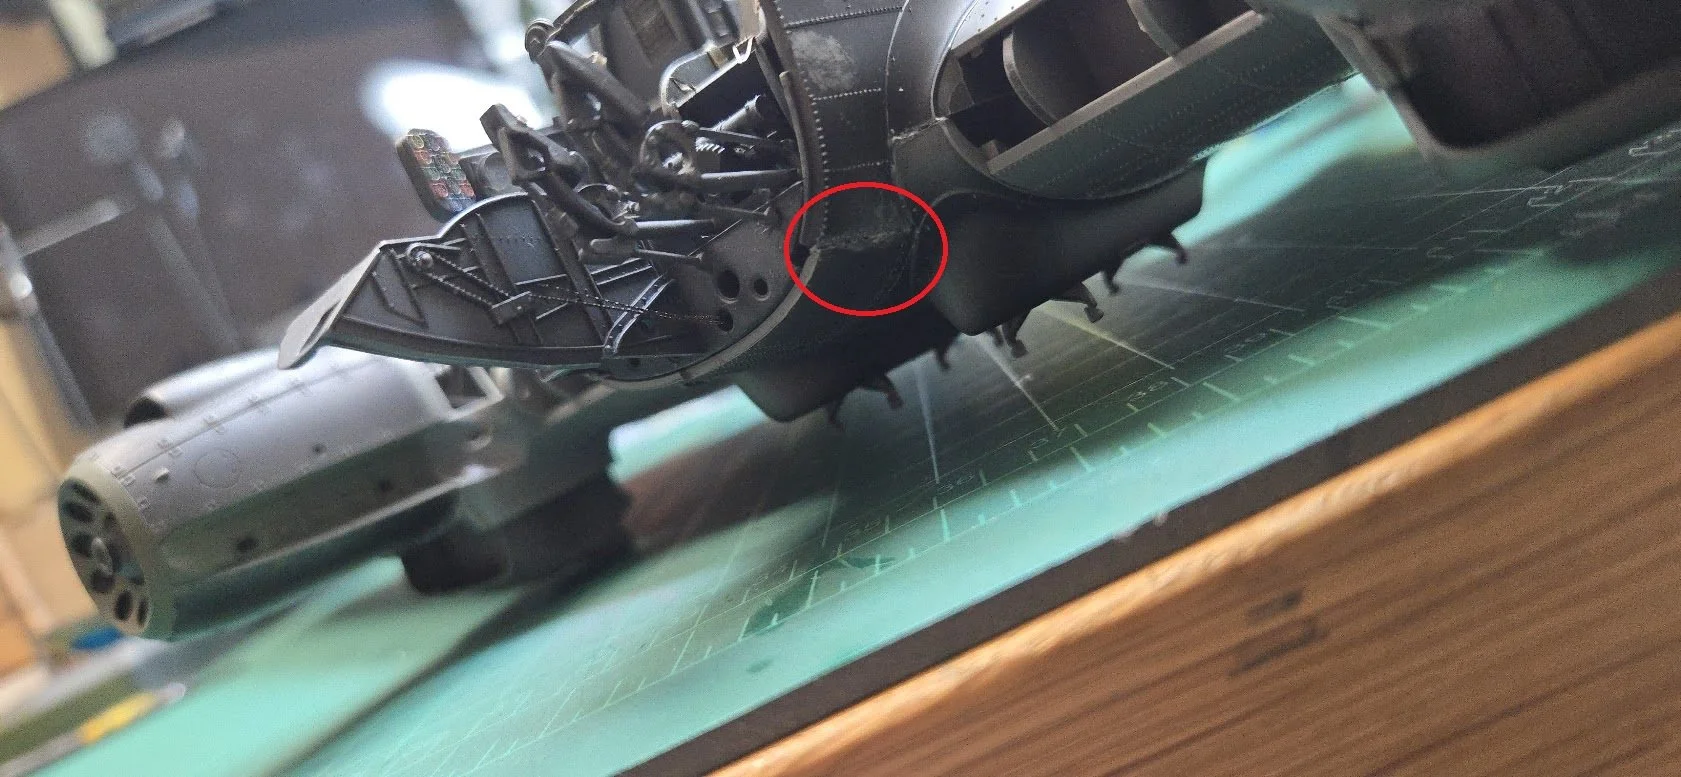
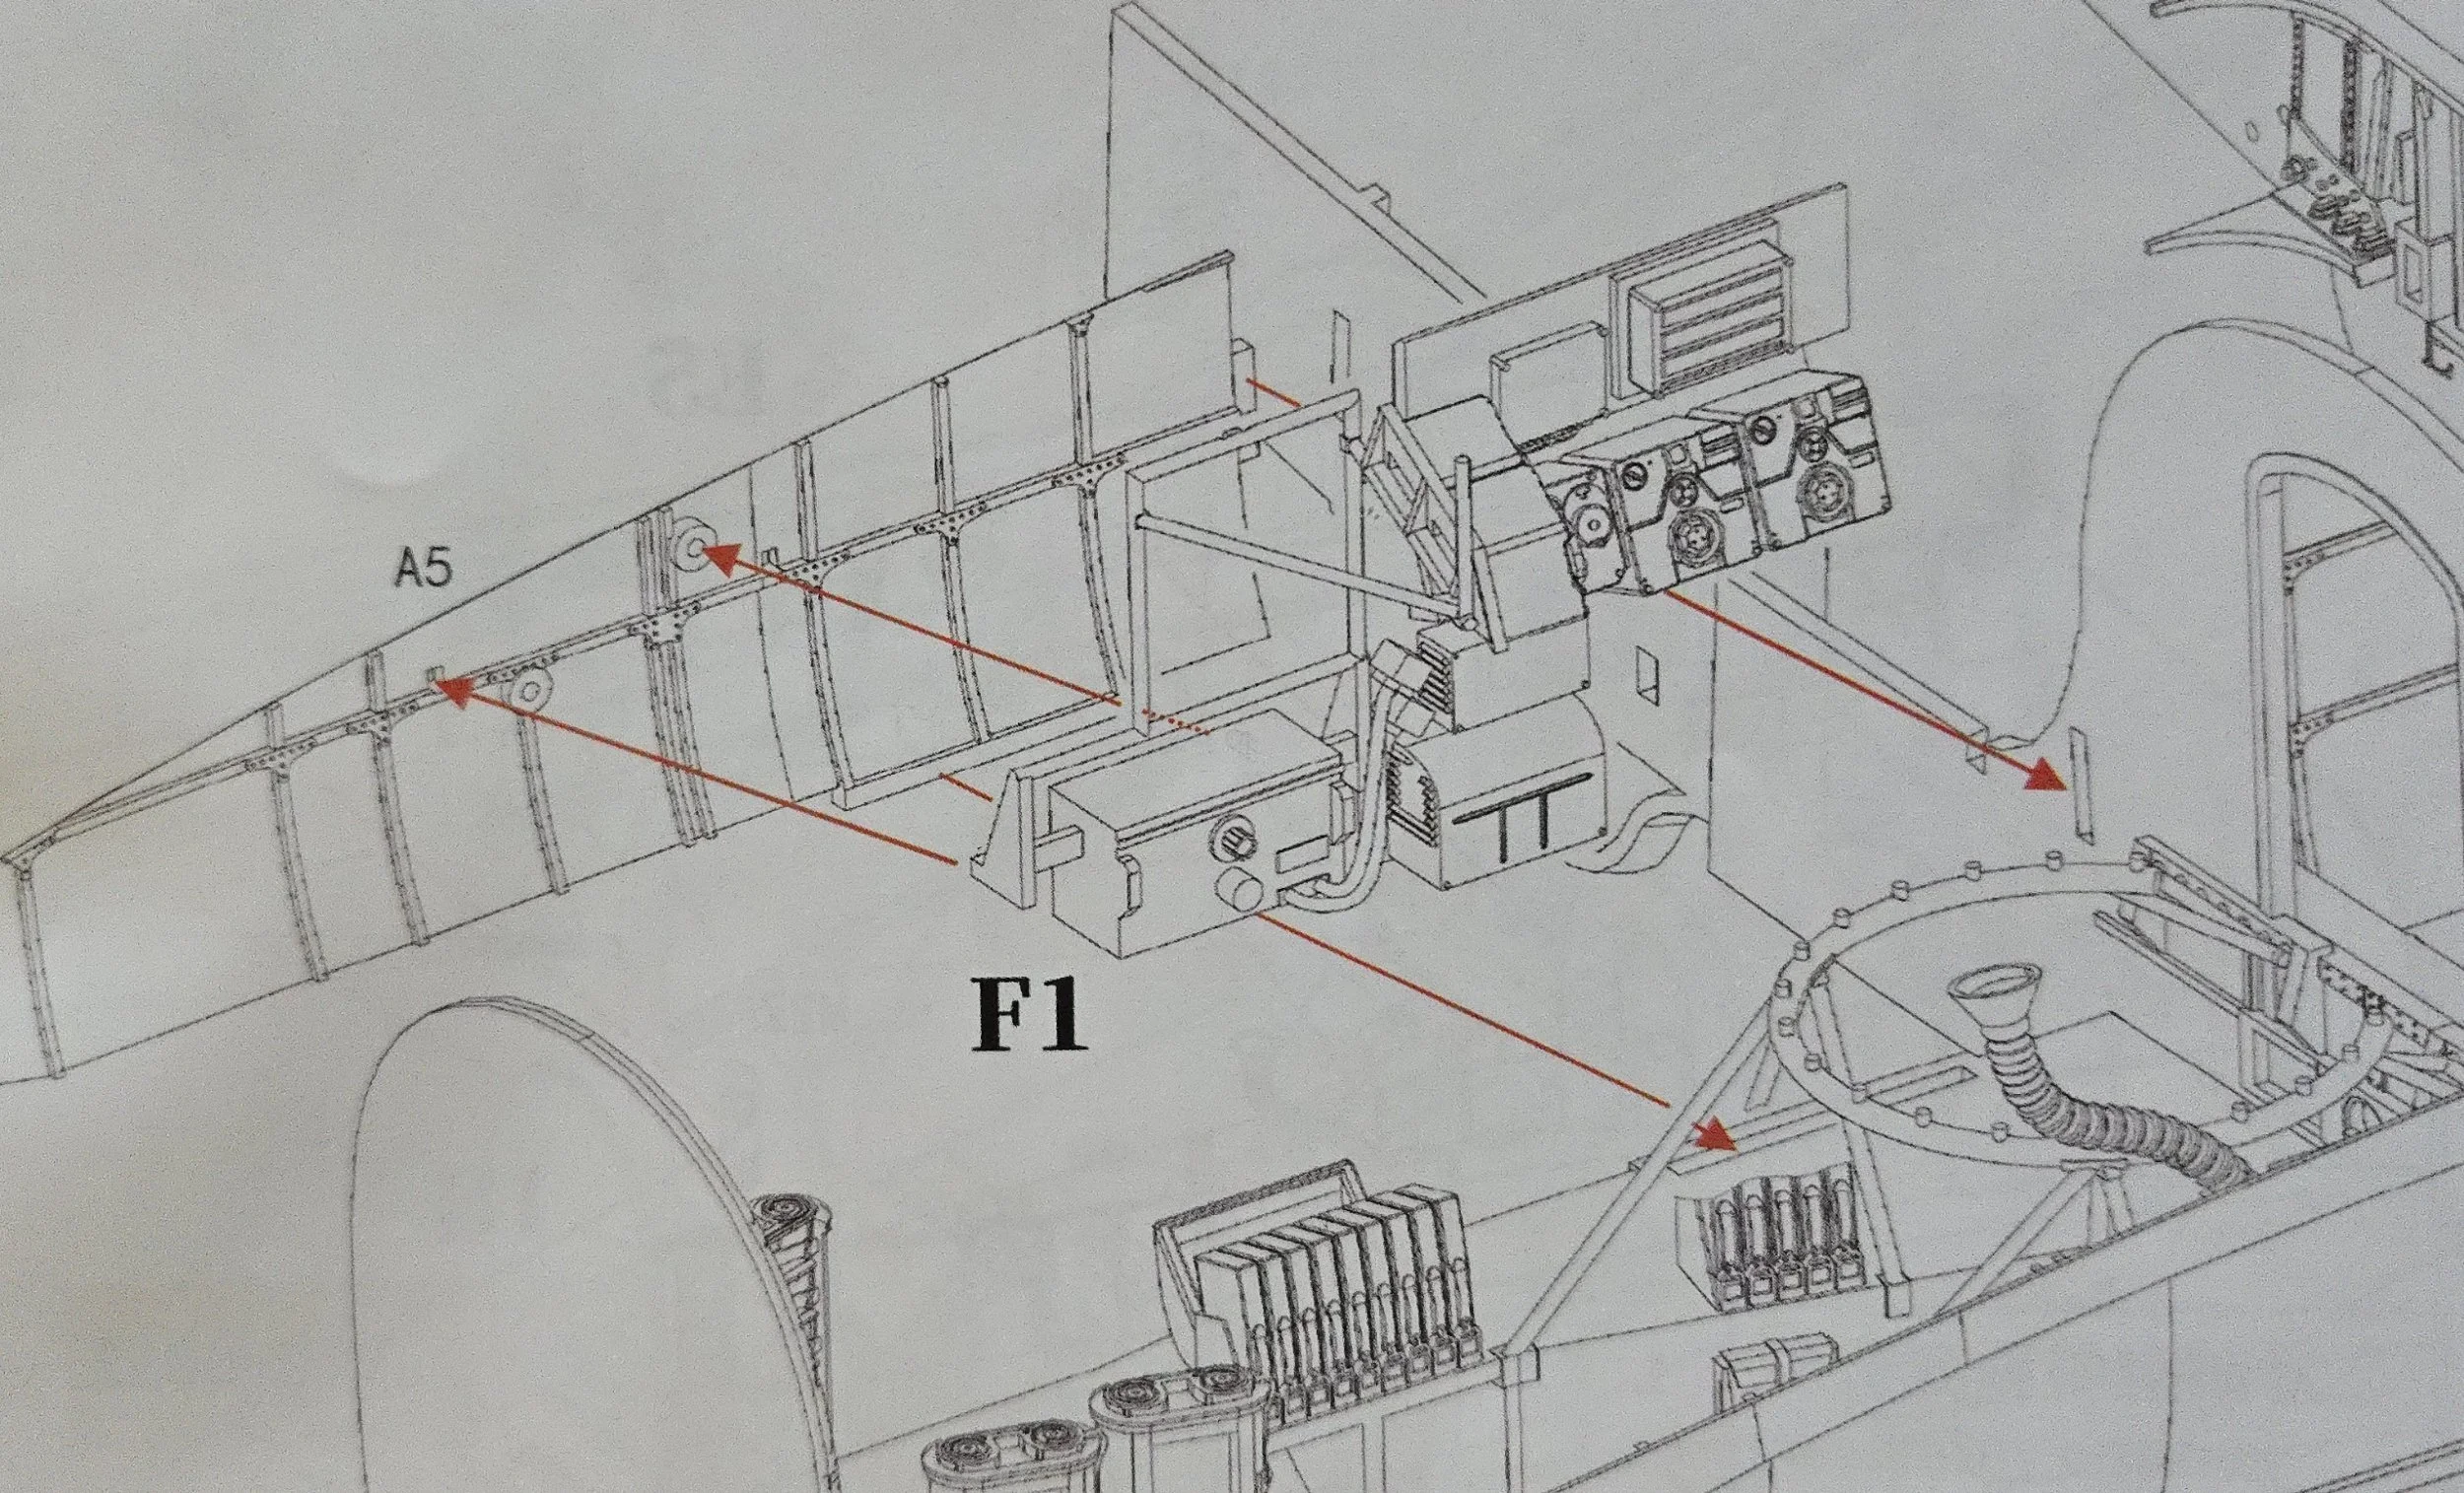
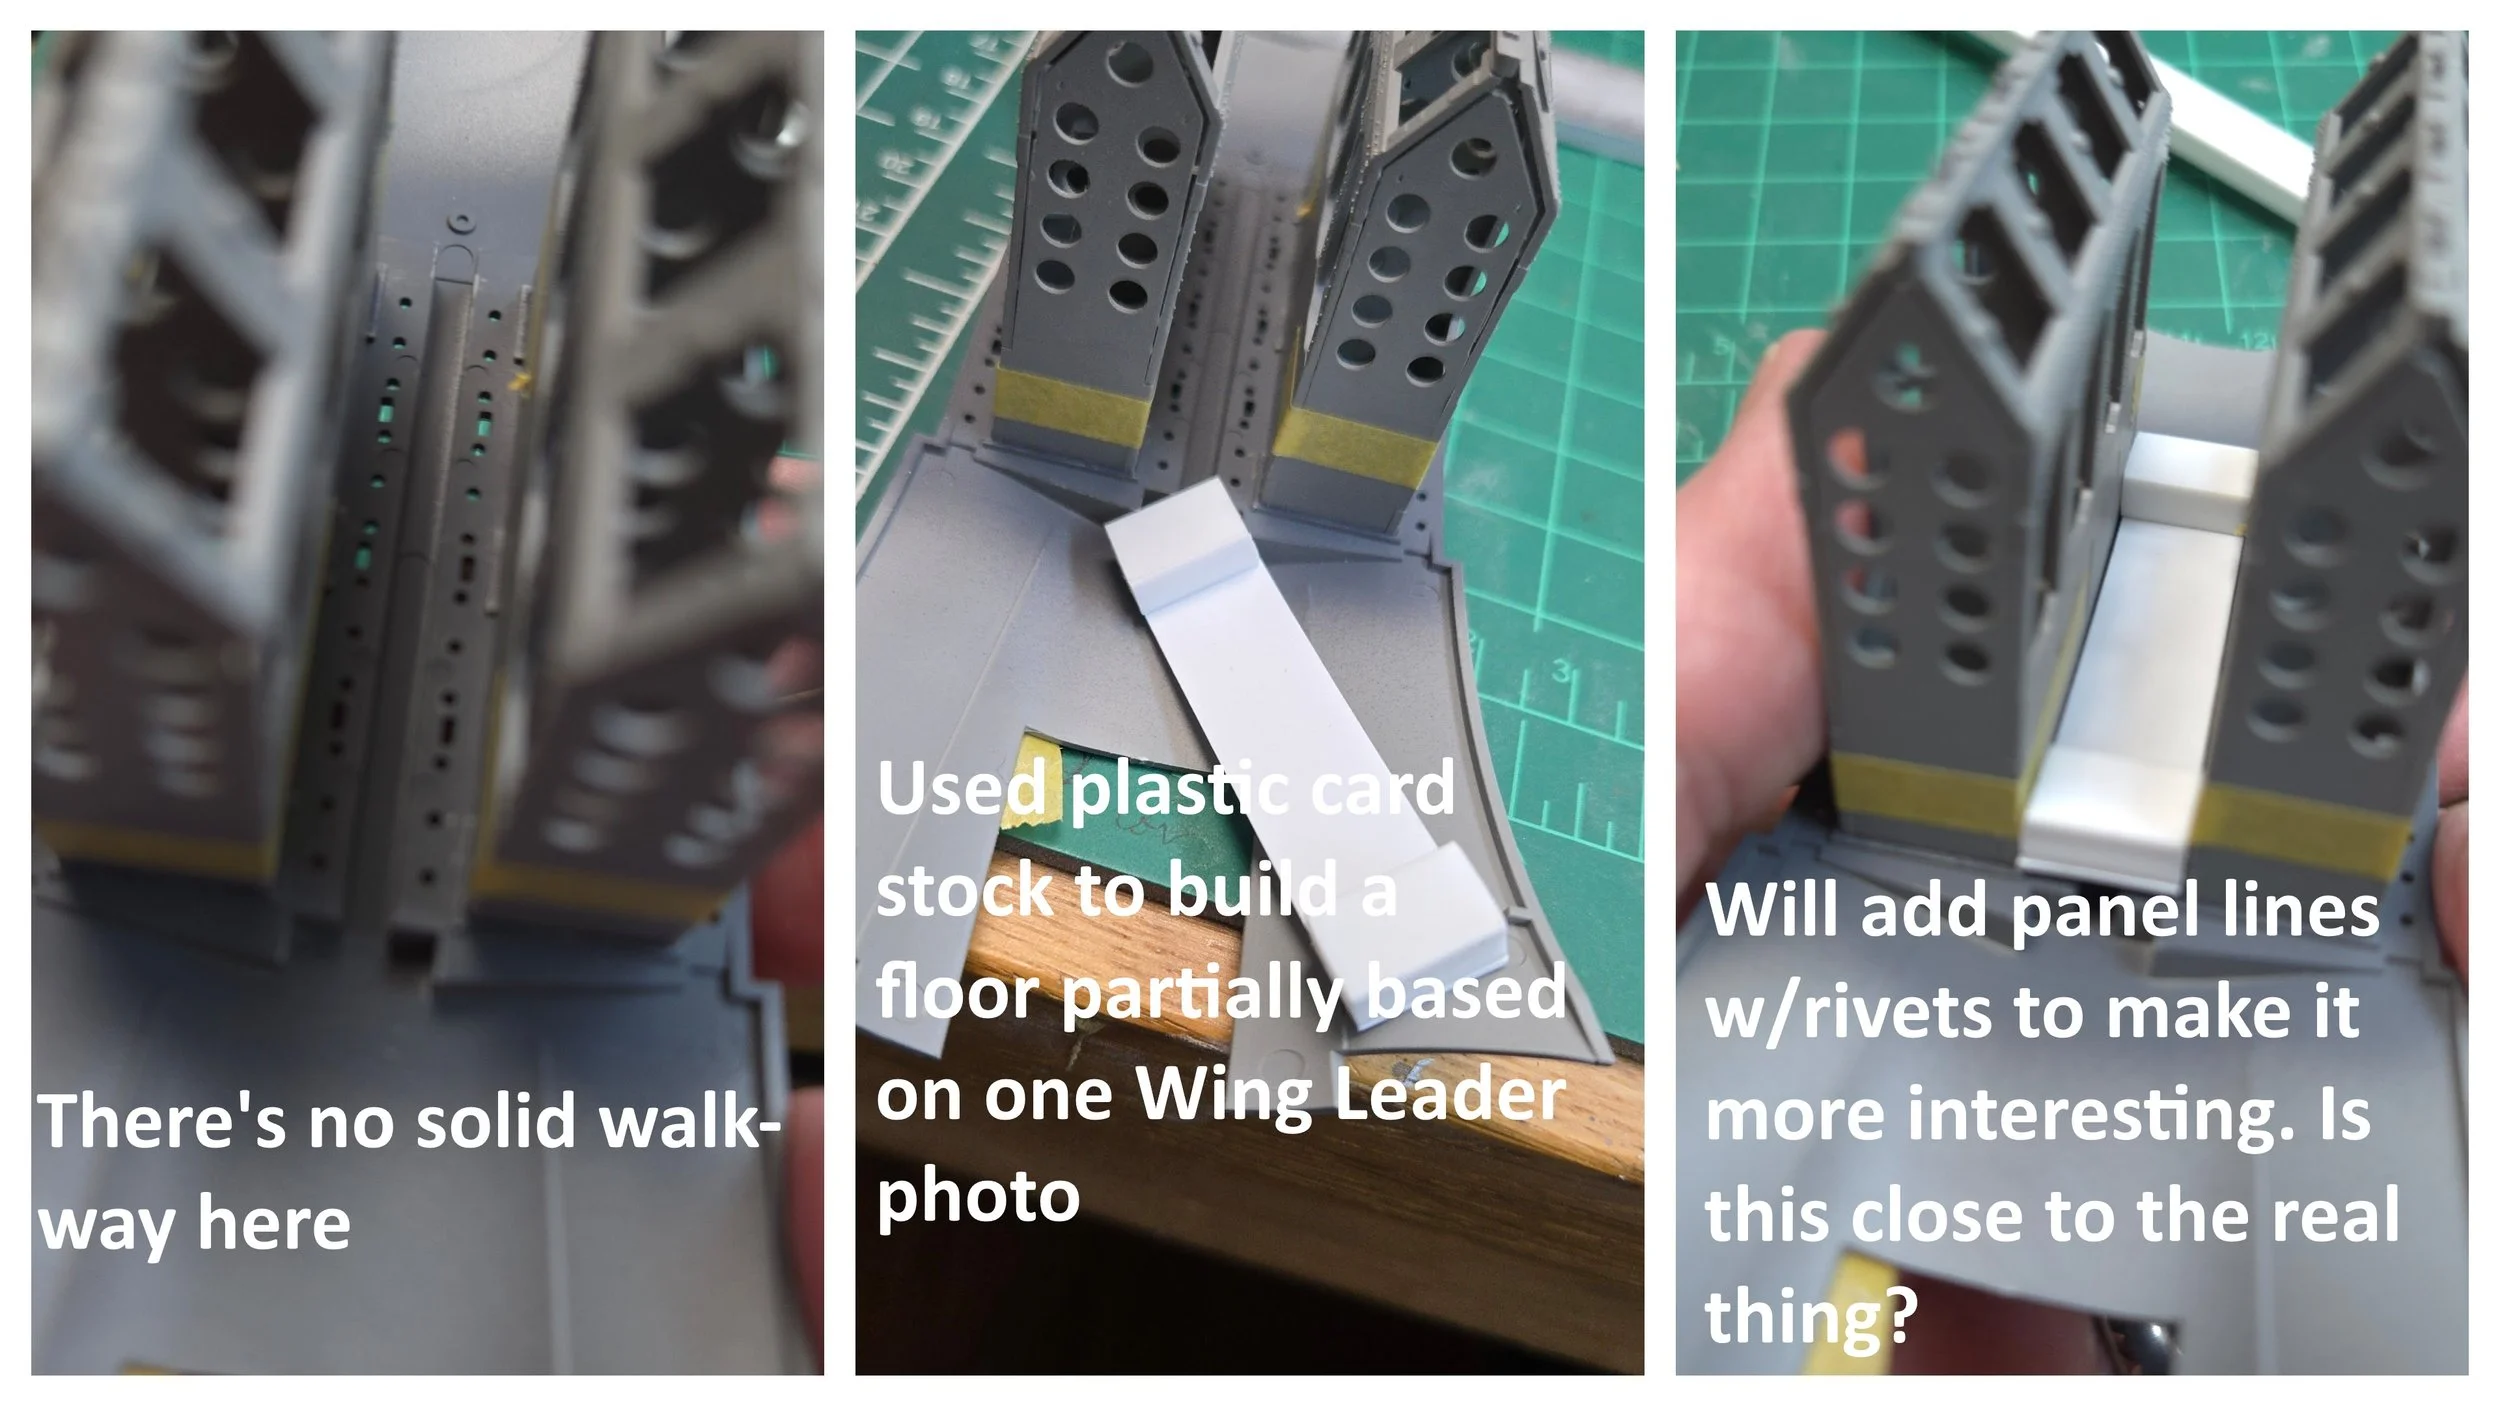
These side pieces, A5 and A4 (in the aft fuselage) are supposed to tab into the bulkhead w/red arrow as shown…unfortunately there are no holes in the bulkhead for you to engage with. I’m going to try and glue them to the fuselage first. If I run into any trouble I’ll edit this.
I recommend you install these rudder assemblies into the cockpit floor early, before you join the cockpit floor to the bulkhead. They are fiddly and having the section small, it’s far easier to work with. Other than possibly breaking them off accidently, there’s no reason to hold off on these.
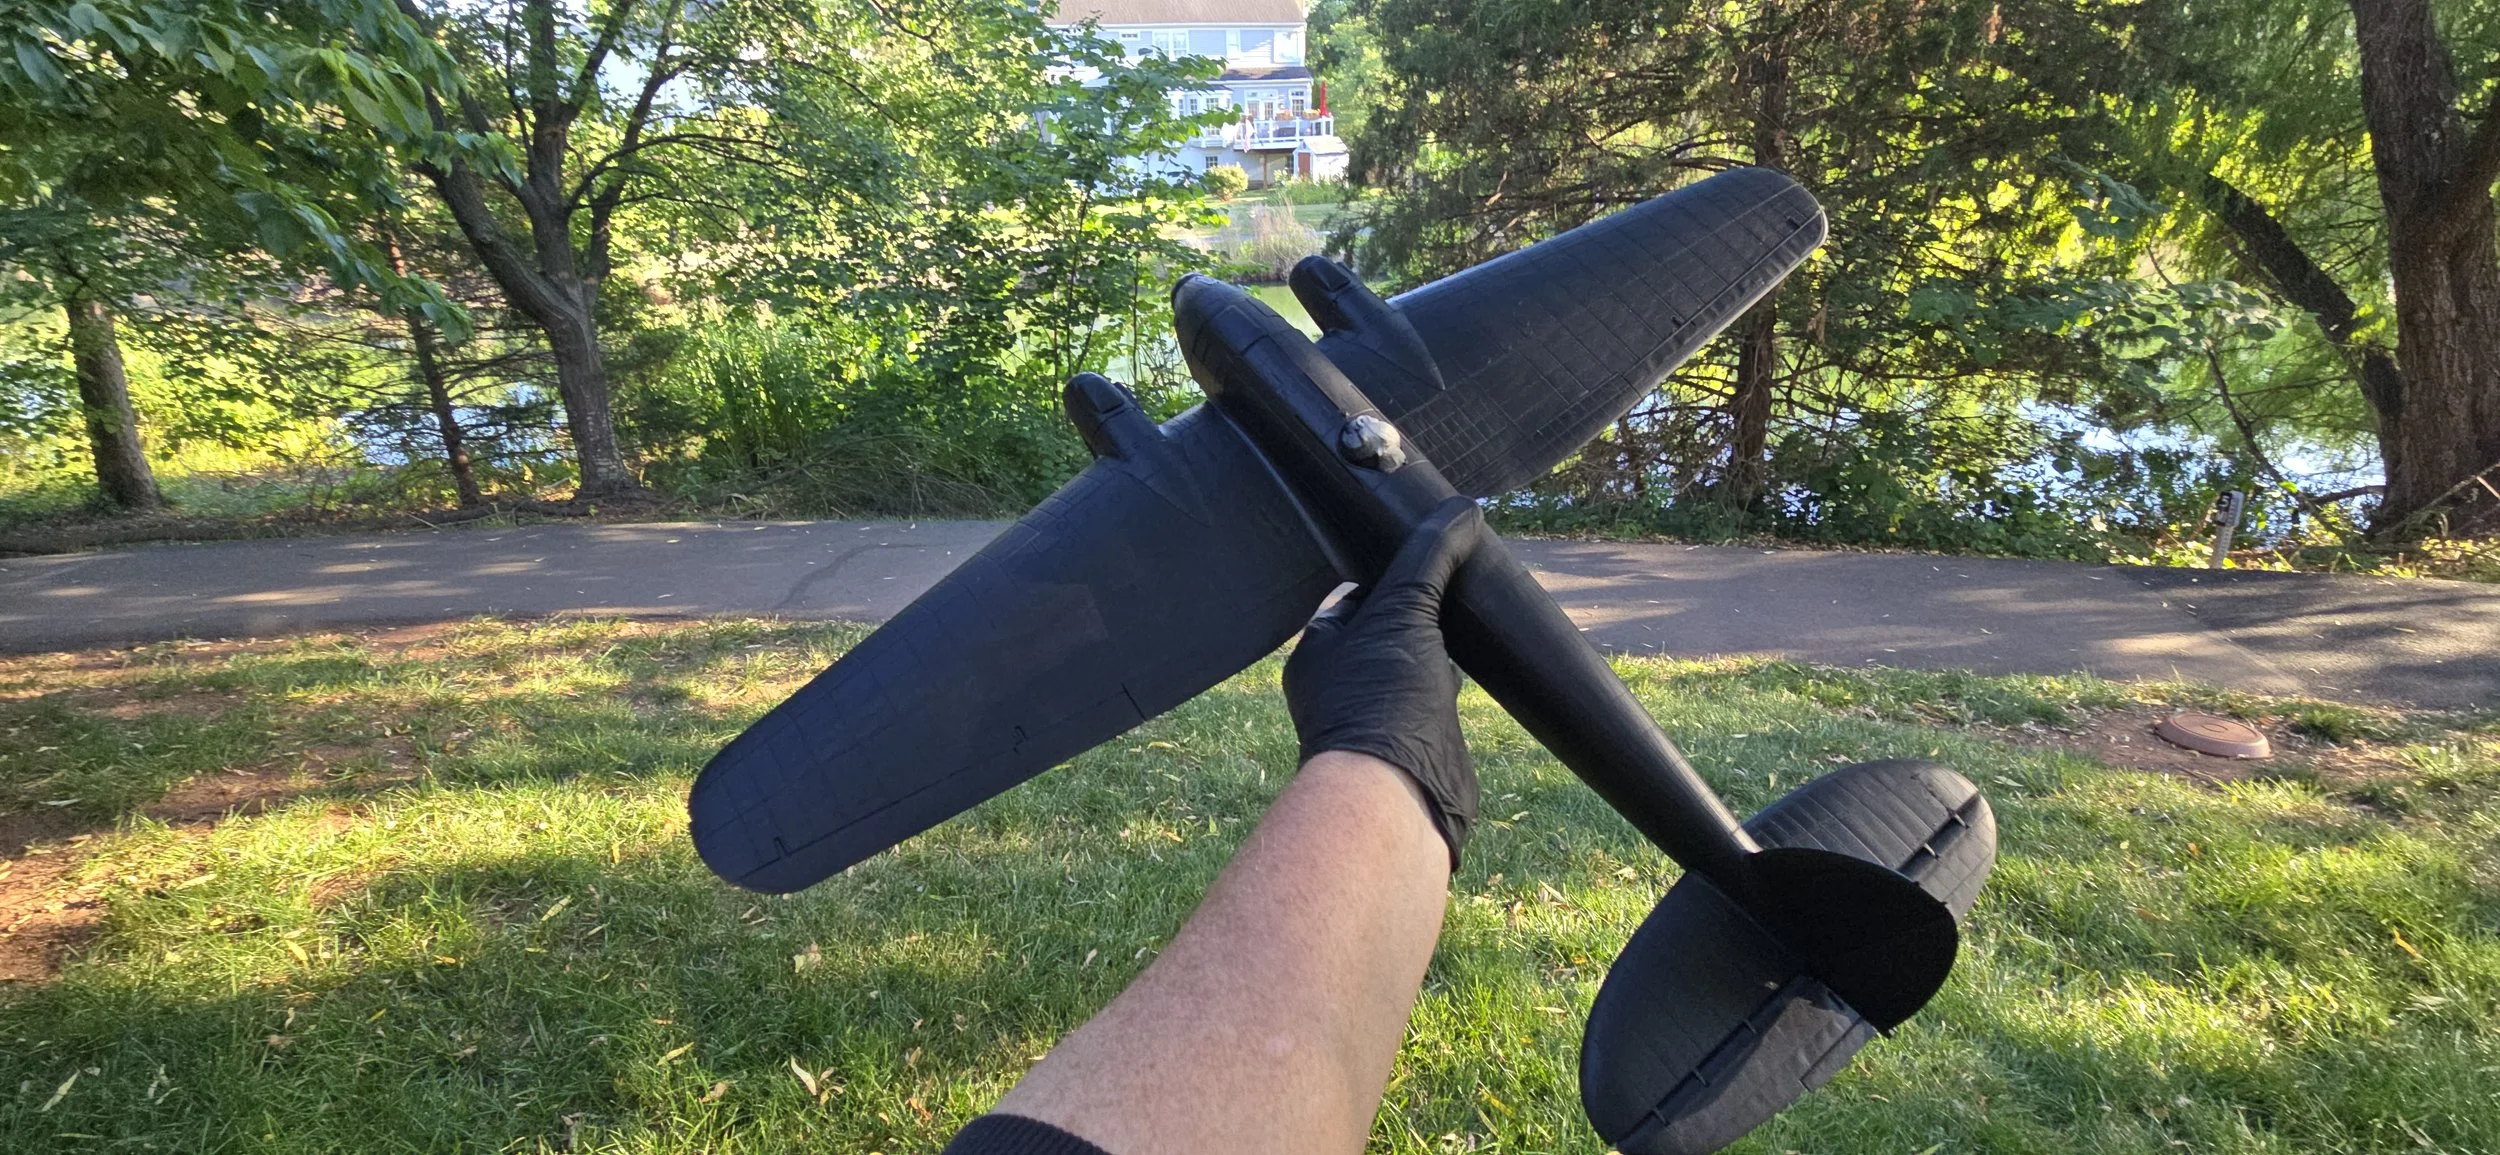
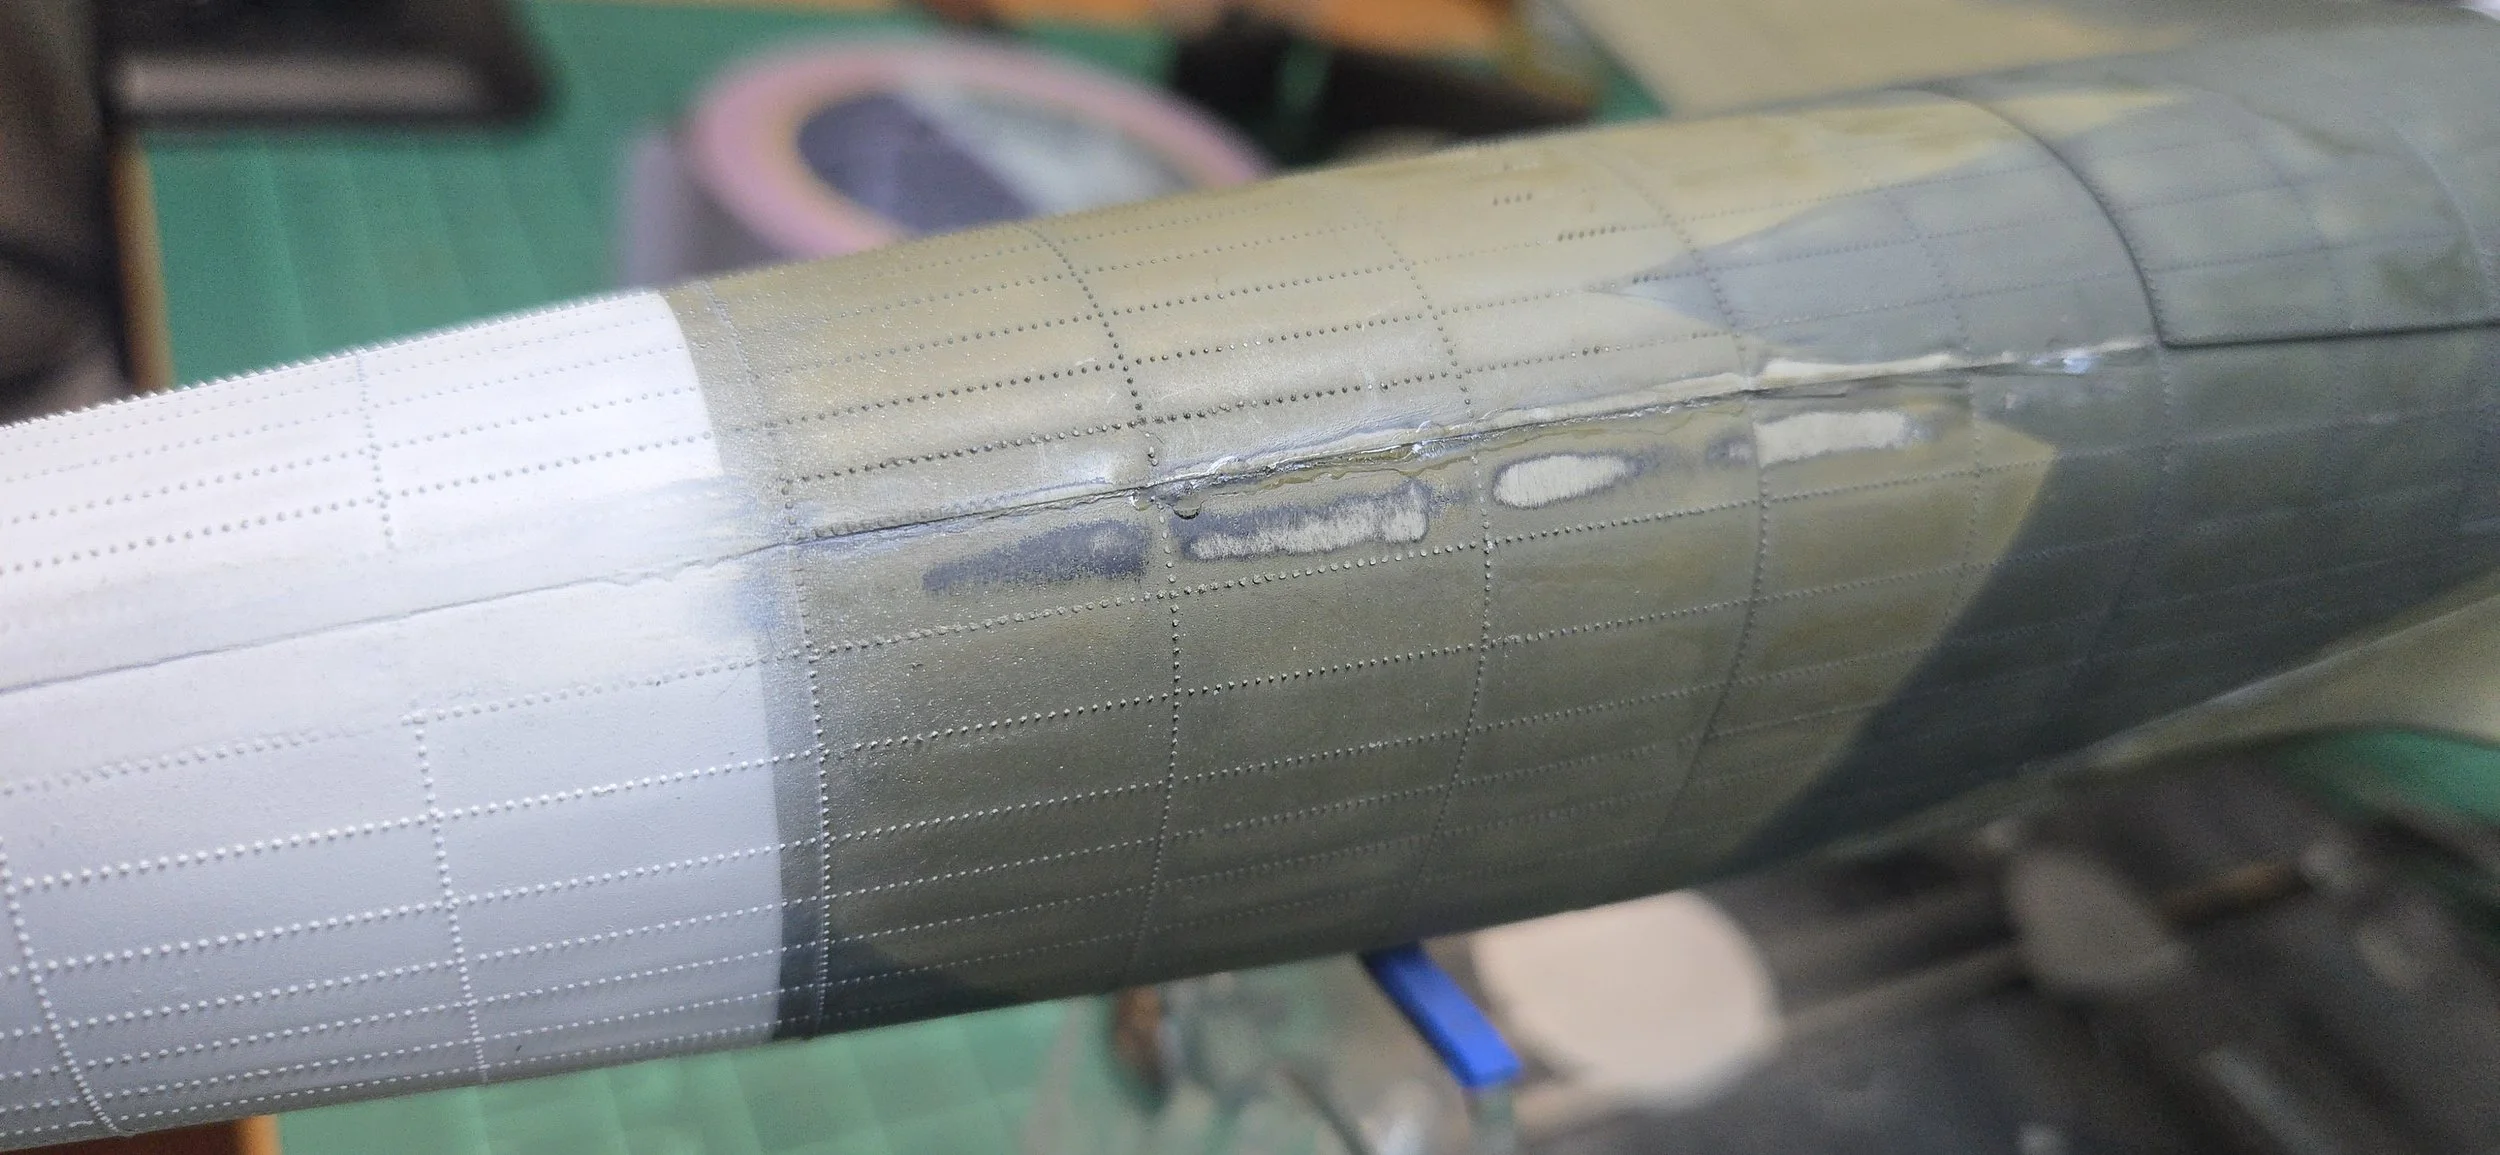
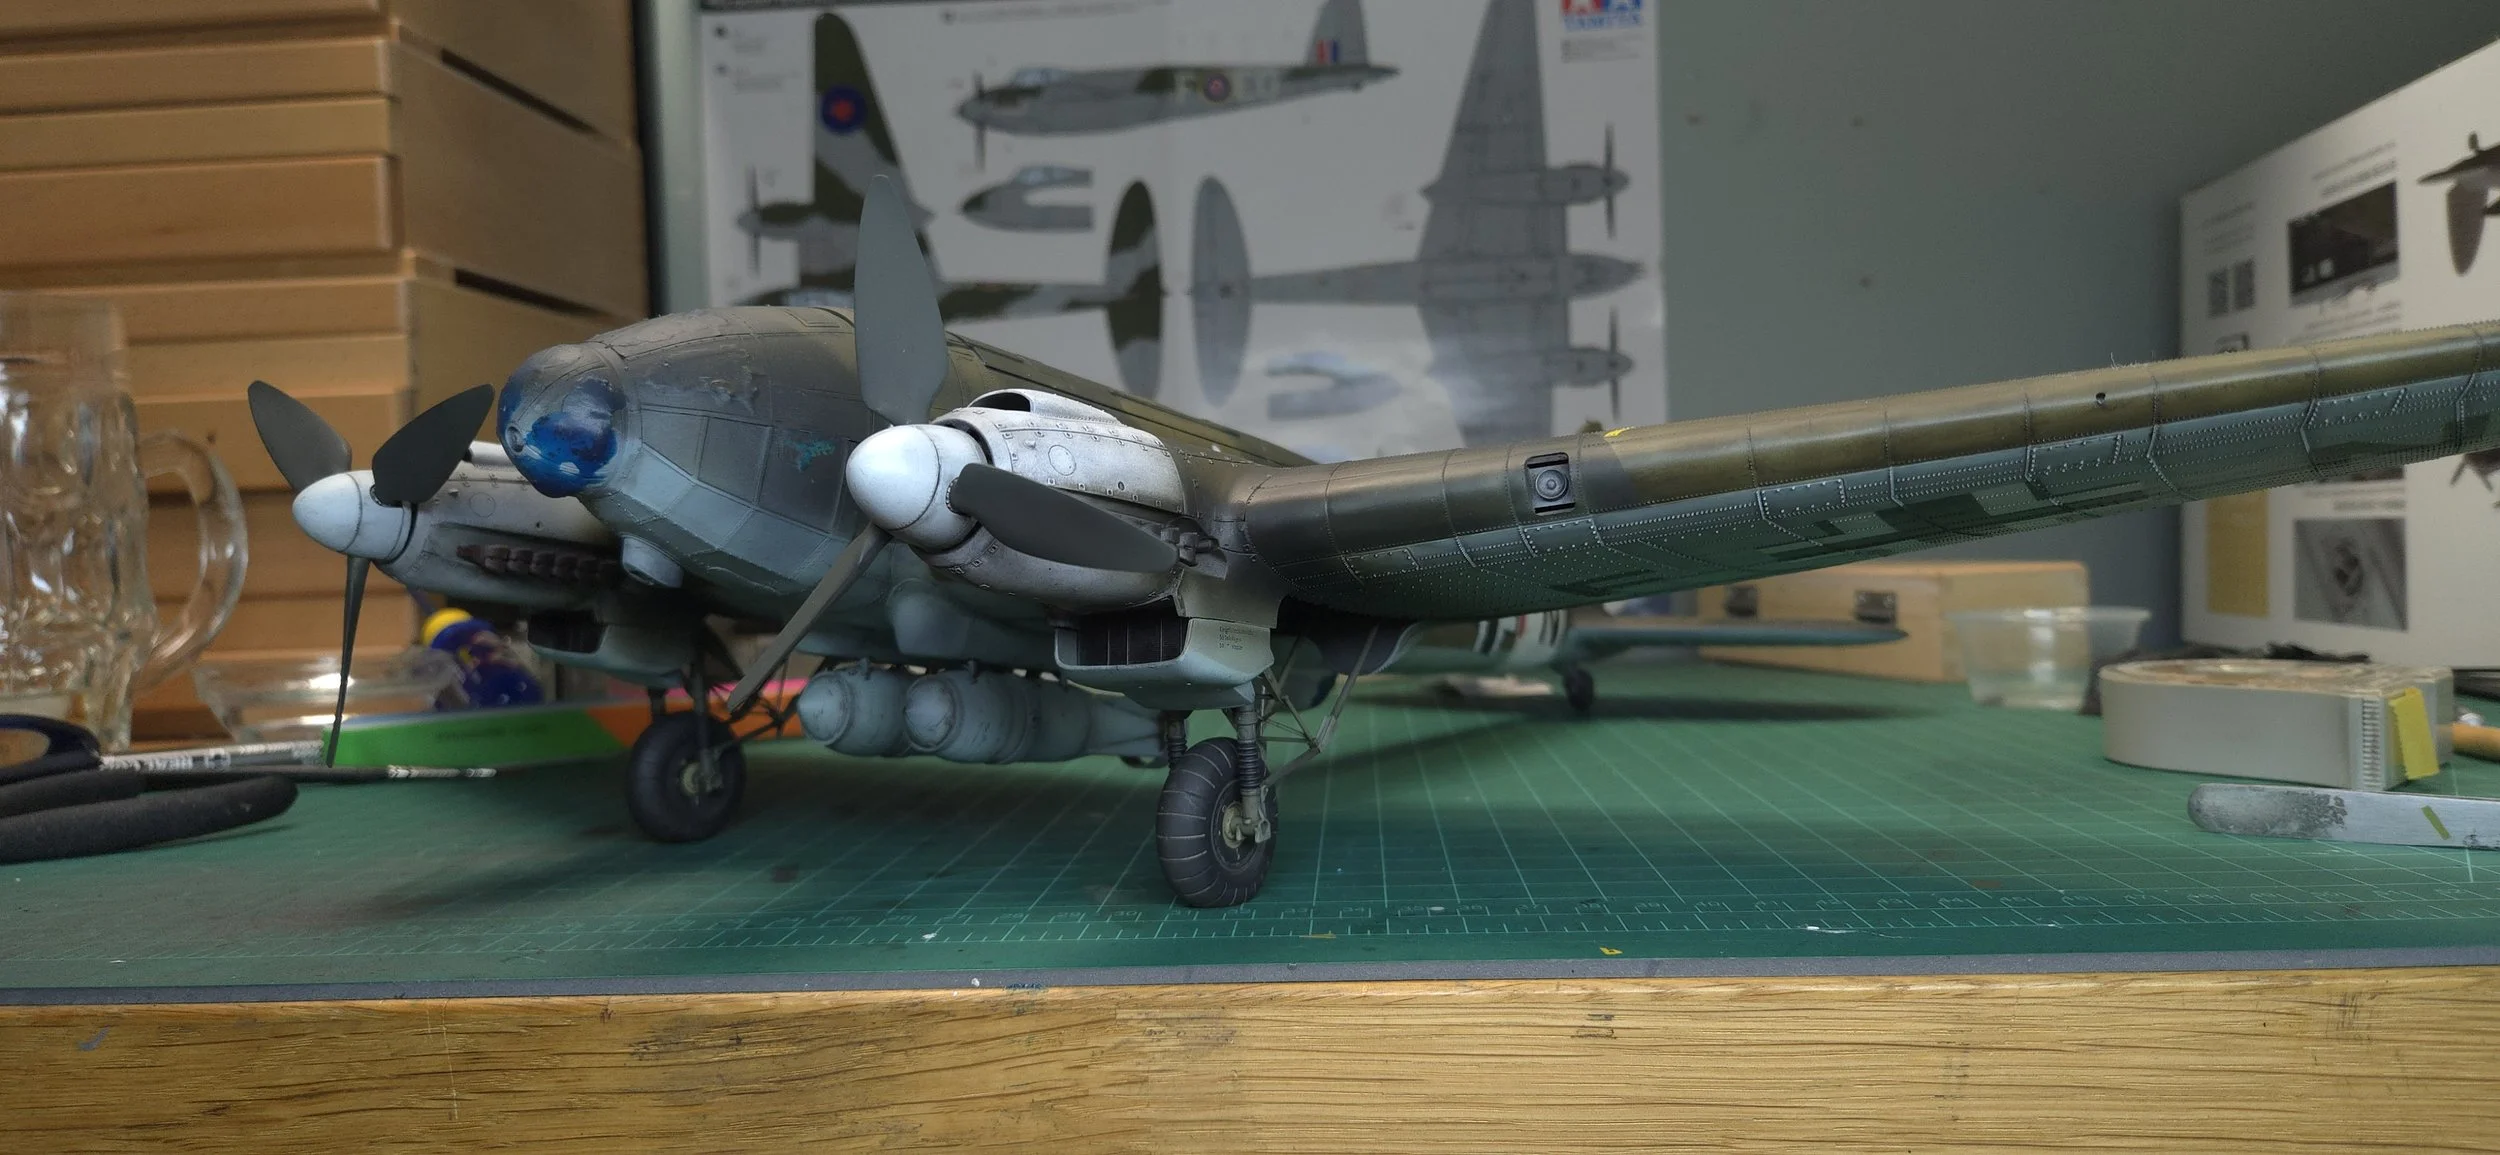
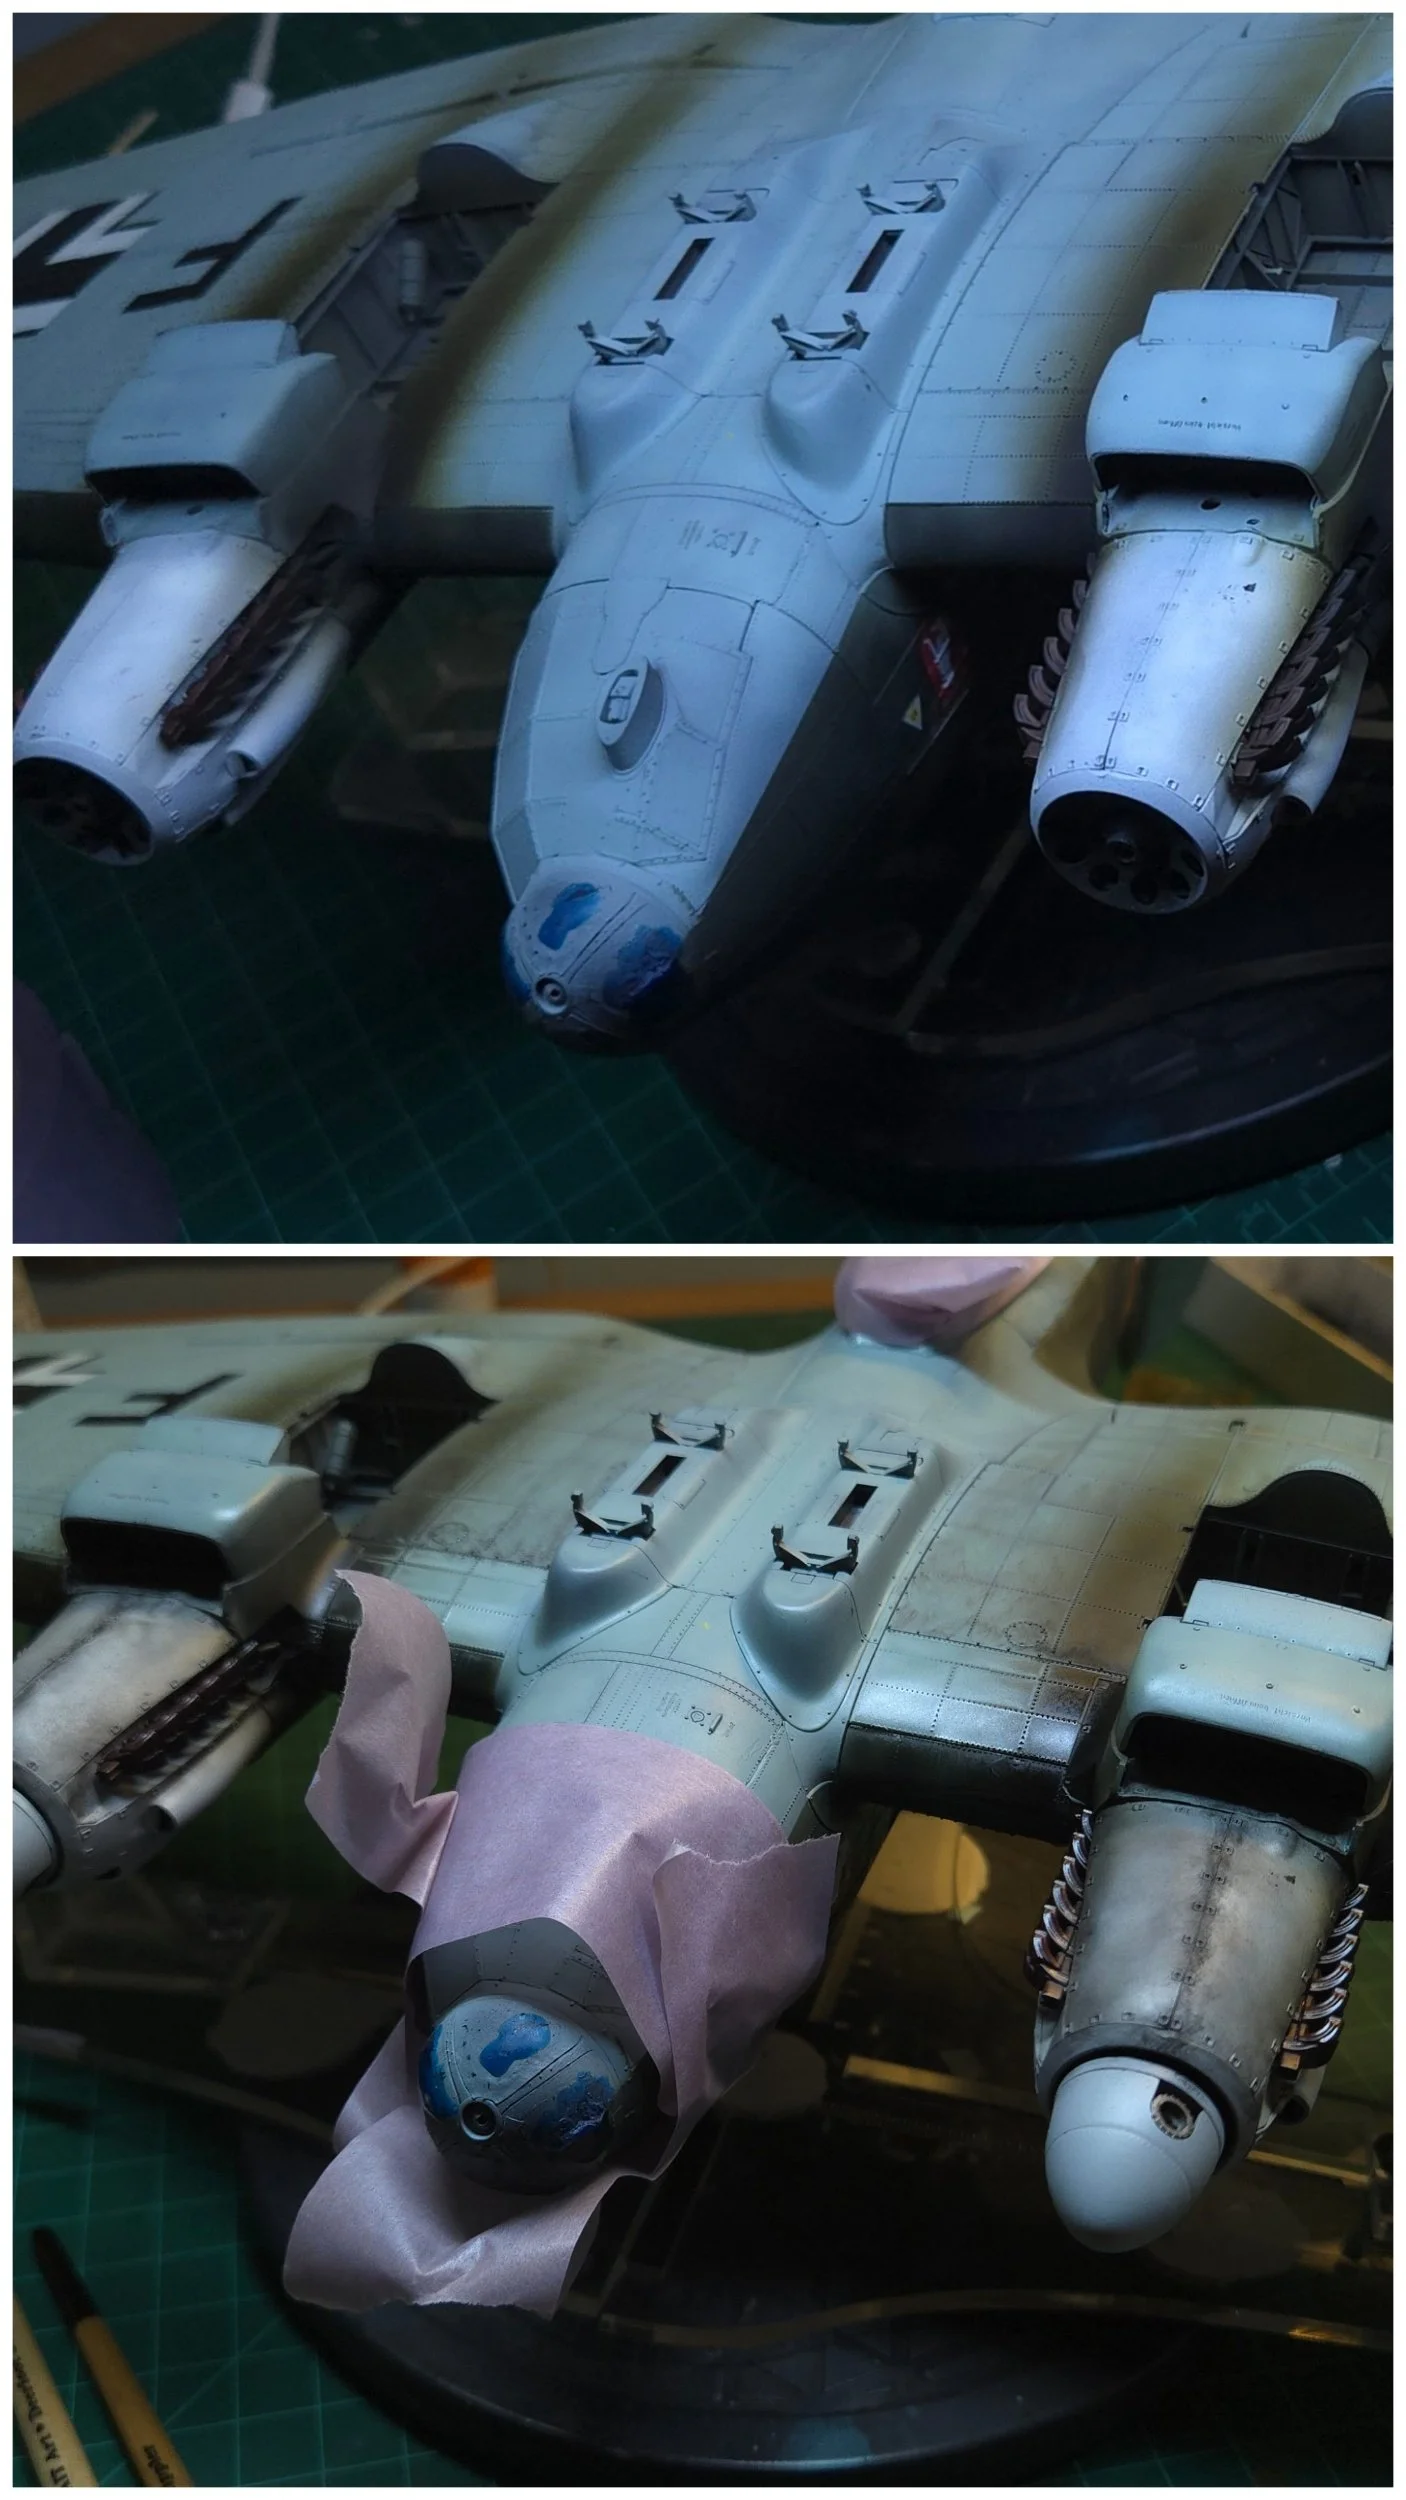
I’ve weathered the front cockpit up a bit and there’s some sloppy here (control column and some support tubes) but I’ll clear that up w/thinner and smooth it out with a buff coat. It’s nice to work in blacks and greys, easy to correct mistakes.
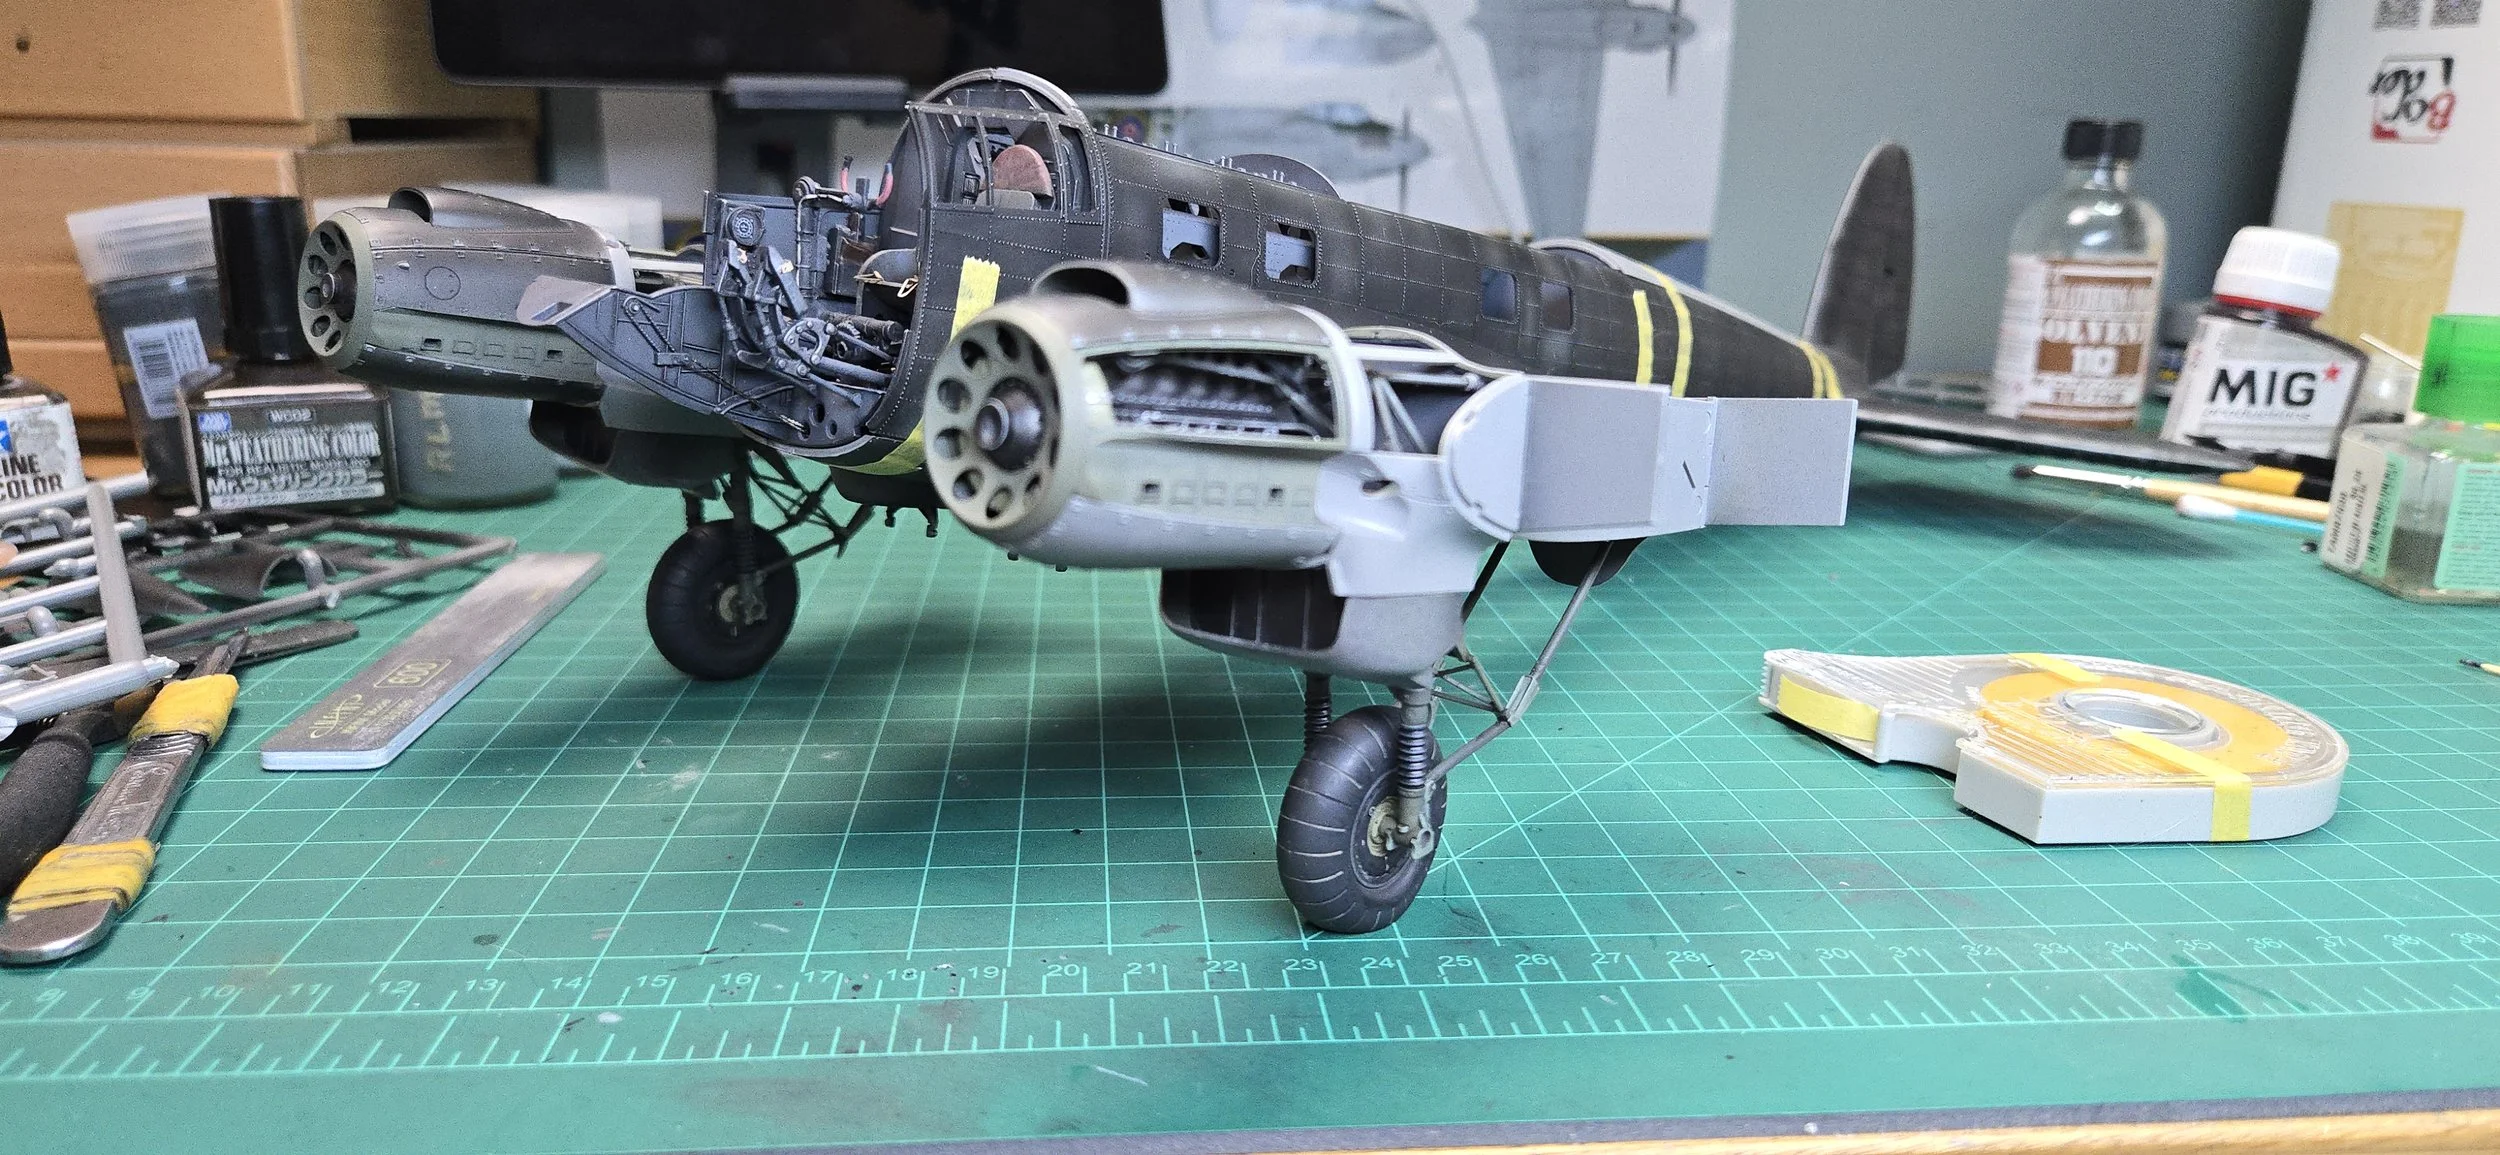
A couple of issues…number one…the model does not include a color plate for any variant that is carrying only internal bombs…all they show are external weapon load schemes (two large bombs or torpedo’s). They do show you how to build a version w/internal bombs only…just no livery to show you a version of that plane you can create w/decals they supply. And number two…if you do decide to build with internal bombs…see below.
Here’s that unpainted part dry-fitted into the fuselage w/unpainted bomb rack
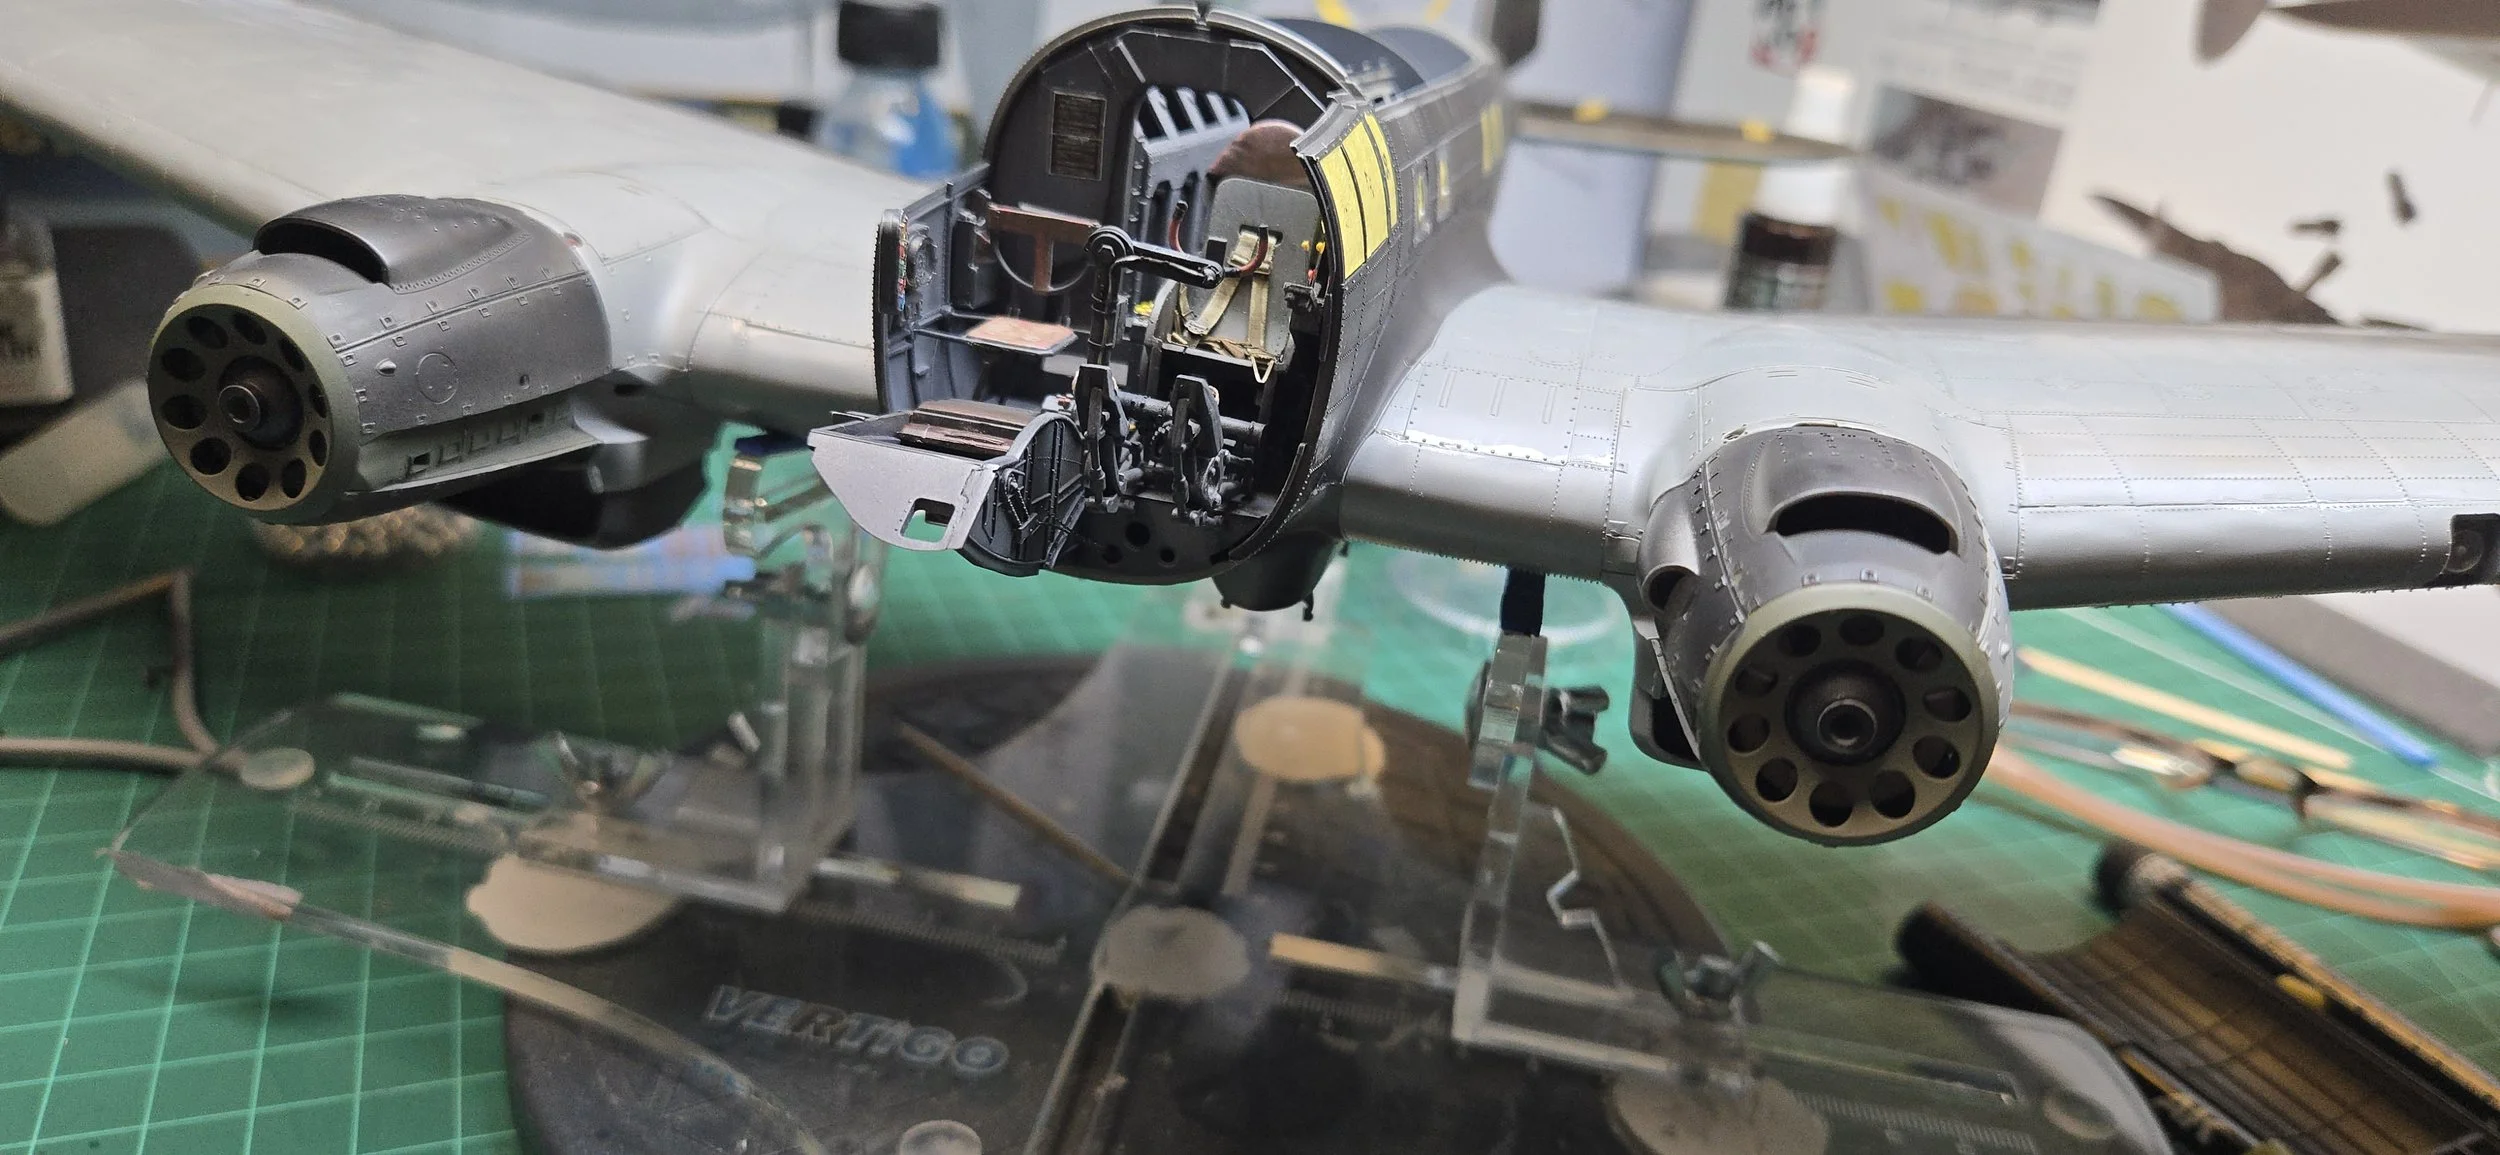
Be careful with the thin plastic engine mounts…especially cutting them from the sprue. Best thing to do is look at how the plastic is poured and make sure cutting one end doesn’t put too much stress on the other ends or the part could break.
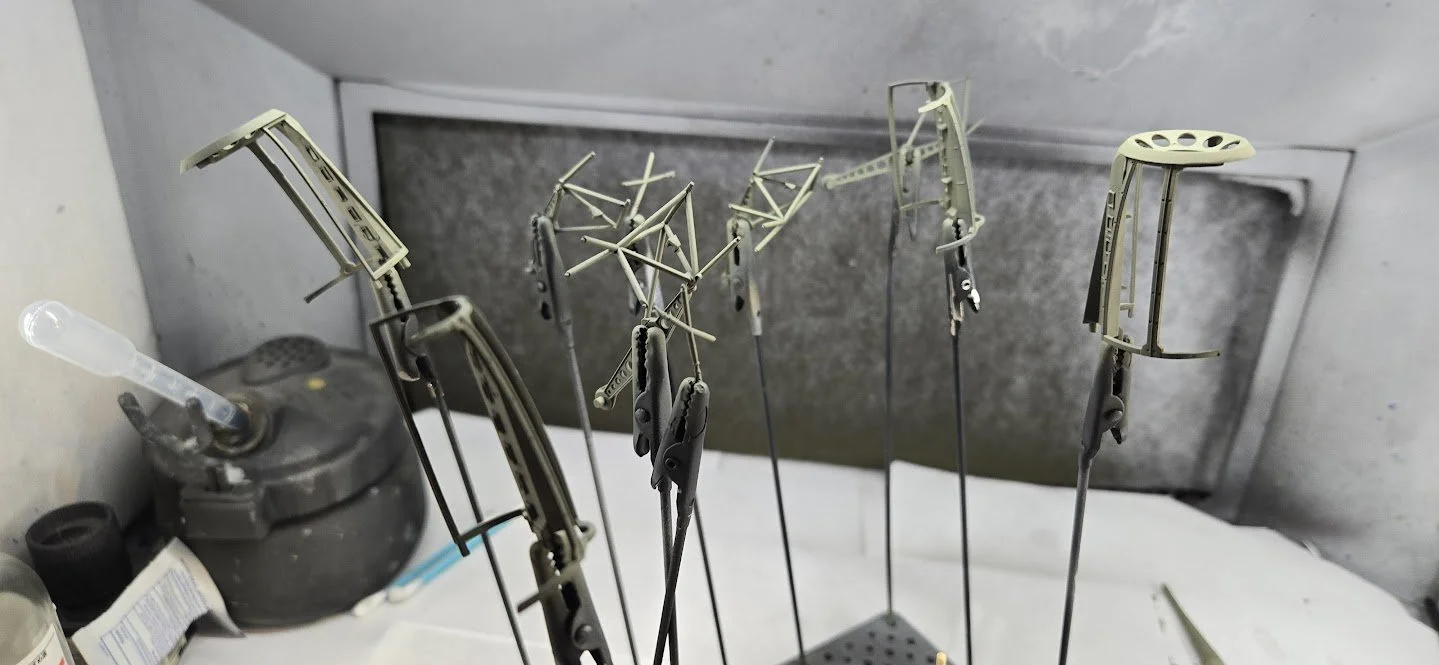
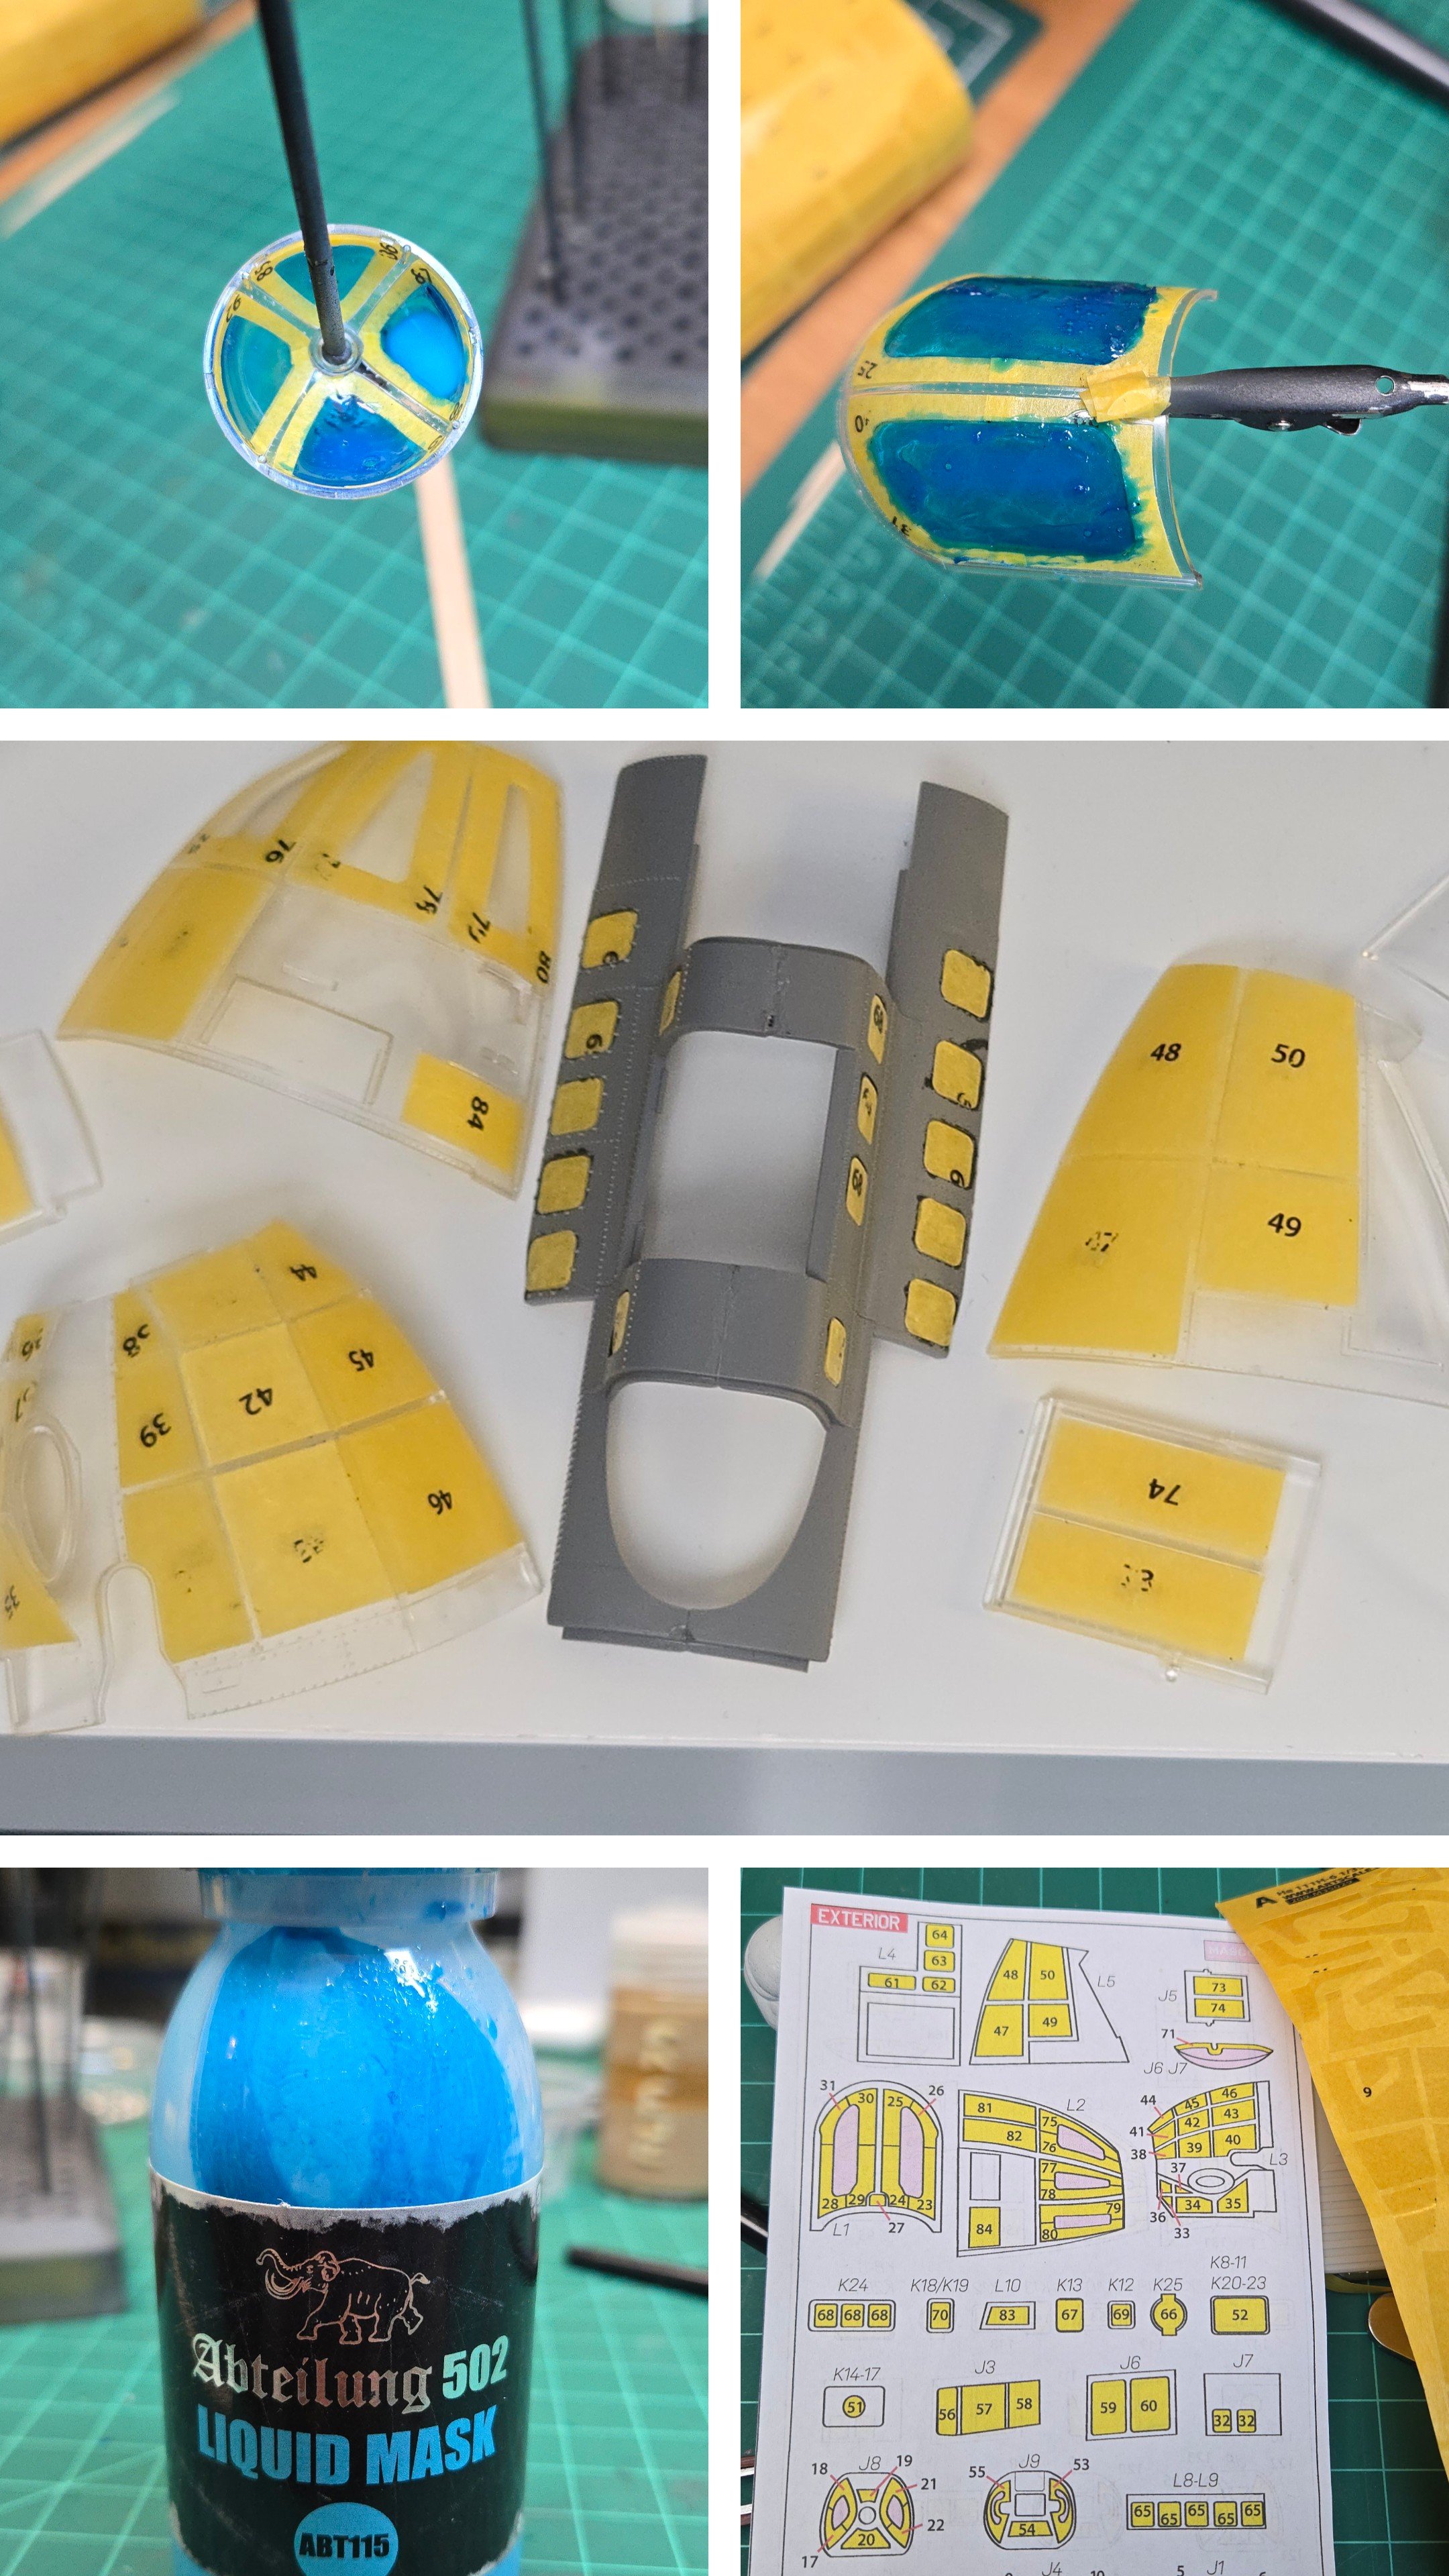
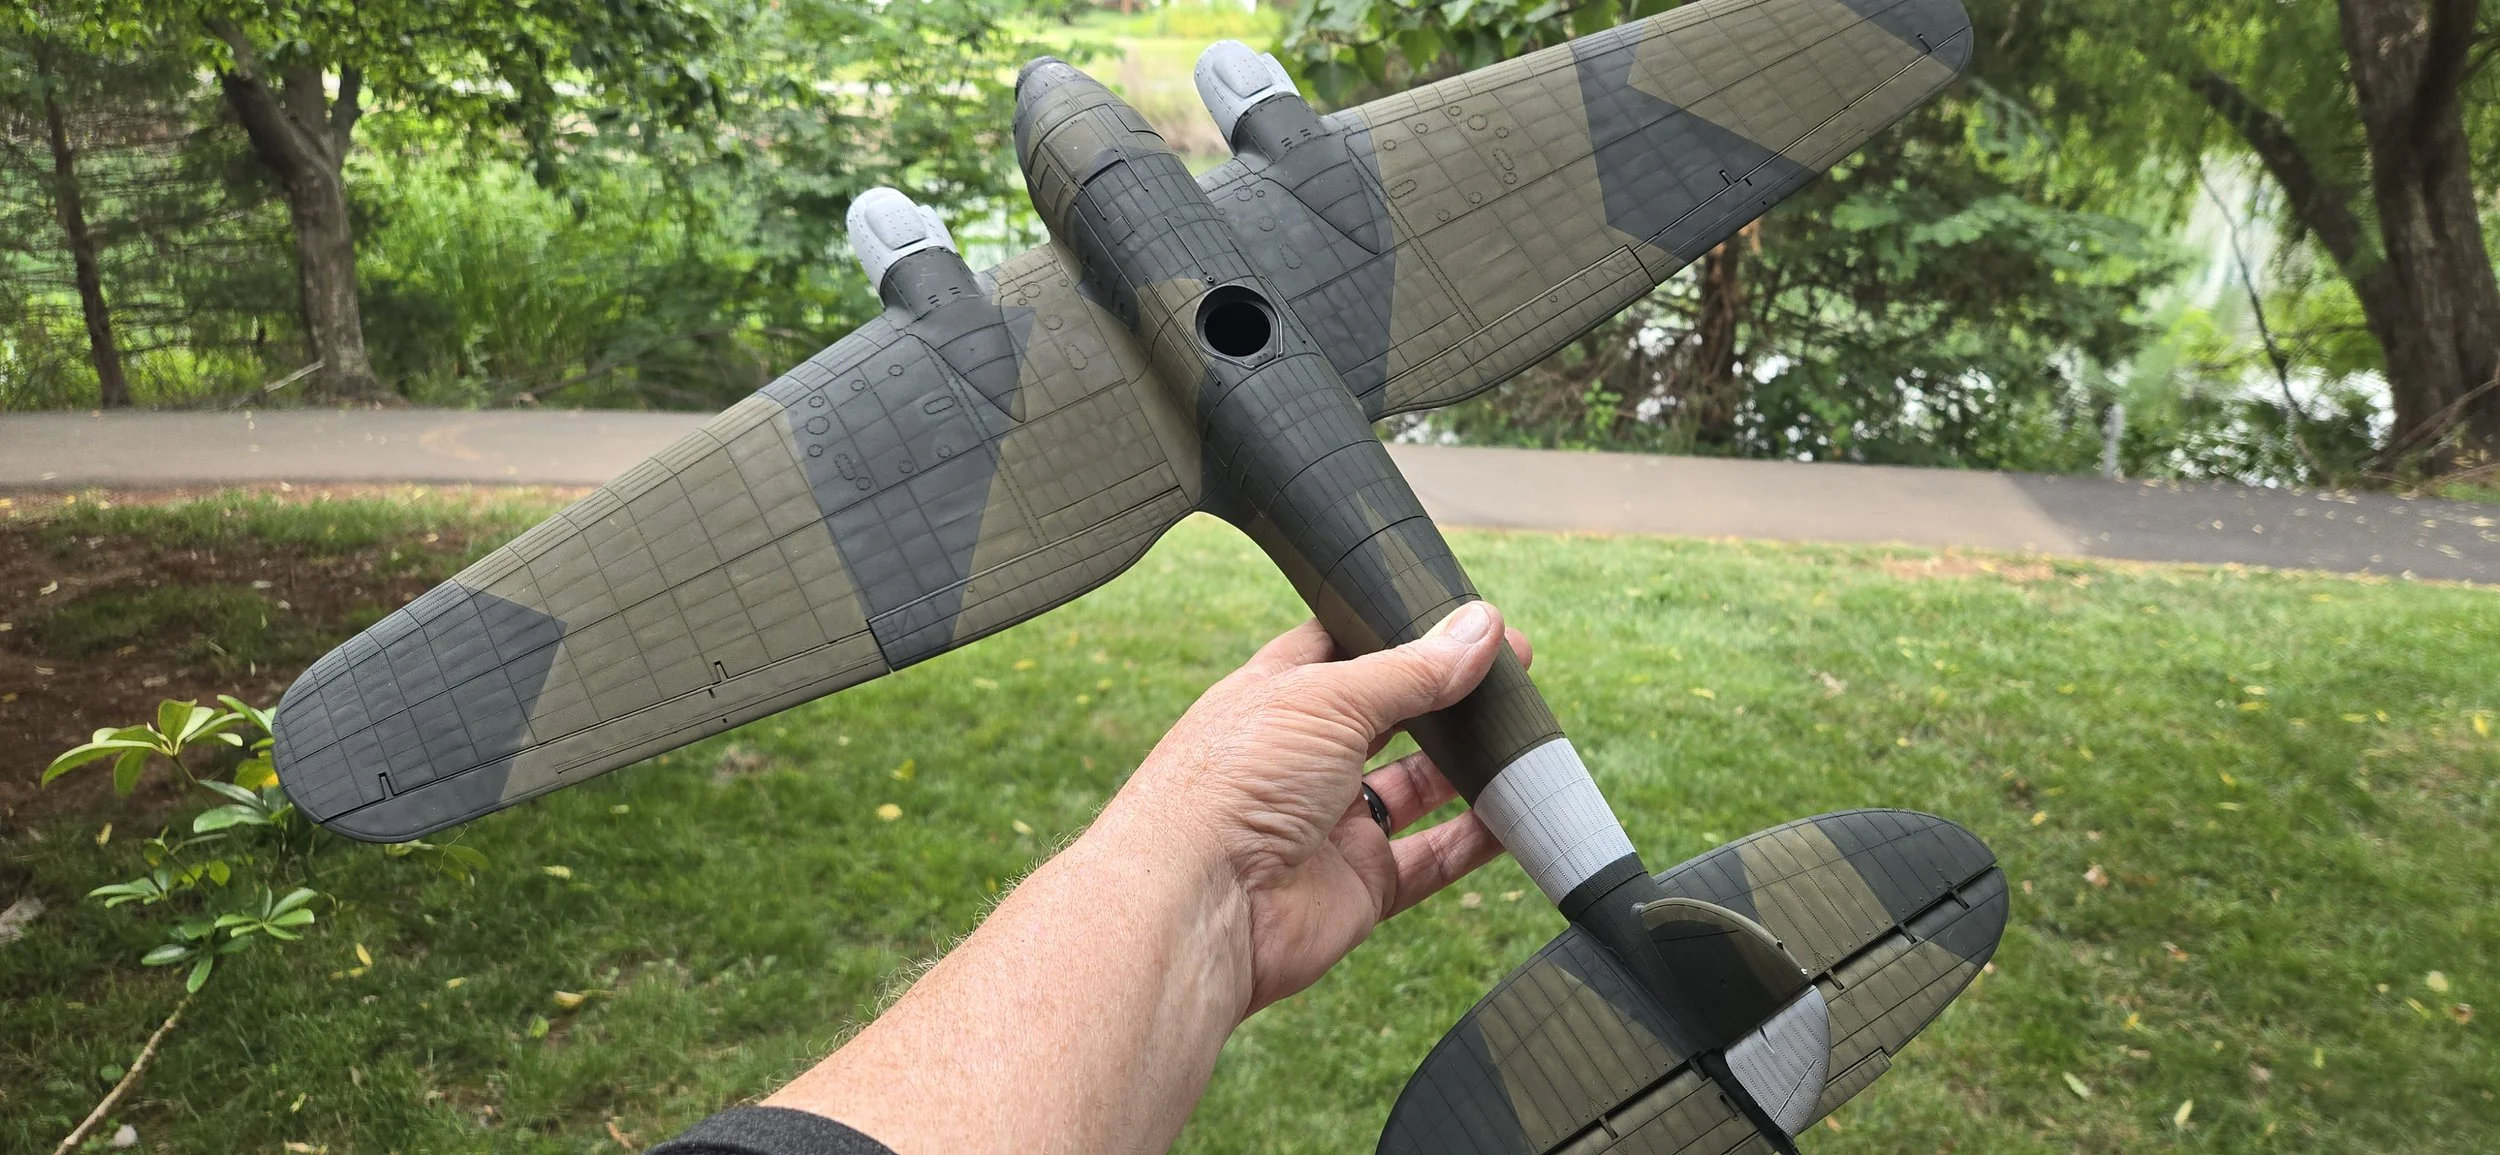
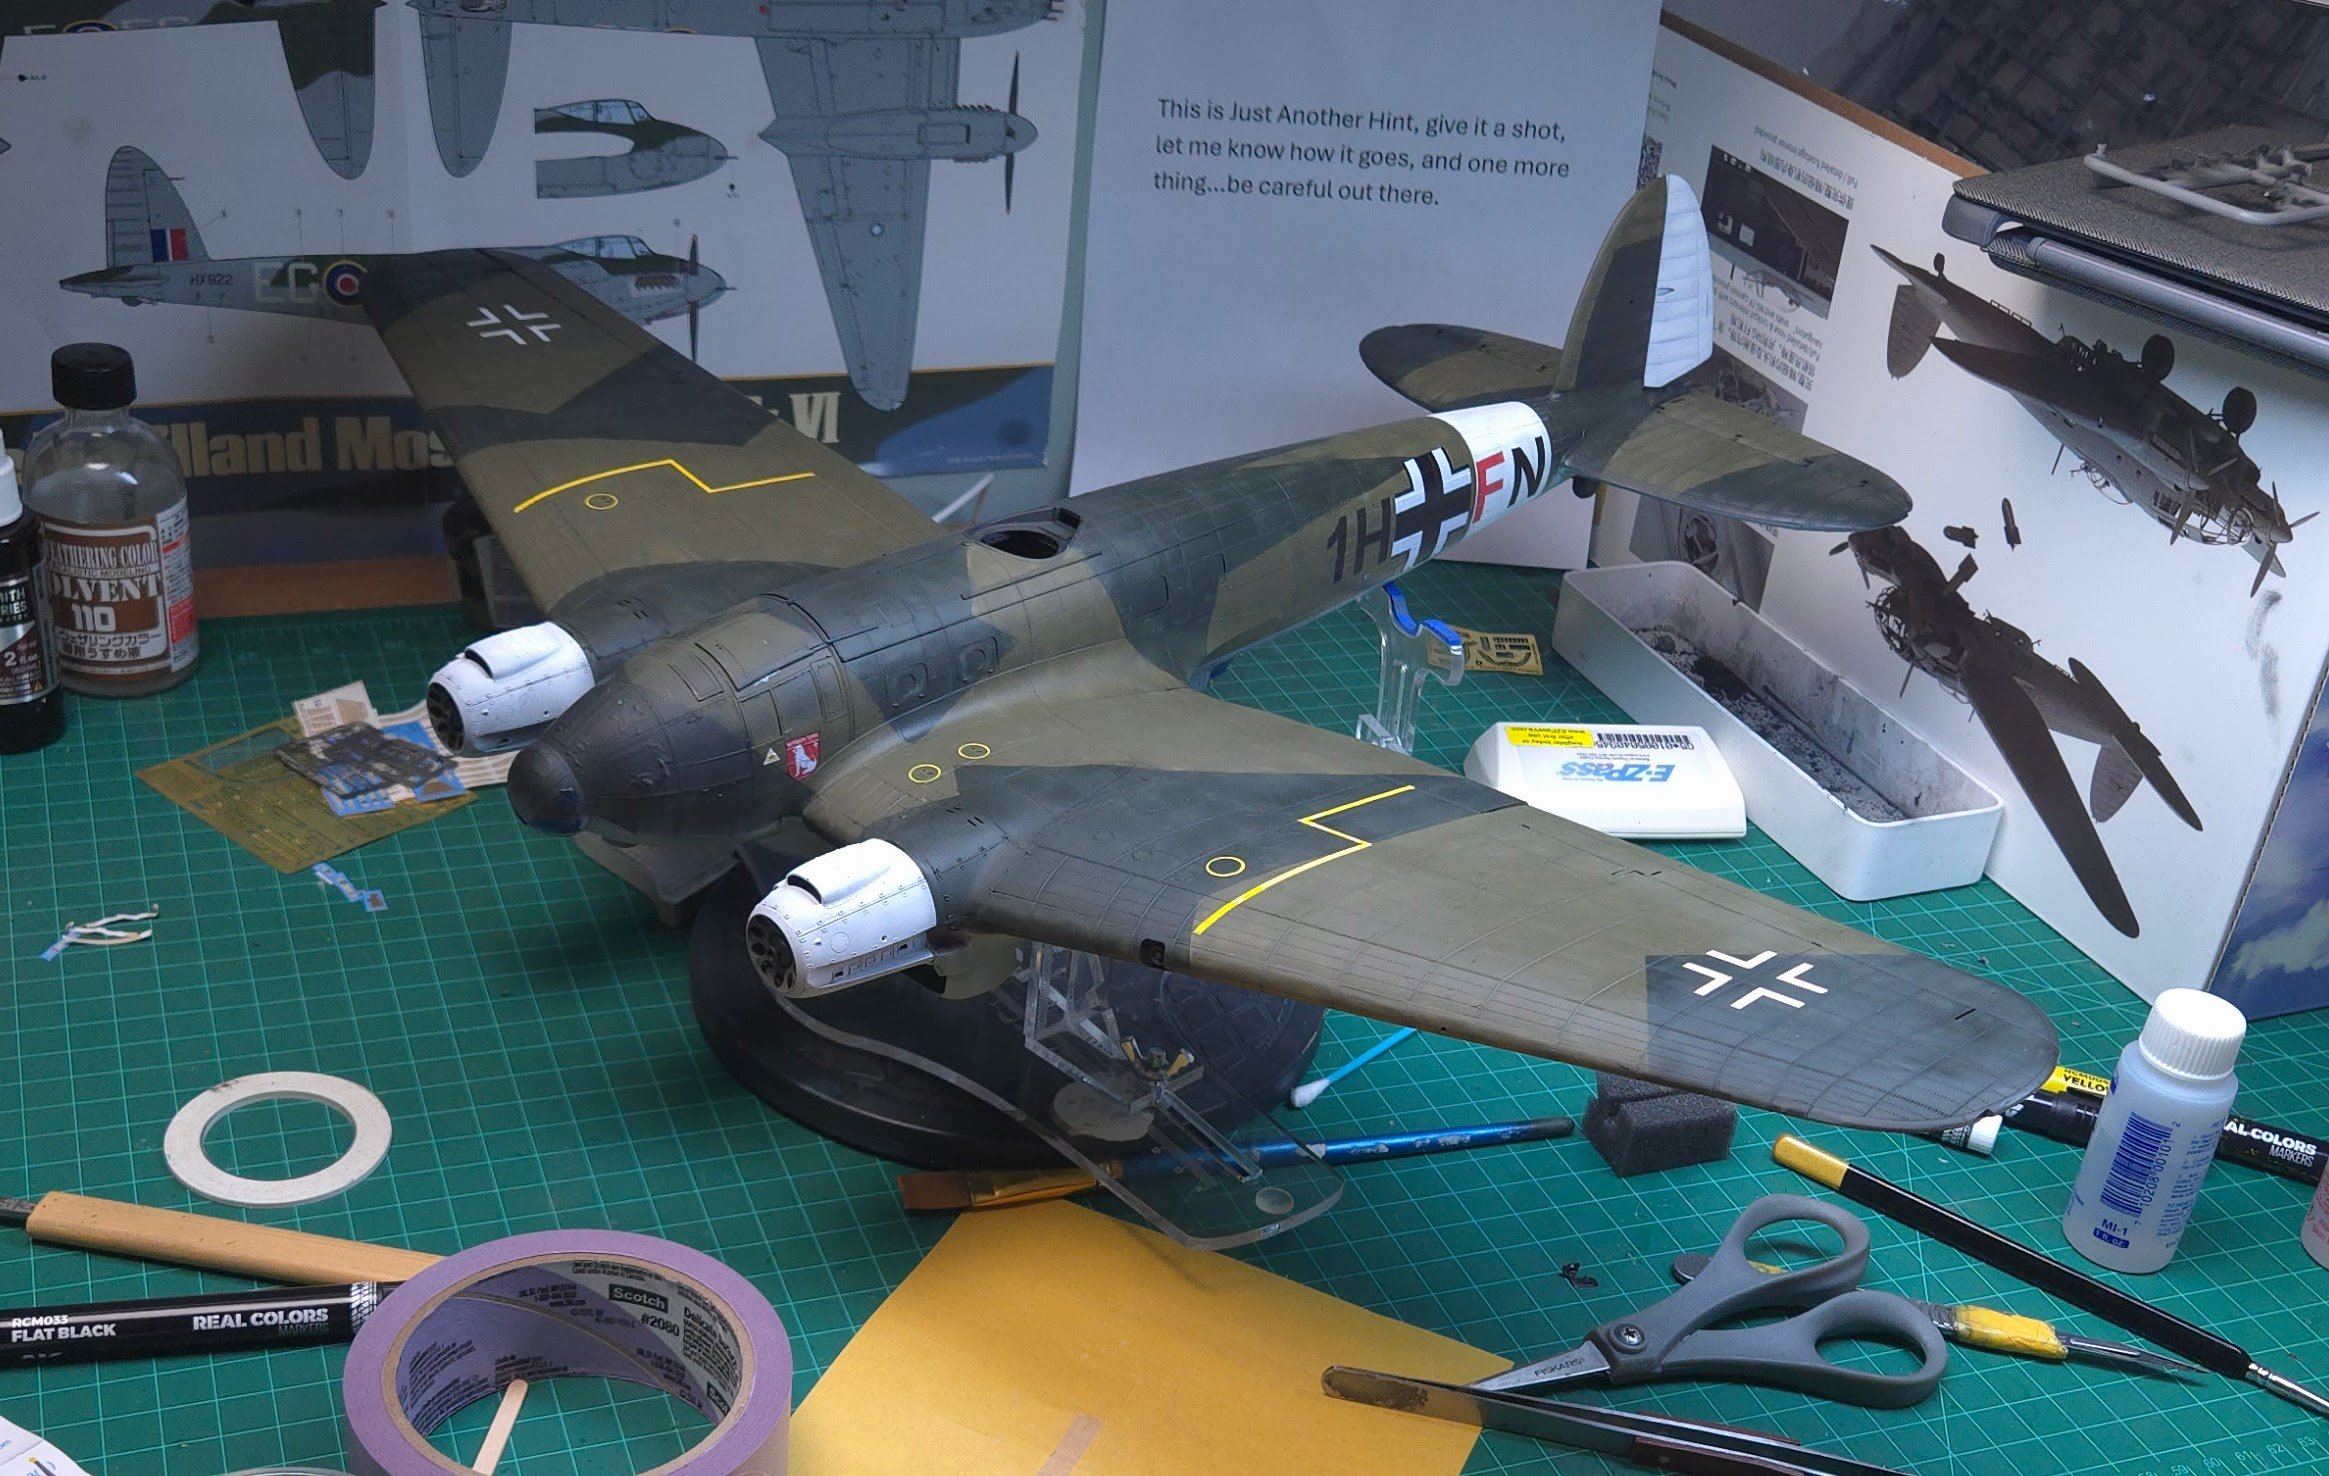
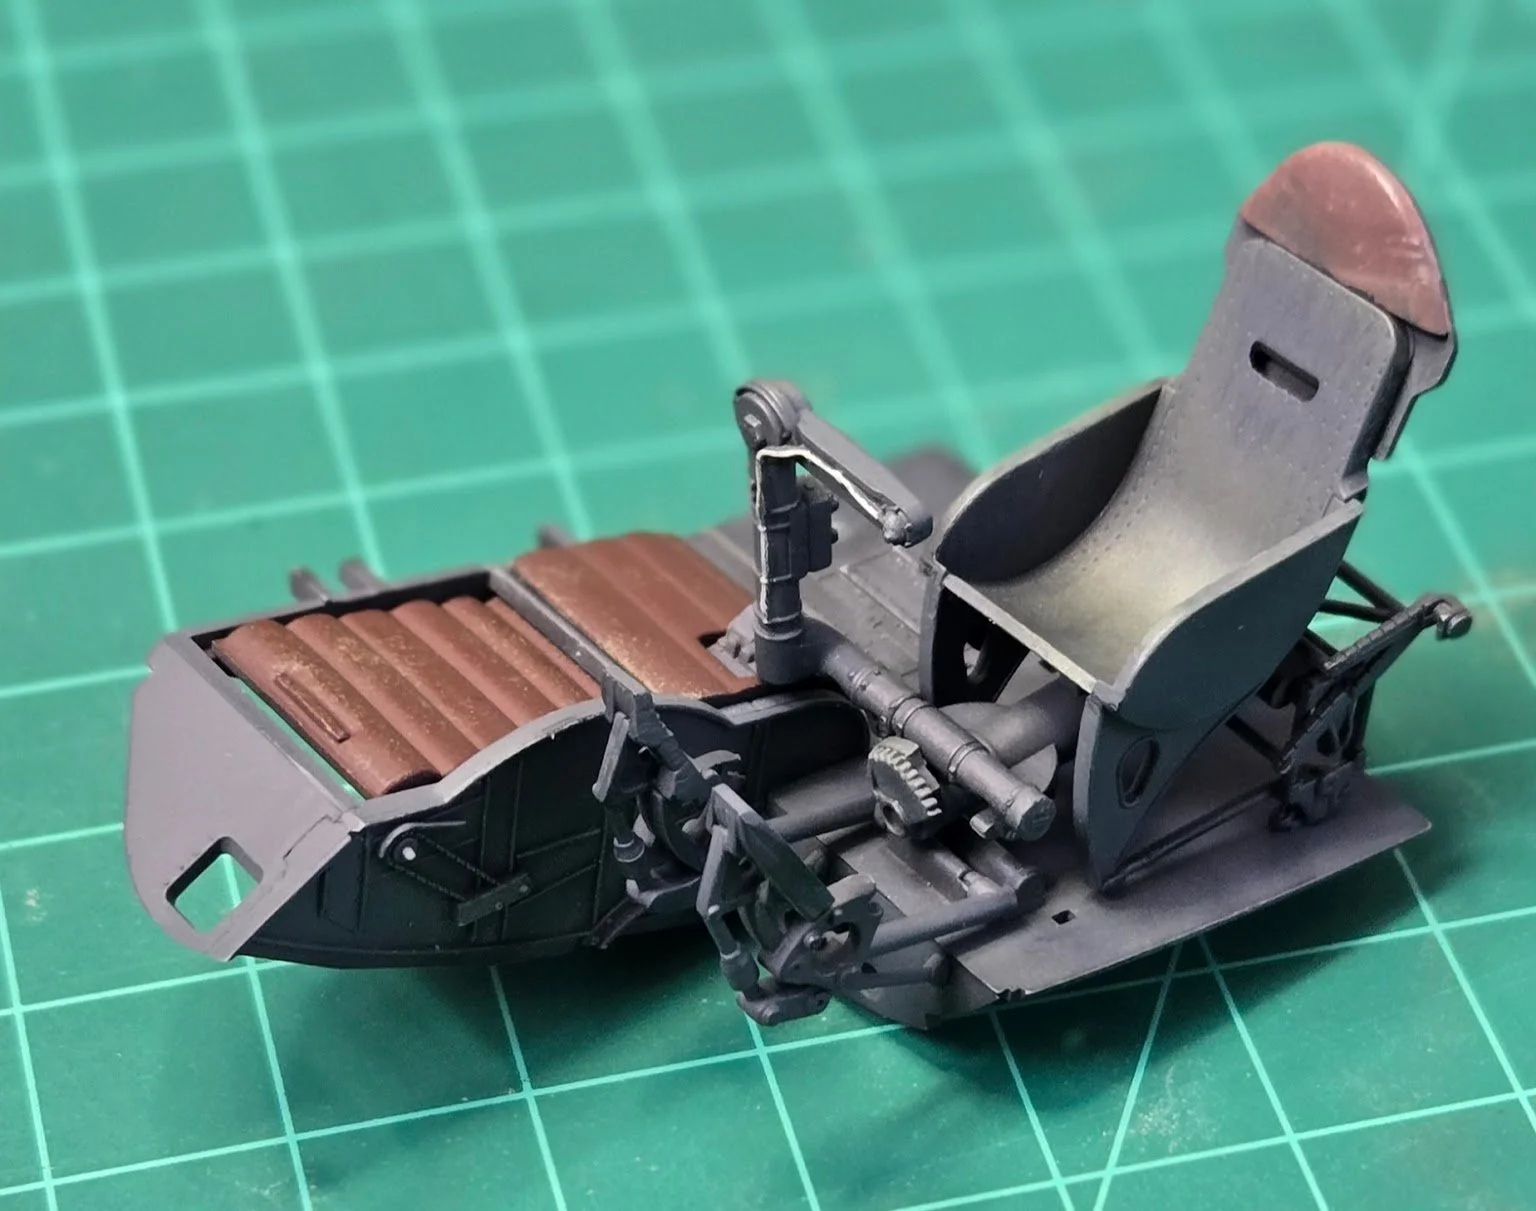
He-111 progress...slow go. I’m waiting for Quinta decals, Art Scale masks, and seatbelts. I’m probably closing up the engine cowling but anyone who wants to build a highly detailed engine bay could get a great start here. One thing to note...extreme care needs to be taken cutting and sanding and putting the engine mounts in. Thin plastic, a need to sand down the connection pins to fit their slots and dry fitting a must. Also added seatbelts and some trim/weathering to the seat area.

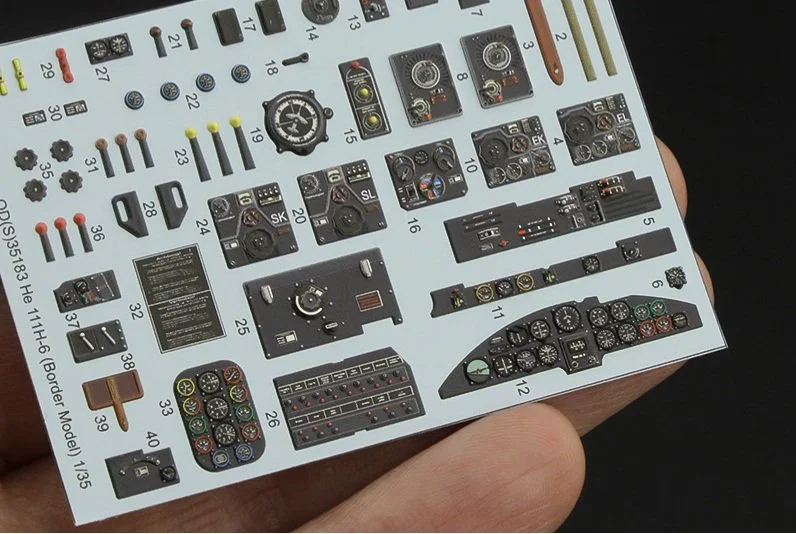
Border does an amazing job with most of the He 111 kit...but...in addition to subpar instructions, why on earth would they give you excellent detail on the back of the instrument panel...then give zero detail on the front and a black&white decal that neither fits the panel nor has the dials in the right place. Border is sooo close to being a triple AAA model makers but things like this are why they aren't there yet.
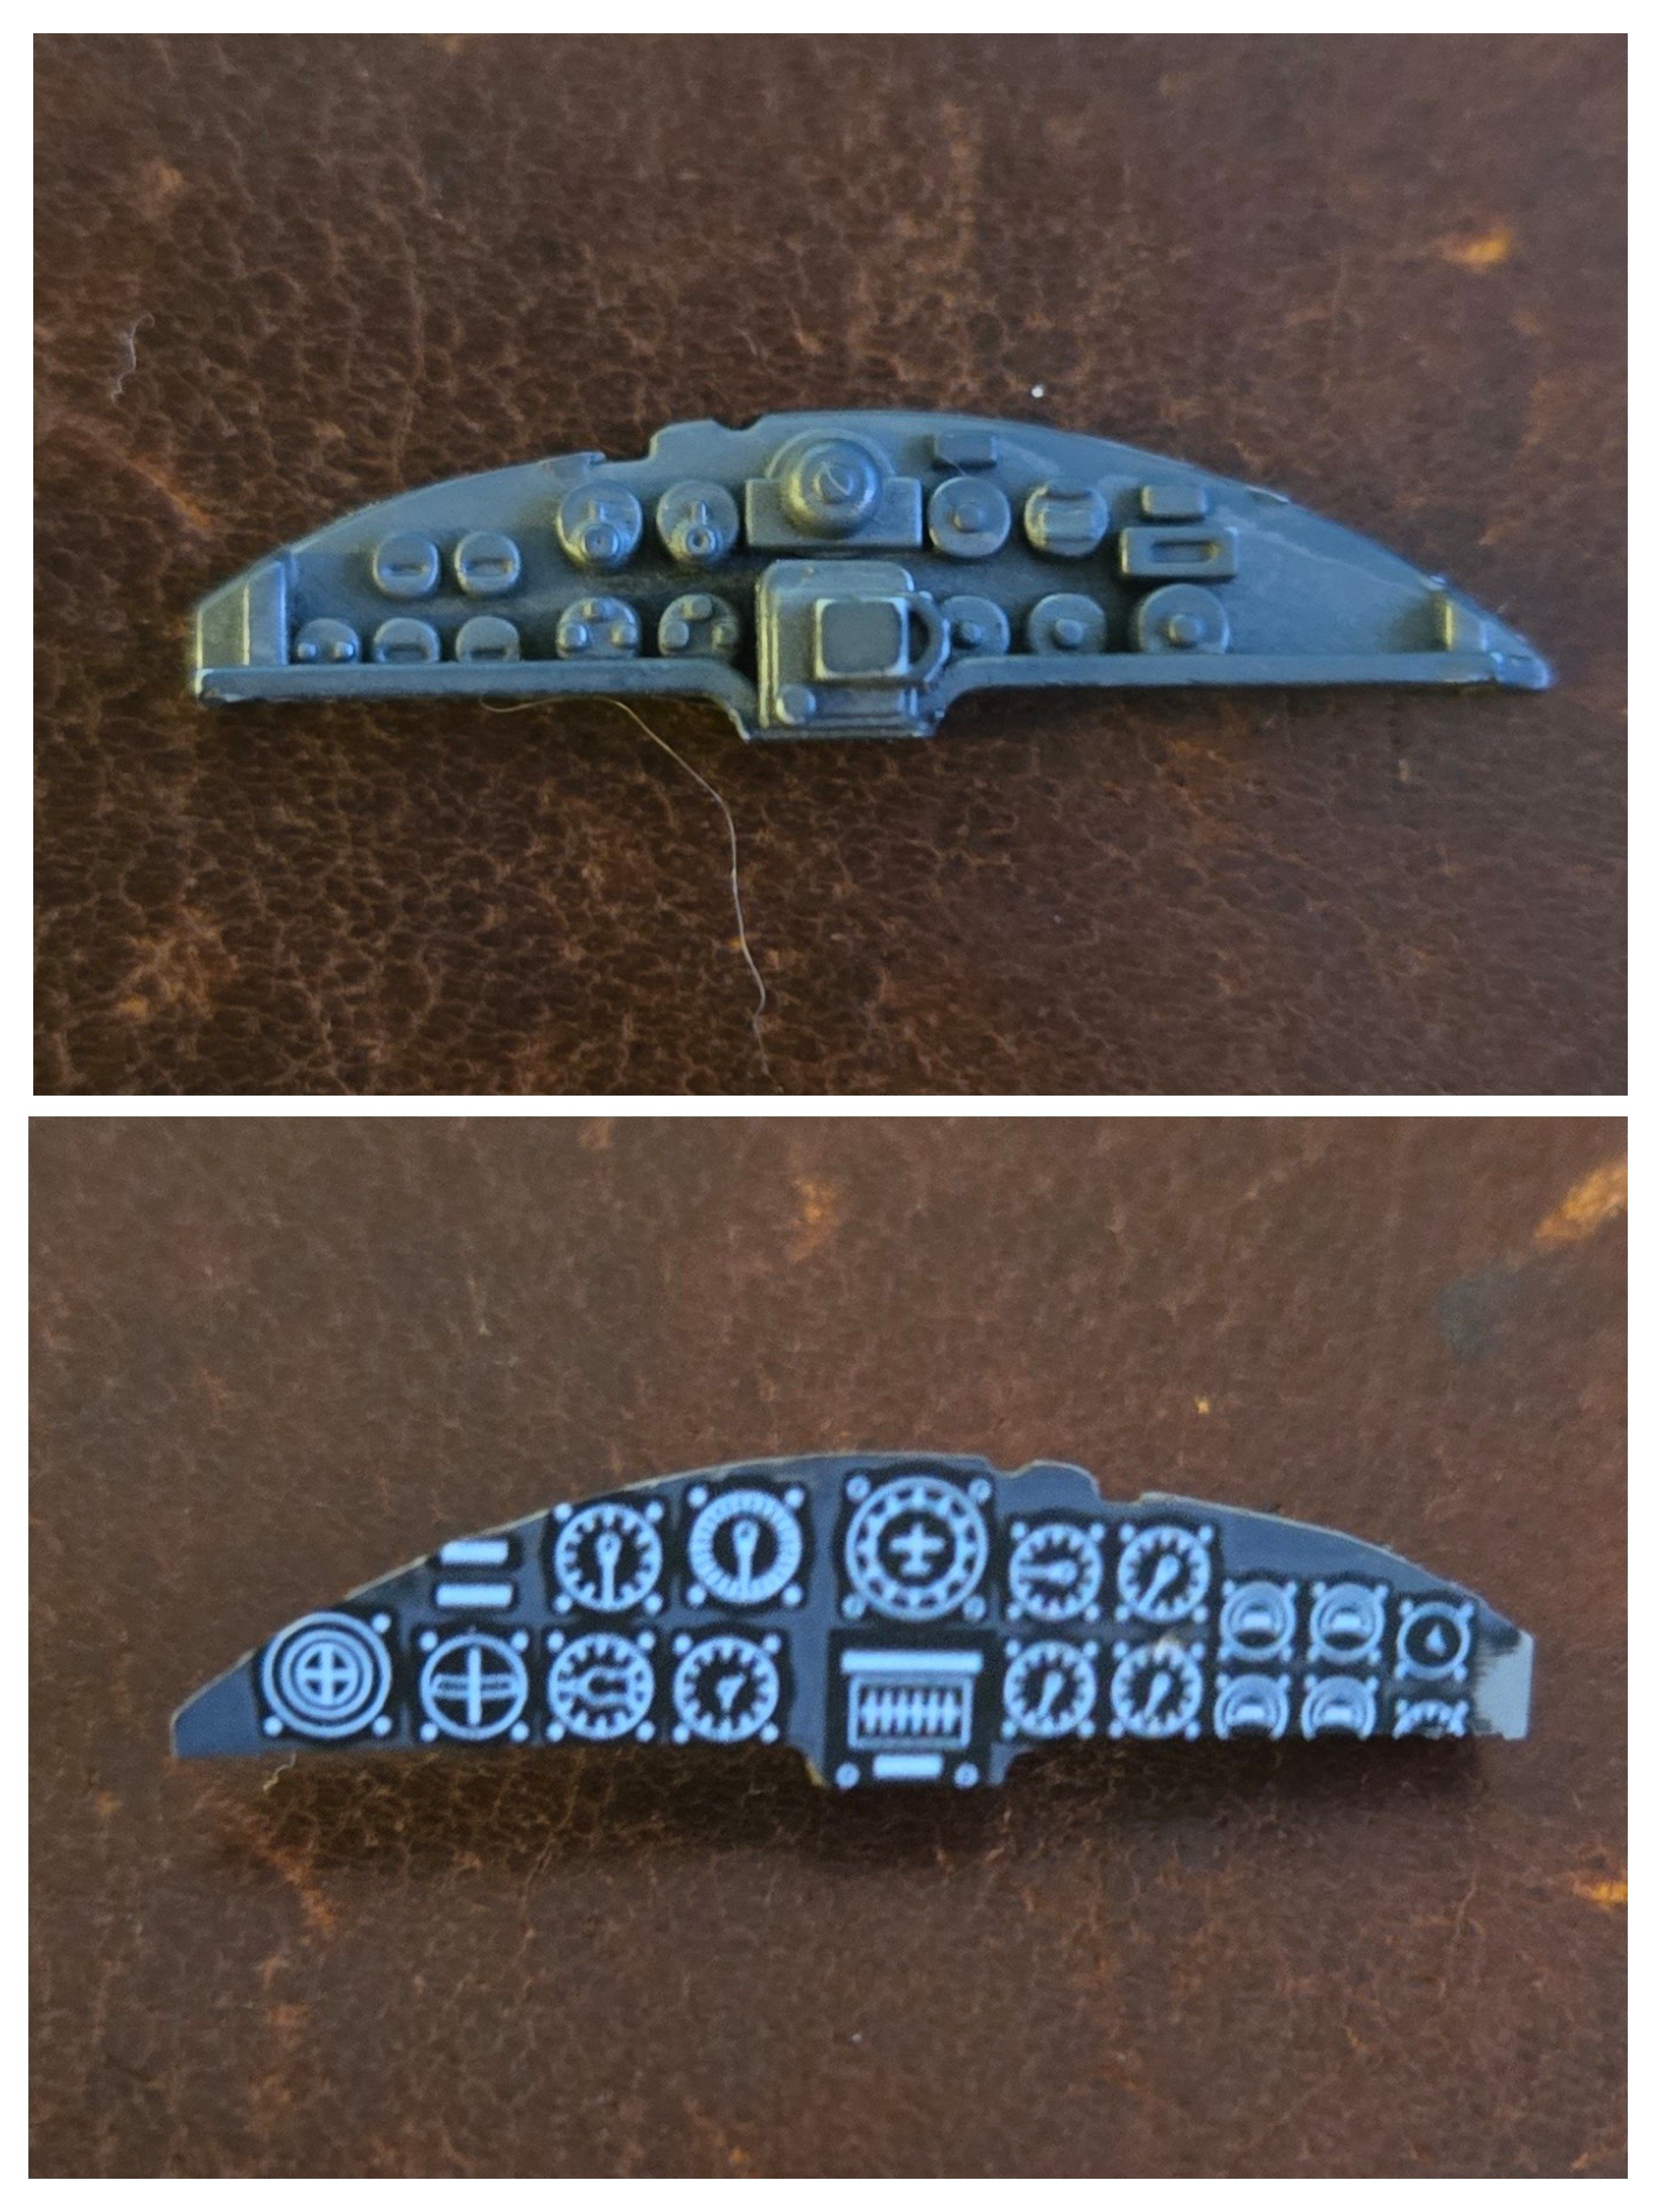
This is how it should look (Quinta Studio decal for same)
Someone on a forum asked me why I use paint markers…so I put a little video out to explain.
placeholder
Placeholder
placeholder
Placeholder
Placeholder